
Jul 15, 2026
The best tips for professional food photography
Whether it’s homemade food, a restaurant visit, dishes from your travels, or fresh ingredients – when food is beautifully presented and looks delicious, you naturally want to photograph it and share your excitement. However, even if the food looks tasty, a dark or flat-looking photo may fail to properly convey its appeal. In this article, we present basic tips for beginners that will help you take attractive food photos.
Tips for appetizing food photos
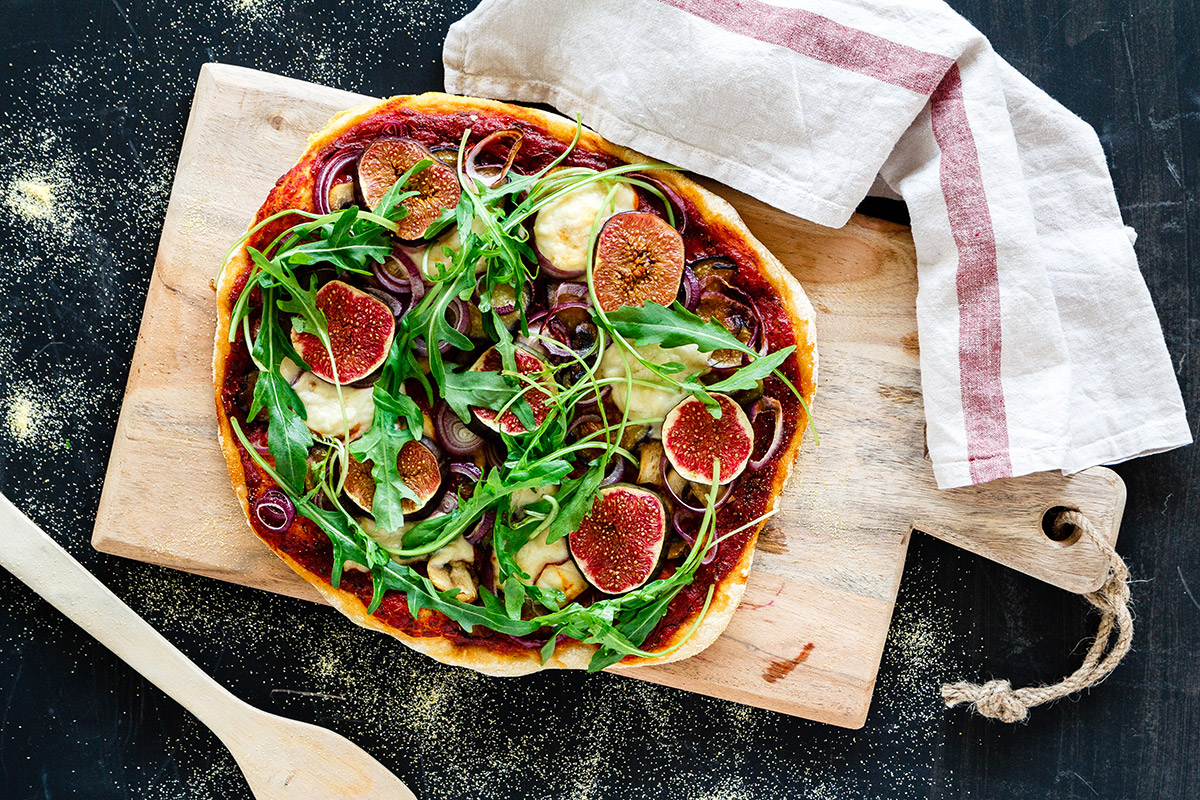
Food photography is about highlighting the natural beauty and appeal of dishes in the best possible way. The direction and intensity of light, as well as sufficiently bright exposure, are especially important.
Natural light – for example from a window – can make the colors and textures of food appear particularly authentic. Soft light in the morning or evening is especially ideal for making food look appealing. If the room is too dark, flash units or reflectors can help balance the exposure and achieve more professional results.
When light hits the food directly from the front, photos often appear flat. Light from above or from the side, on the other hand, creates more depth and a three-dimensional look. A well-thought-out composition is equally important to create a clear and visually appealing image.
The background also plays a key role in making the food stand out. A simple white or beige background, for example, automatically draws attention to the dish. Timing is also crucial: freshly prepared food looks especially appetizing when steam, warmth, or the freshness of the ingredients is visible.
In the following section, we present practical shooting tips and explain what to consider when choosing a lens.
Photographing with a standard lens
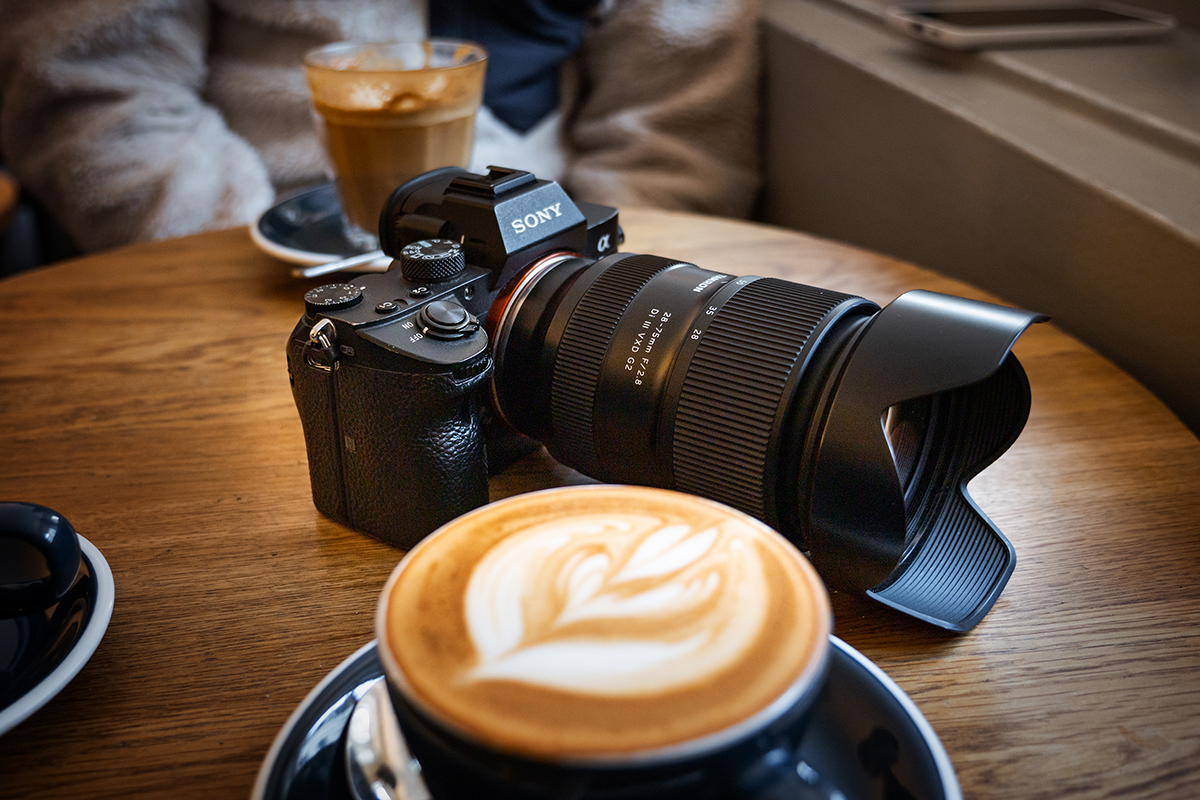
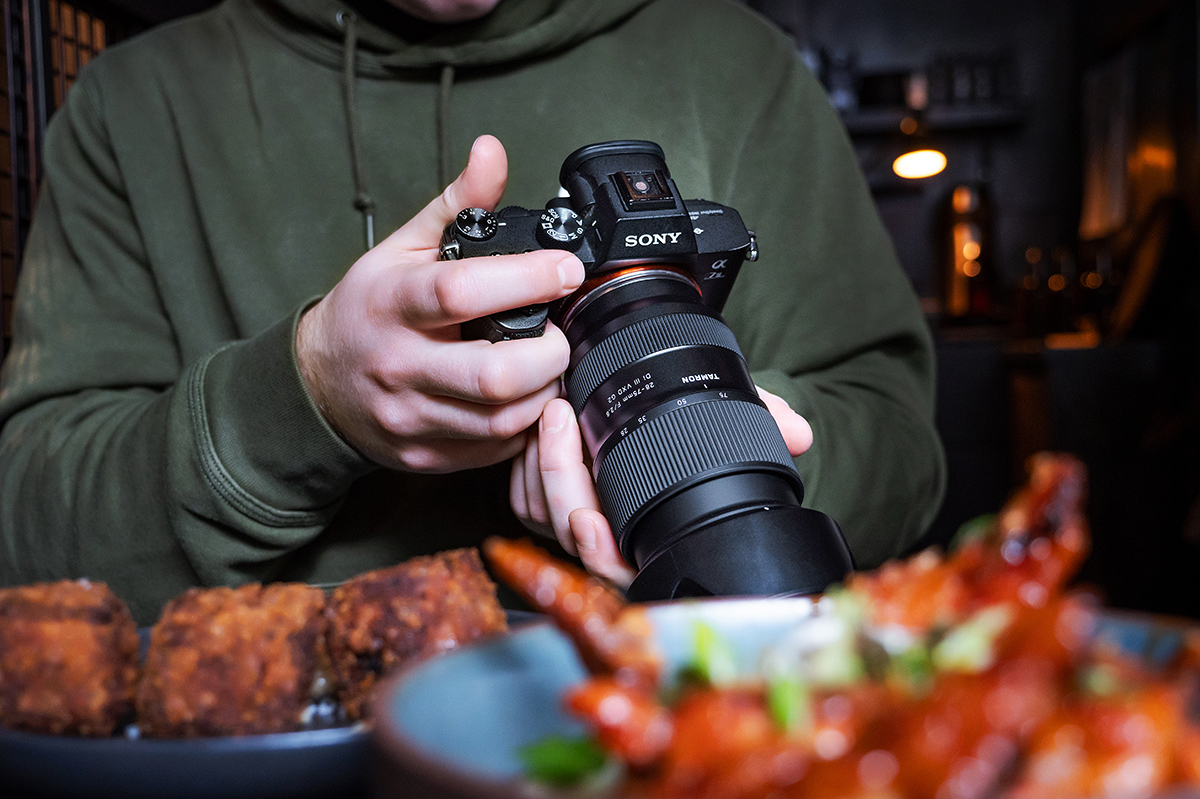
For food photography, a zoom lens in the standard range of around 50 mm is especially well suited. This field of view roughly matches the natural perception of the human eye and helps food appear realistic and well balanced.
A lens with a large aperture, such as f/2.8, also makes it easier to capture bright images even in low light and allows for a pleasant background blur (bokeh). Since table settings often offer limited space, a lens with a short minimum focusing distance is also recommended. For those who want to capture details and textures up close, a macro lens can be used as well.
Setting the correct exposure
Proper exposure is essential for successful food photography. If the image is too bright, colors appear washed out; if it is too dark, textures are lost. Therefore, exposure should be adjusted flexibly depending on the dish and the environment.
Shooting mode
The “aperture priority” mode (A/Av) is especially suitable for food photography. By choosing the aperture, you can control how much the background is blurred and how strongly the food is emphasized. The camera automatically adjusts the shutter speed.
Aperture (f-number)
If you want several dishes on a table to appear sharp, values between f/8 and f/11 are suitable. If you want to highlight a specific detail, a wide aperture such as f/2.8 to f/4 creates a soft background and stronger focus on the main subject.
Shutter speed
When shooting handheld, a shutter speed of around 1/60 to 1/125 second is recommended. With a tripod, longer exposure times are also easily possible.
ISO sensitivity
To capture colors and textures as clearly as possible, ISO should initially be kept low. If there is not enough light, ISO can be increased to around 800 to 1600.
Exposure compensation
In backlit situations, food may appear too dark. In this case, a slight positive exposure compensation of around +0.3 EV to +0.7 EV can help. If the image looks too bright or overexposed, a negative adjustment of -0.3 EV to -0.7 EV may be useful.
Setting the correct white balance
To ensure that colors appear natural, the correct white balance is essential. In many cases, the automatic white balance already produces good results. However, depending on the light source, it may be necessary to adjust the white balance manually – for example to daylight, fluorescent light, or artificial light.
For creative effects, the white balance can also be deliberately set warmer or cooler to emphasize certain color moods.
Enhancing the effect with bokeh
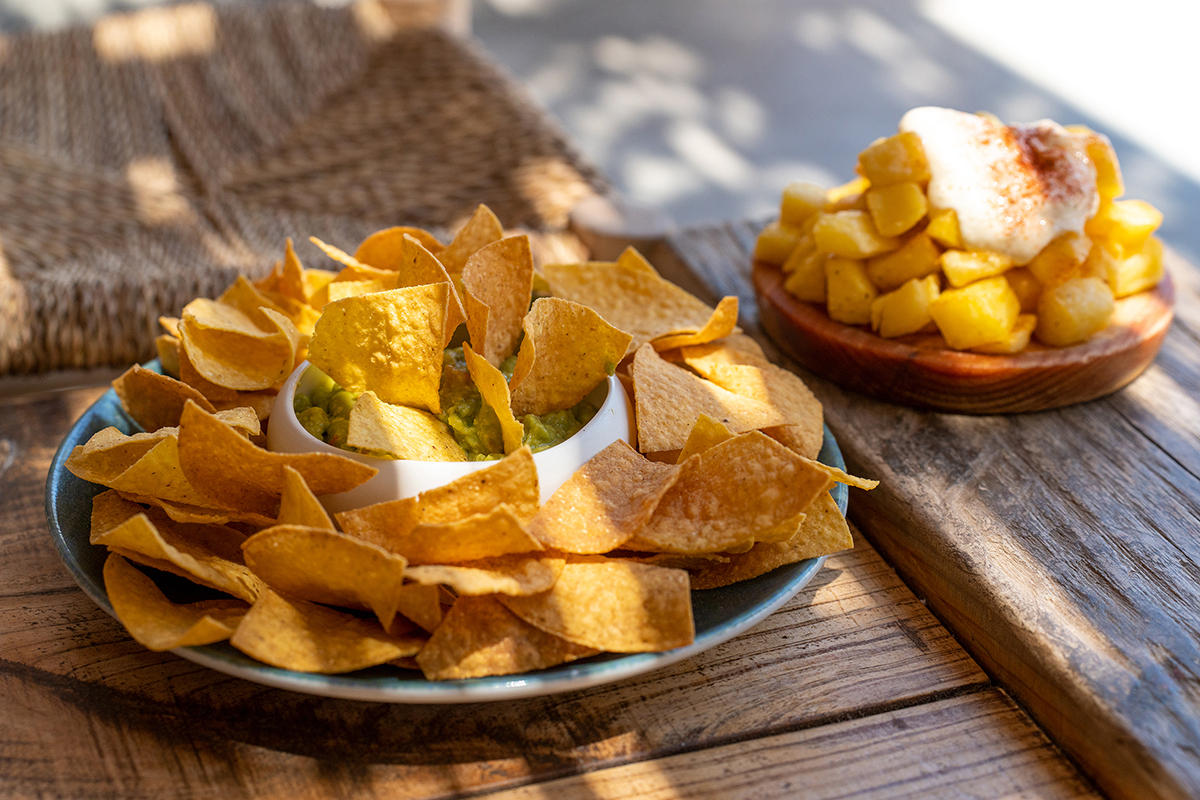
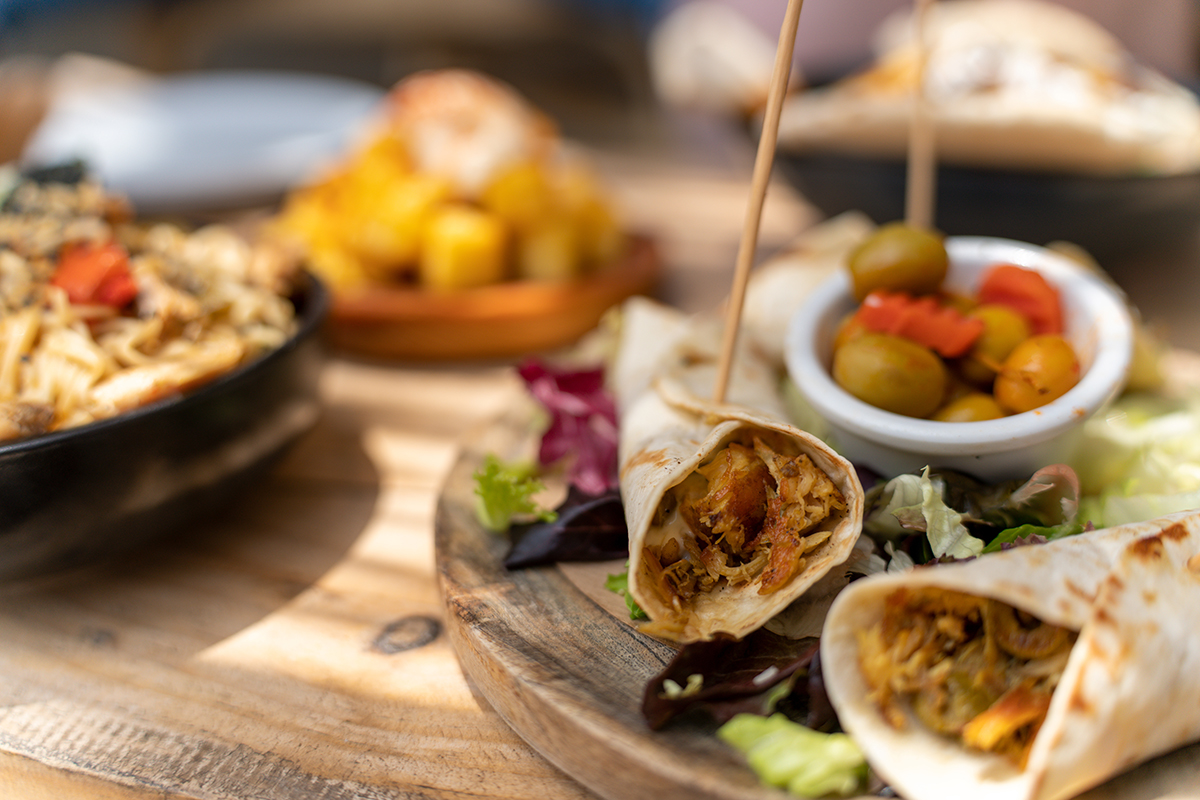
Targeted background blur helps draw more attention to the food. Using a wide aperture creates a soft, out-of-focus background, making the main subject stand out more clearly.
It is especially effective to use sharpness and blur deliberately to create depth—for example, by keeping the foreground sharp while allowing the background to gradually become more blurred.
Creating depth with backlight or side lighting
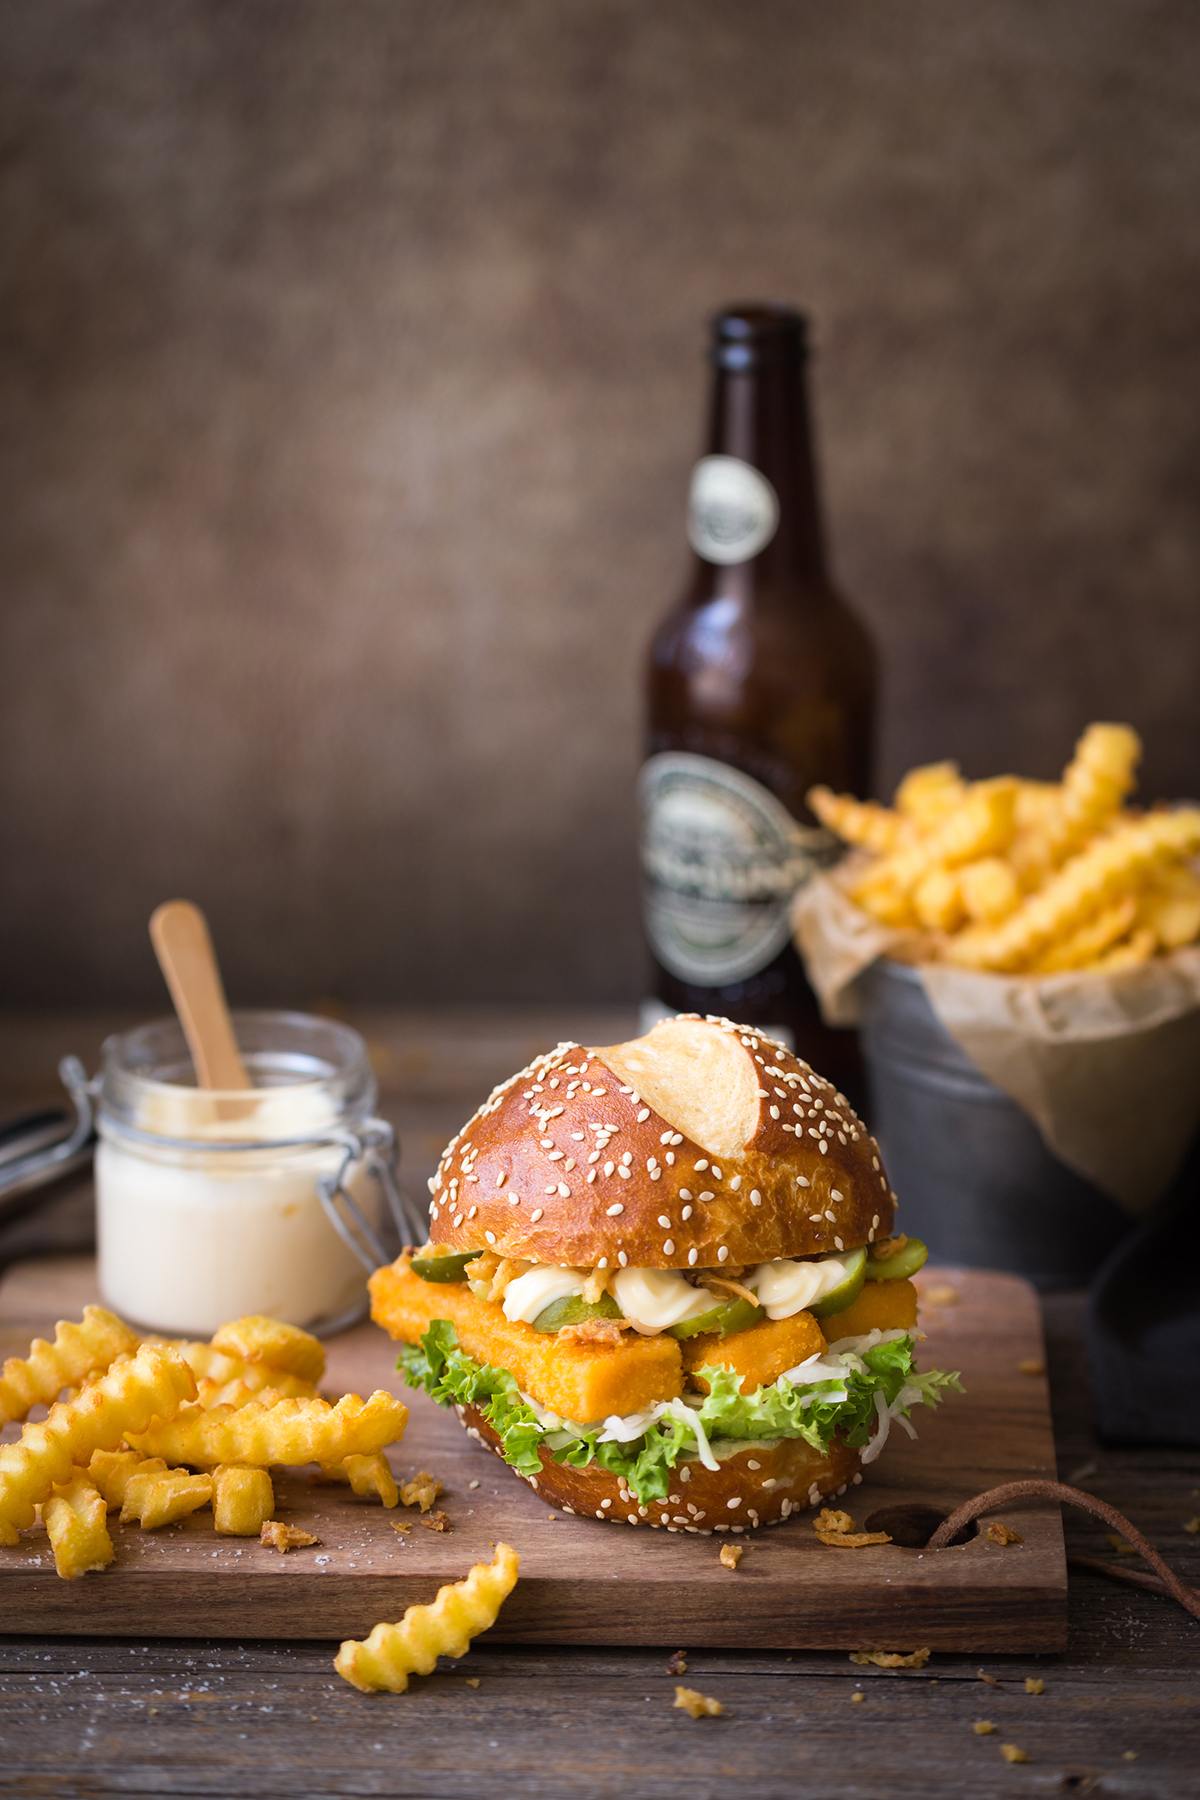
The direction of light has a major impact on the appearance of food photos. Front lighting often makes dishes look flat. Backlighting or slightly side lighting, on the other hand, adds more structure and depth.
Backlighting highlights contours and makes food appear more vibrant. Side backlighting additionally emphasizes surface details, shine, and textures. To ensure that the front of the subject does not become too dark, a reflector can be used or the exposure can be adjusted accordingly.
Using reflectors and flash units
Those aiming for more professional food photography can use reflectors and flash units. White reflectors help brighten shadows, while silver reflectors enhance highlights and reflections.
In darker environments, a flash unit can help create naturally looking light. Indirect flash—bouncing the light off a ceiling or wall—appears especially soft. Direct flash, on the other hand, can quickly look unnatural.
Using composition and perspective intentionally
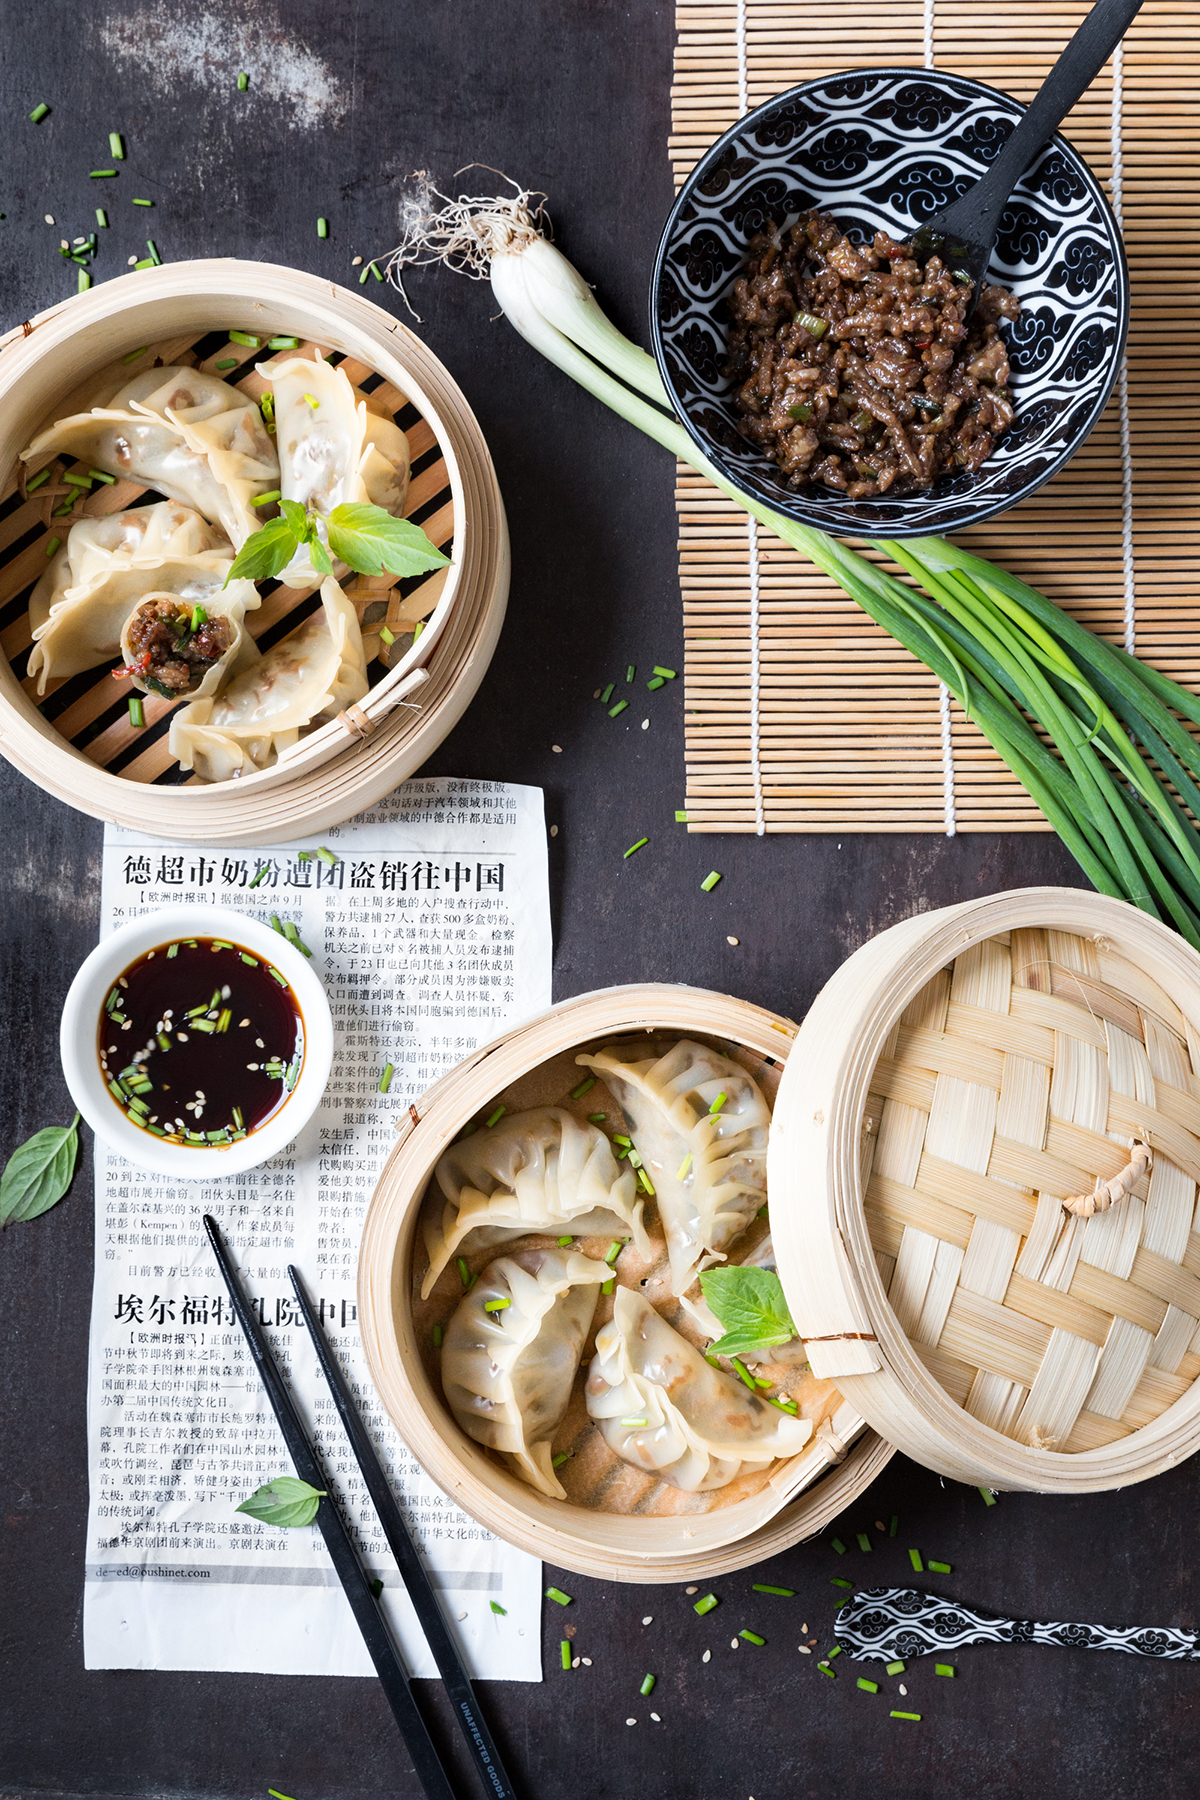
Perspective has a major influence on the visual impact of food photography. A top-down shot is especially well suited for multiple dishes or carefully arranged table scenes.
A 45-degree angle is one of the most popular perspectives in food photography, as it creates a natural sense of depth. Individual dishes often look better when photographed up close without showing the entire plate, allowing textures and details to stand out more strongly.
Popular composition techniques include:
• Diagonal composition: Food is arranged along a diagonal line in the frame, creating a more dynamic look.
• Triangle composition: Elements are arranged in a triangular shape, resulting in a balanced and harmonious image.
Tall foods such as burgers or parfaits look particularly impressive from a slightly lower angle.
Food photography in practice
Meat and fish dishes
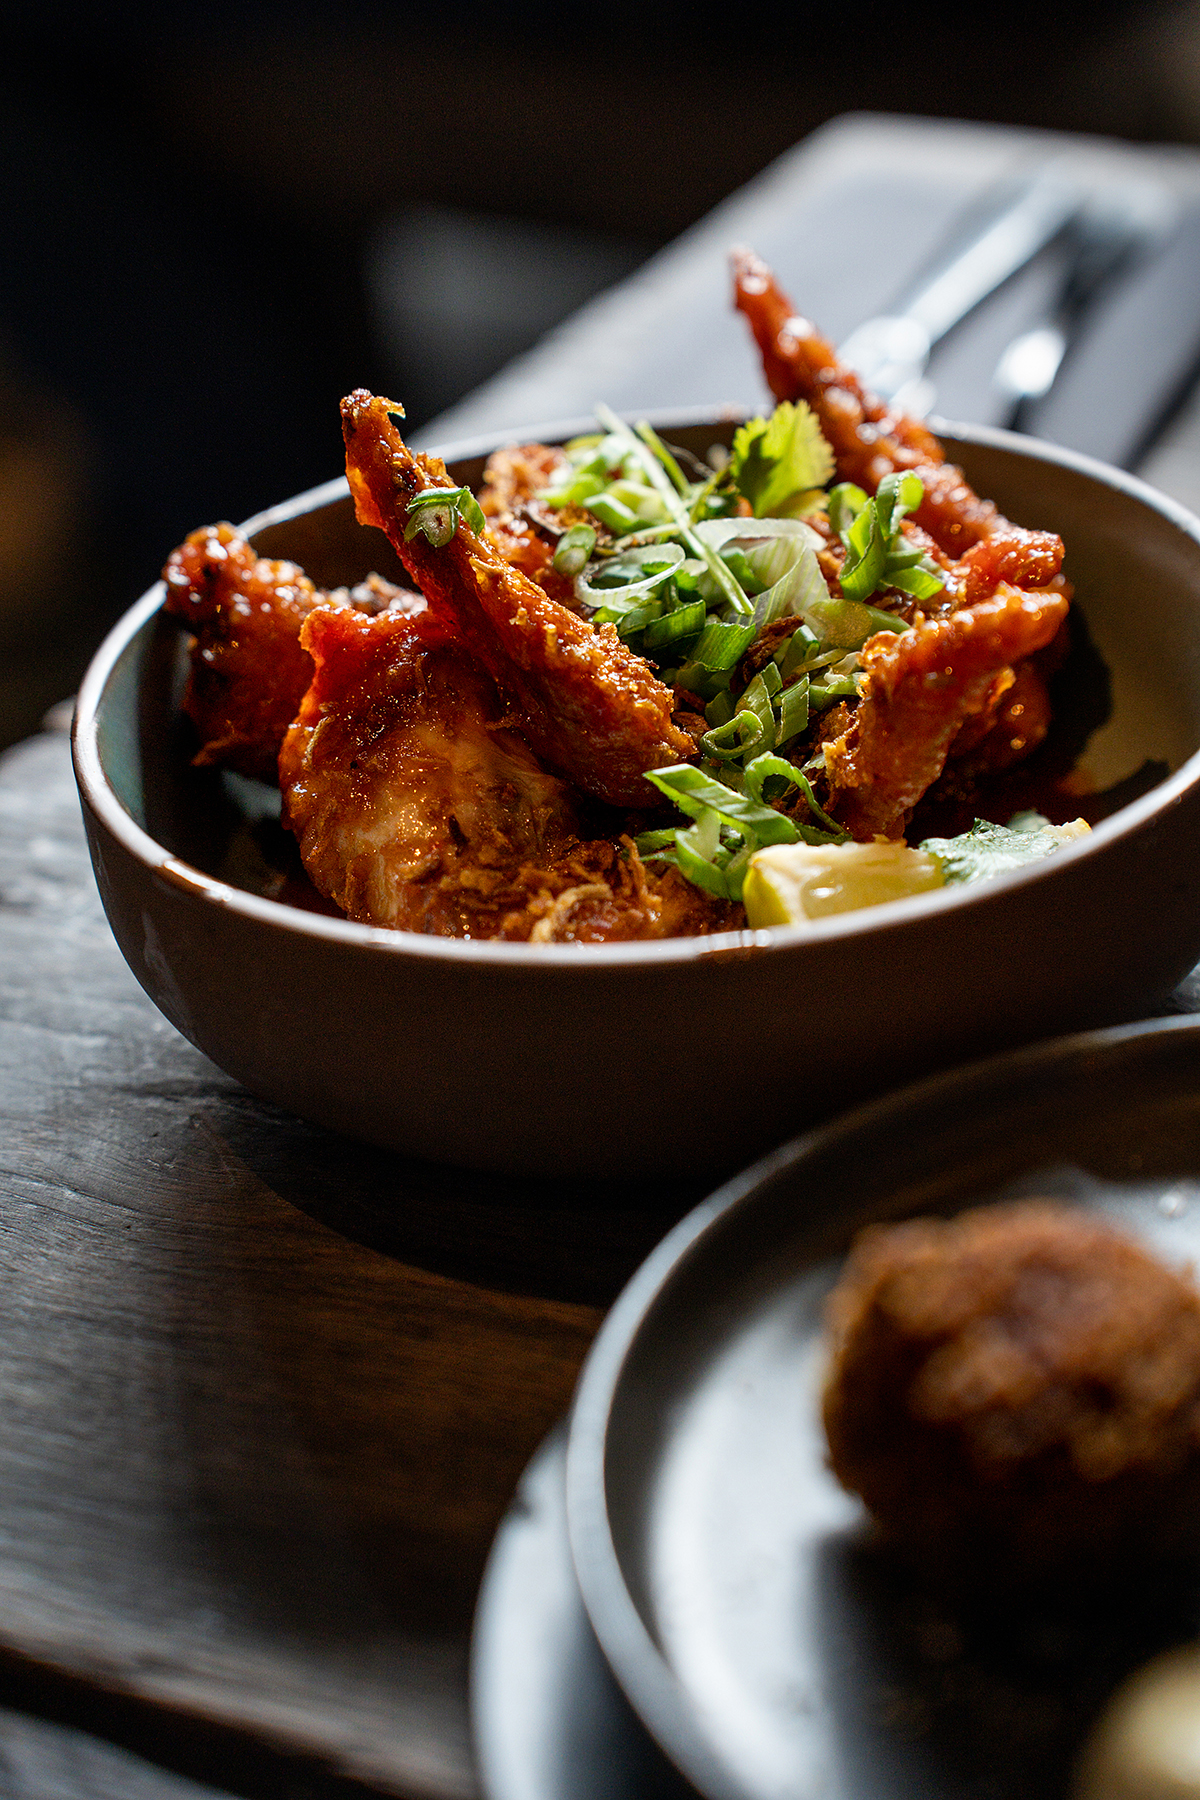
For meat and fish dishes, grill marks, gloss, and textures should be emphasized. A slightly angled top-down perspective is especially effective for making these details visible.
Side dishes and colors also play an important role. Backlighting enhances the shine of sauces and the surface of the meat particularly well. Steam or smoke can further add a sense of warmth and freshness to the image.
Making steam visible
Steam conveys warmth and freshness. To make it clearly visible in photos, dark backgrounds or dark tableware are especially effective.
Backlighting highlights rising steam in a striking way. Since steam is constantly moving, continuous shooting is recommended. A shutter speed of at least 1/125 second helps ensure sharp results.
Fruits and vegetables
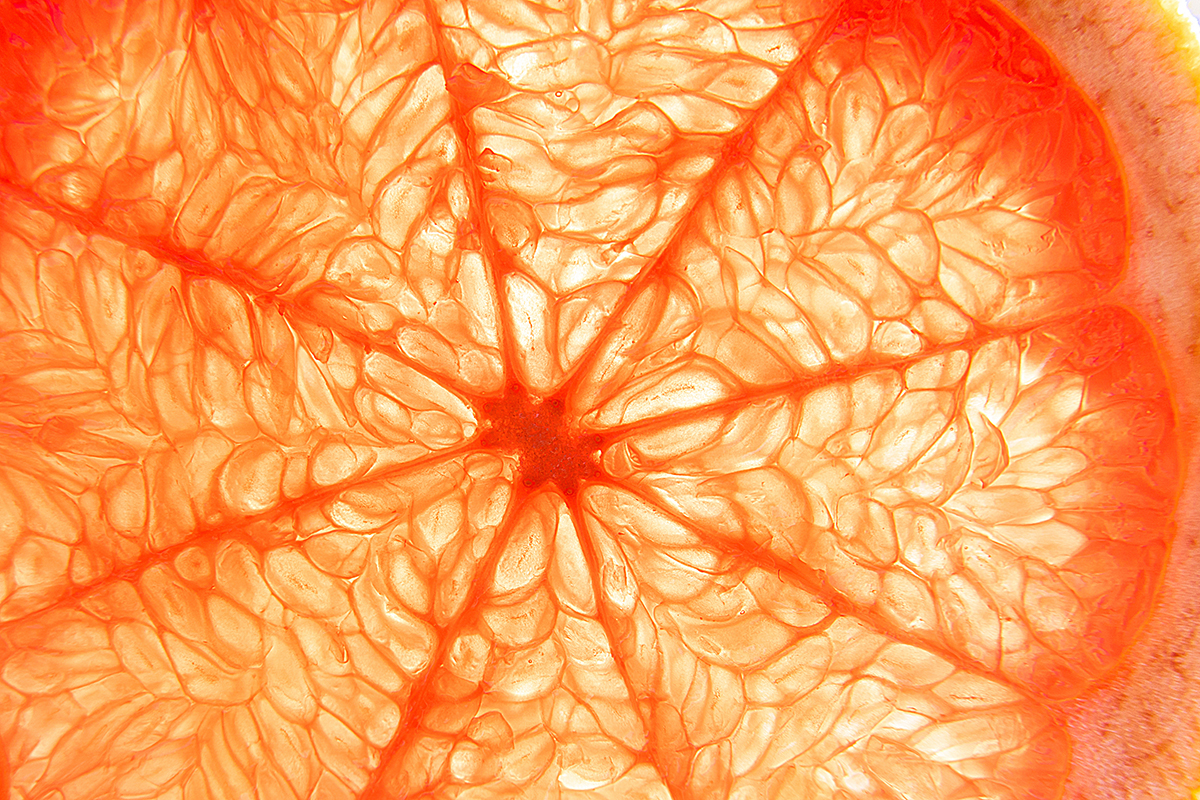
Here, freshness and juiciness are the main focus. Water droplets or condensation can further enhance this impression.
When photographing cut fruit, it is worth letting light shine through the flesh to highlight transparency and colors—especially in the case of citrus fruits.
Desserts and café photography
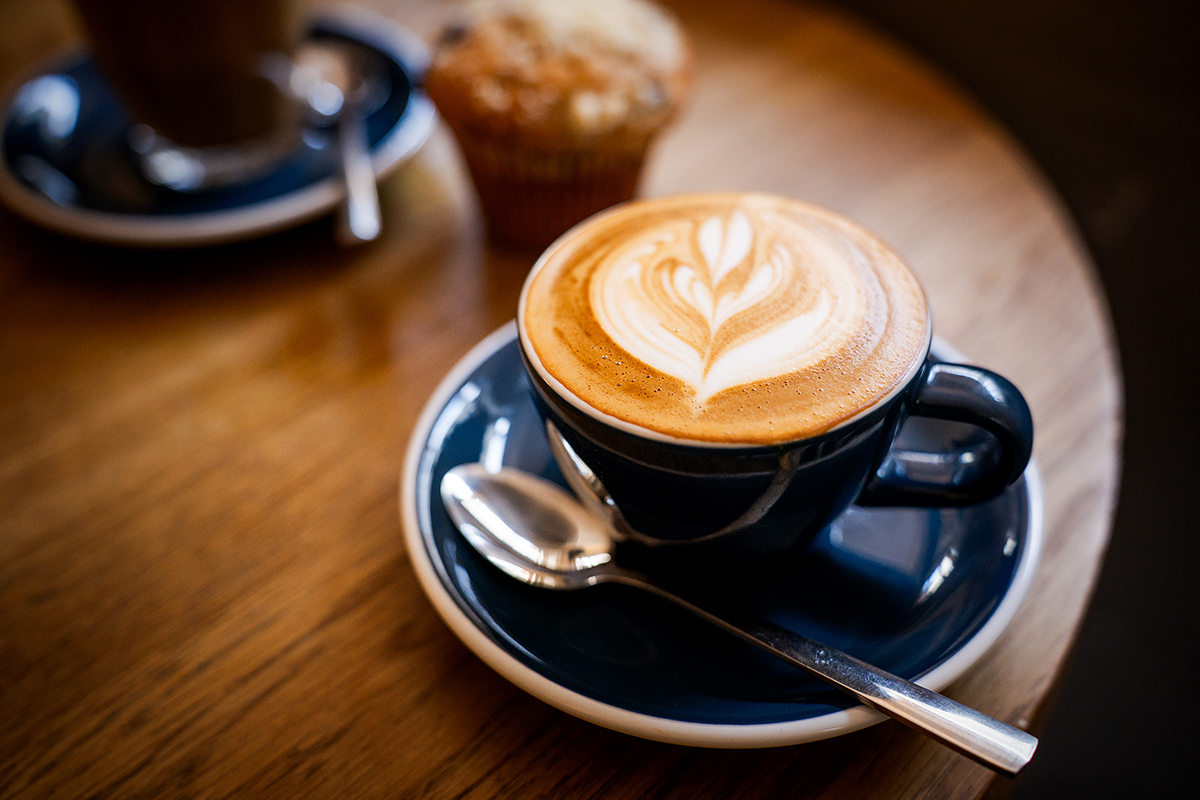
When photographing desserts and café scenes, it is worth making deliberate use of the characteristics of drinks, glasses, and tableware. Latte art, for example, looks especially good from a top-down perspective.
Light shining through beverages enhances ice cubes, bubbles, and colors. A macro lens is ideal for highlighting fine details.
The right lens for food photography
Focal length
Focal lengths between around 35 mm and 100 mm are well suited for food photography. Standard lenses around 50 mm are especially popular, as they provide a natural field of view. Macro lenses additionally allow for impressive close-up detail shots.
Aperture (light intensity)
Fast lenses make it easier to shoot in dim restaurants or cafés while also creating a pleasing bokeh effect.
Minimum focusing distance
Since food is often photographed from close range, a short minimum focusing distance is particularly useful. It allows you to capture details more effectively.
Compact design
Lightweight and compact lenses are ideal for restaurant visits or travel, as they are less conspicuous and easier to handle.
Autofocus
Especially in low-light environments, autofocus should work reliably. For macro shots, precise manual focusing is also helpful.
Image stabilization
Because many food photos are taken handheld, image stabilization helps achieve sharper results, particularly in low light.
Conclusion
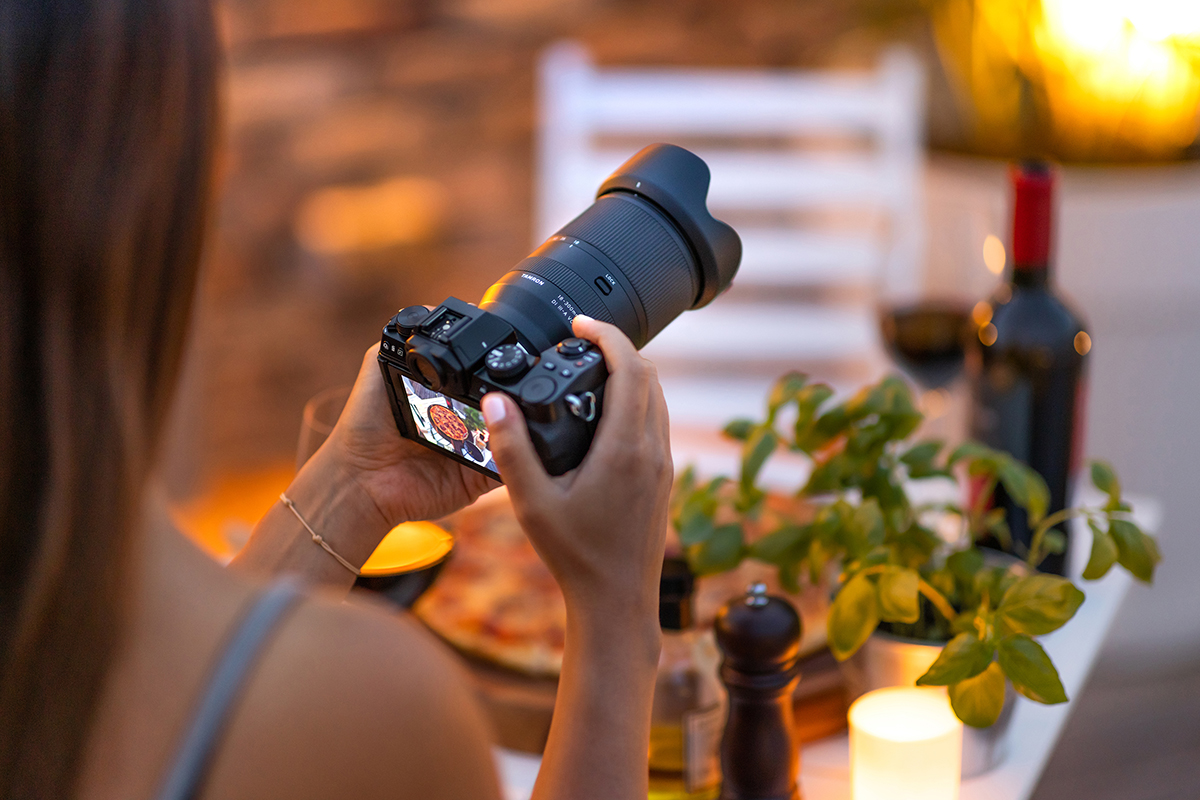
For successful food photography, correct exposure and the deliberate use of light are essential. Natural light, backlighting, or side lighting help emphasize textures and create a sense of depth.
With suitable lenses, controlled blur, and the right perspective, dishes can be presented in a particularly attractive and appetizing way.
