
Apr 30, 2026
How to Capture Dogs & Cats at Their Best
The most important tips on shooting techniques and lens selection for interchangeable lens cameras
Many people pick up an interchangeable lens camera for the first time because they want to capture those adorable moments with their pets—whether it’s a cat, a dog, or another animal—in truly beautiful images. After all, these memories are priceless. However, anyone who has tried photographing animals quickly realizes that it’s not as easy in practice as it might seem. More often than not, the results look quite different from what you had in mind.
The good news is that even a few basic tips can make a significant difference. Once you understand and apply some key techniques, you’ll notice how much more expressive and captivating your pet photos can become.
In this article, we’ll walk you through the essential basics of successful pet photography. We’ll also explore which lenses work best and how to capture great shots in different situations—at home, on a walk, or out in nature.
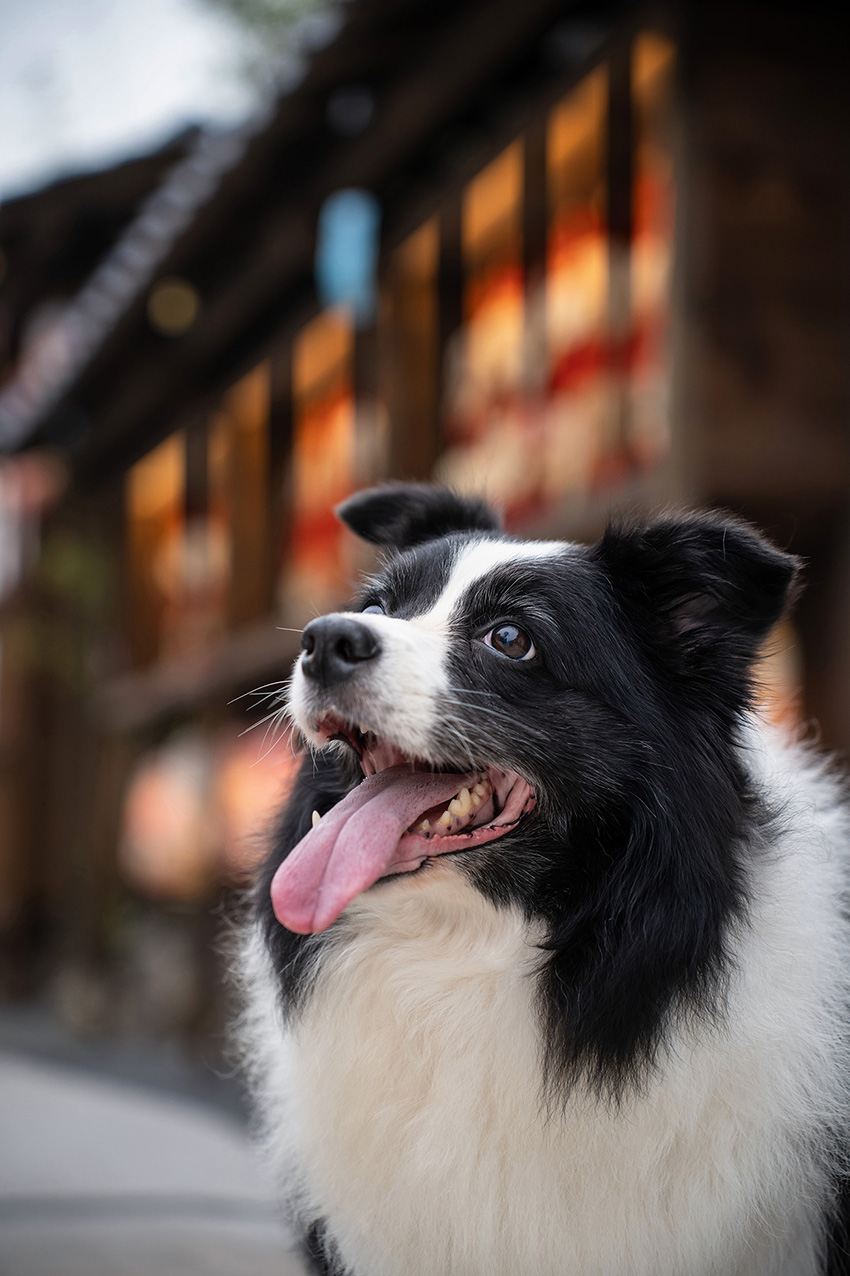
1. Focus on the eyes
If you want to capture your pet’s facial expression, you should always focus on the eyes.
This is because an animal’s face is three-dimensional. As a result, cameras often automatically focus on the tip of the nose or the ears—making the actual expression appear out of focus.
The best approach is:
Focus on the eye that is closest to the camera.
Set the focus slightly above the center of the eye.
This ensures that the entire facial expression remains sharp and looks more natural in the image.
Many modern cameras also feature an Eye AF function. This automatically detects the animal’s eye and focuses on it, making it much easier to capture those cute and expressive moments of your pet.
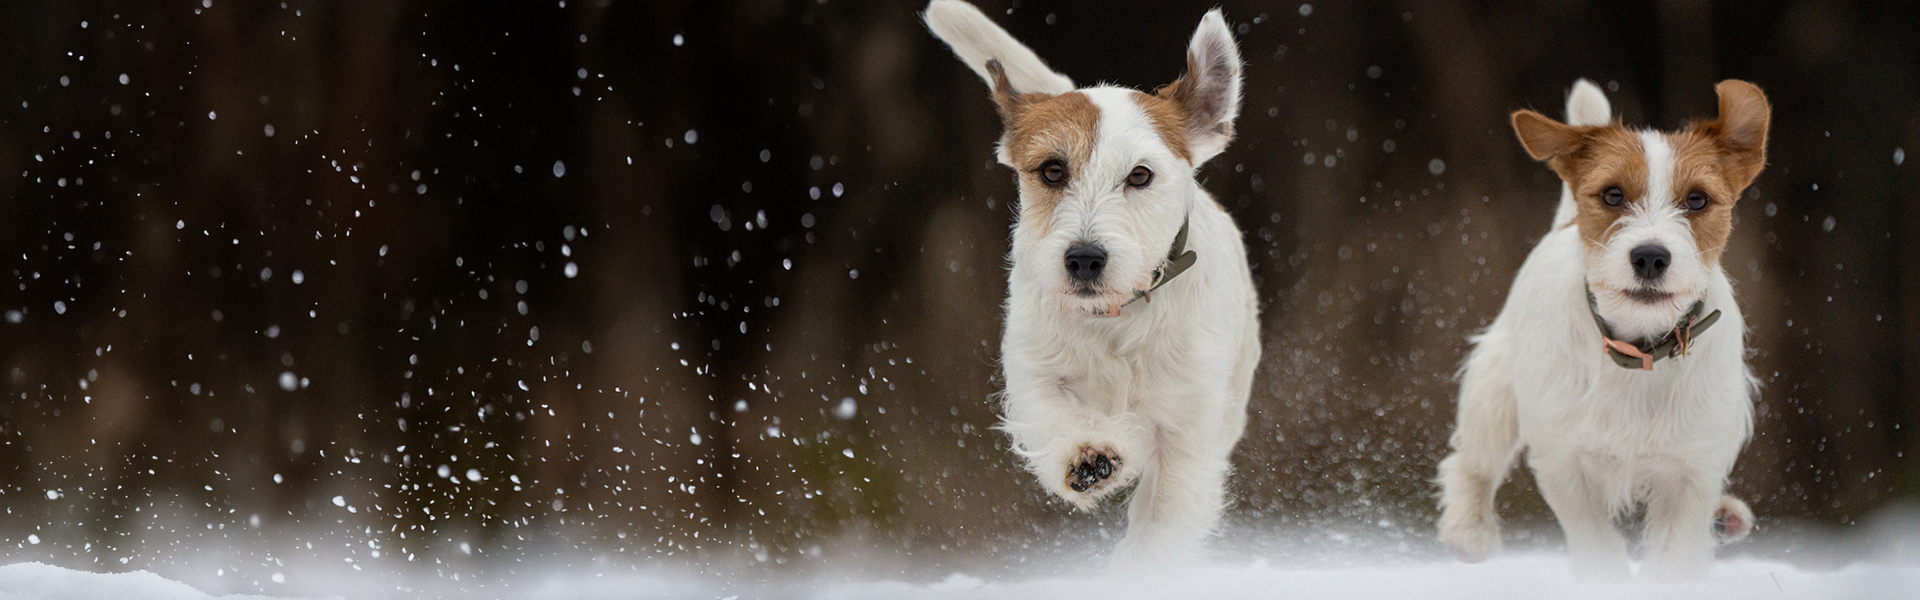
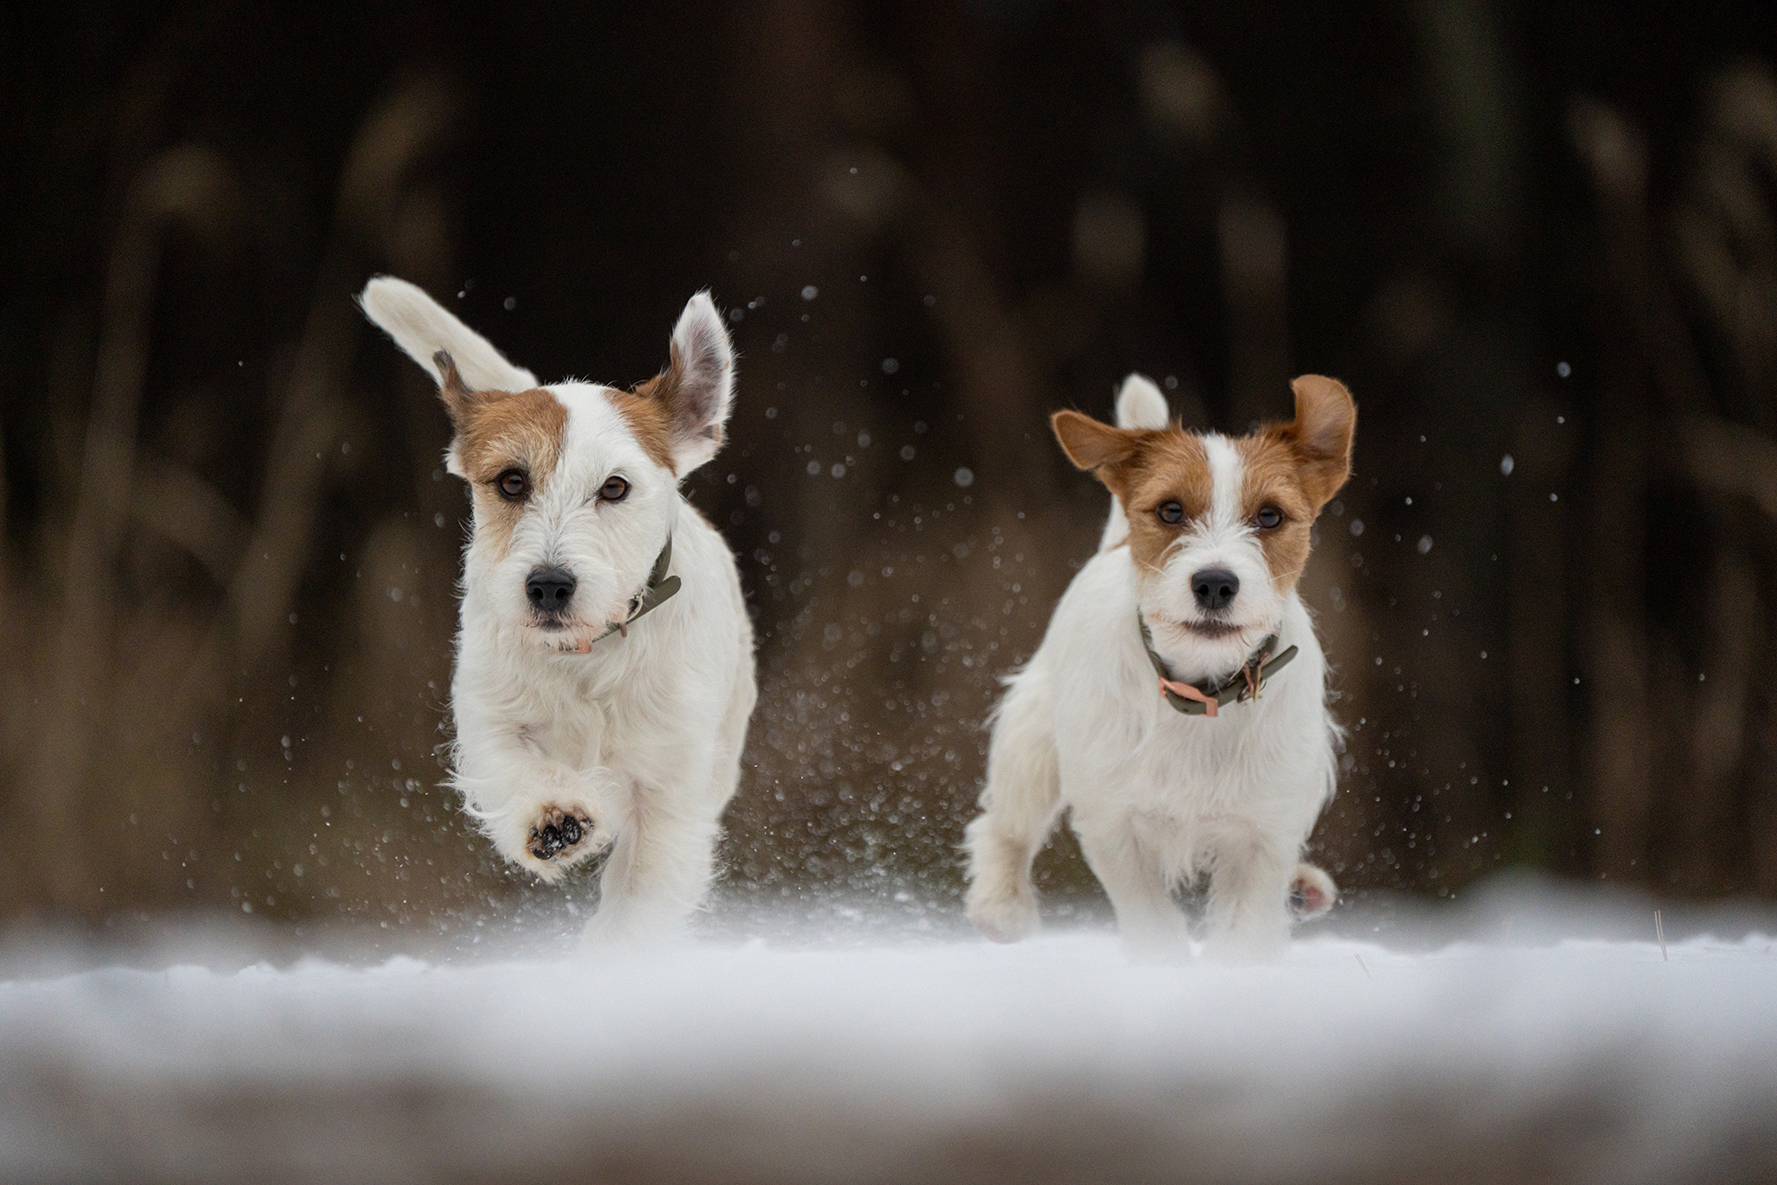
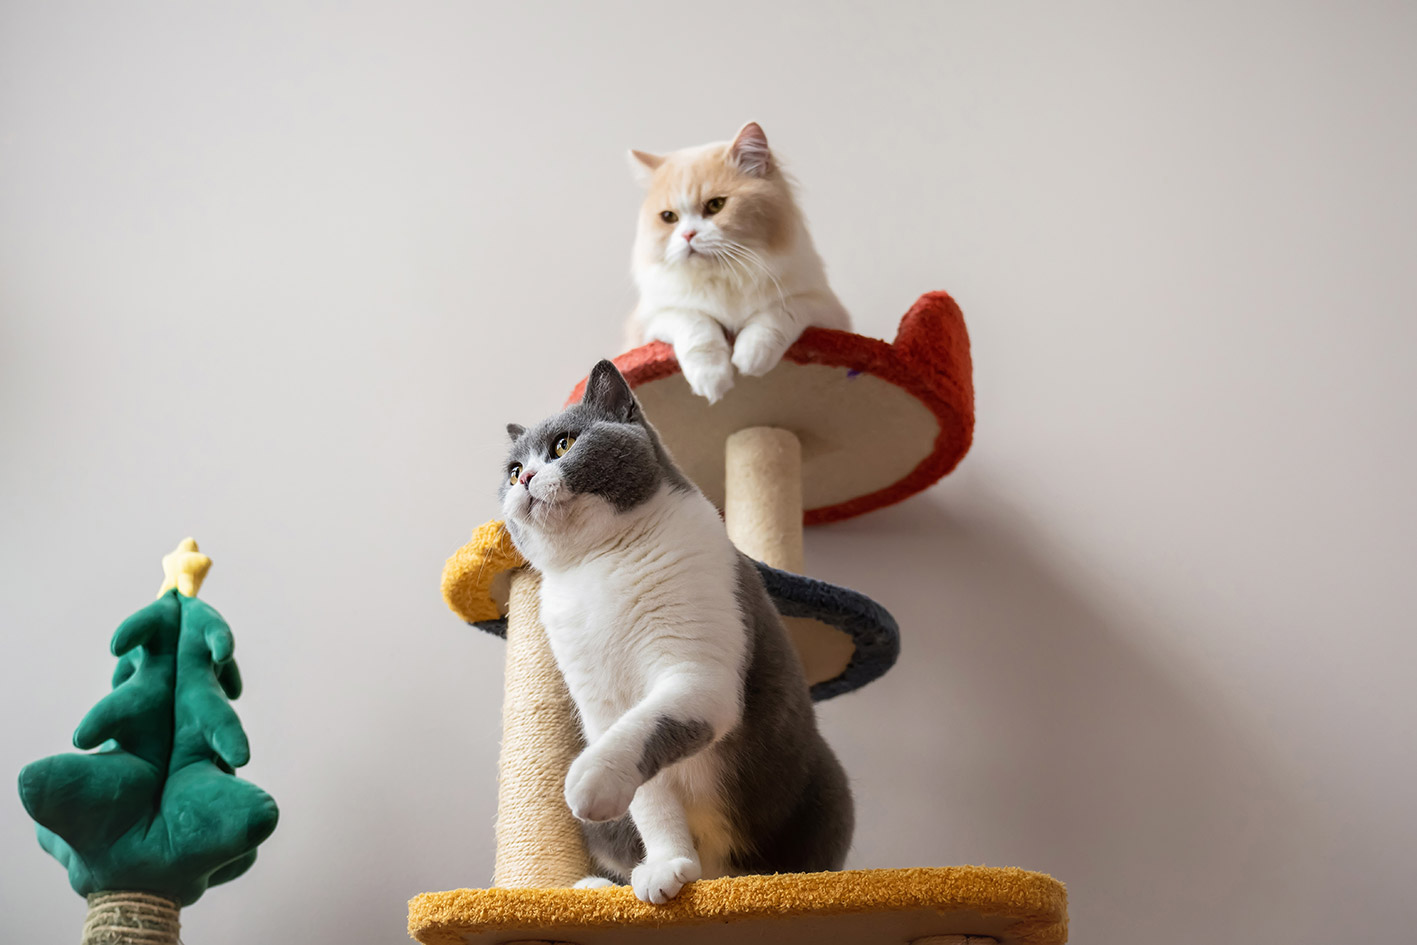
2. Shoot at Your Pet’s Eye Level
Another crucial factor is the position of the camera.
If you photograph your pet from above, the images often appear:
static
less dynamic
smaller in impact
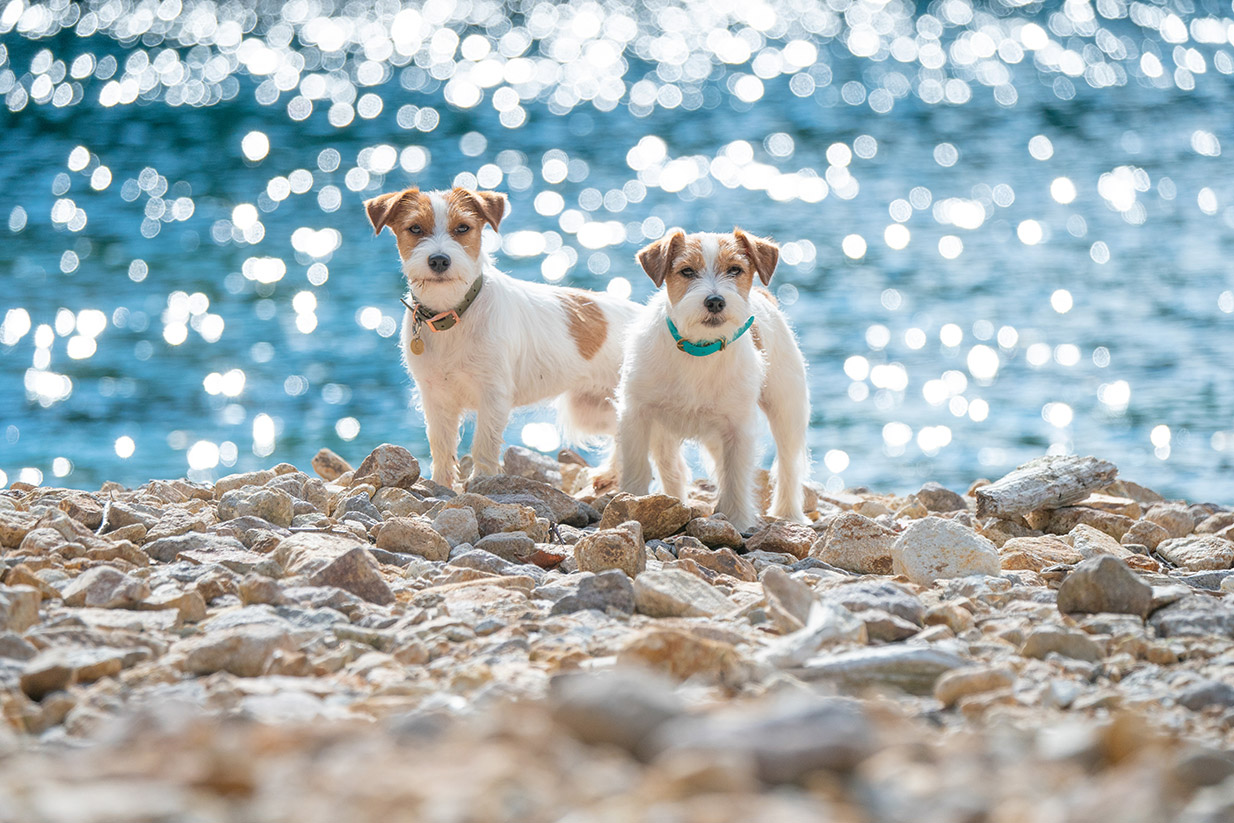
Photos become much more engaging when you get down to your pet’s eye level.
So don’t hesitate to crouch down or even lie on the ground. This instantly creates a much more immersive perspective.
You can also:
incorporate an interesting background
work with bokeh (background blur)
This makes your images look more lively and atmospheric.
Low-angle shots—taken from below looking up—can also create a very dynamic effect. So try out different perspectives to capture your pet’s best expression.
If your pet isn’t looking at the camera, you can grab its attention in various ways:
call its name
make a noise
clap your hands
A suitable background that matches your pet’s personality can also significantly enhance the image.
3. Play with Light – Front Light and Backlight
Light is one of the most important factors in photography.
Front light (direct light)
When light falls directly onto your pet from the front, the facial expression becomes clear and easy to see.
However, very strong light can cause your pet to squint. That’s why it’s worth experimenting with different angles or even shooting in the shade.
Backlight
With backlighting, the light comes from behind your subject.
This has several advantages:
your pet is less likely to squint
the fur gets a beautiful rim of light
the image often appears especially warm and atmospheric
However, the face can appear too dark, especially if the background is very bright. In such cases, you should increase the exposure compensation to ensure the face is properly exposed.
A particularly nice effect is what’s known as catchlights—small reflections of light in the eyes. They make your pet look more lively and expressive.
These are easier to achieve with front lighting, but you can also create them in backlit situations, for example by using:
reflective ground
a bright wall
other reflective surfaces
4. Setting Exposure and Background Blur Correctly
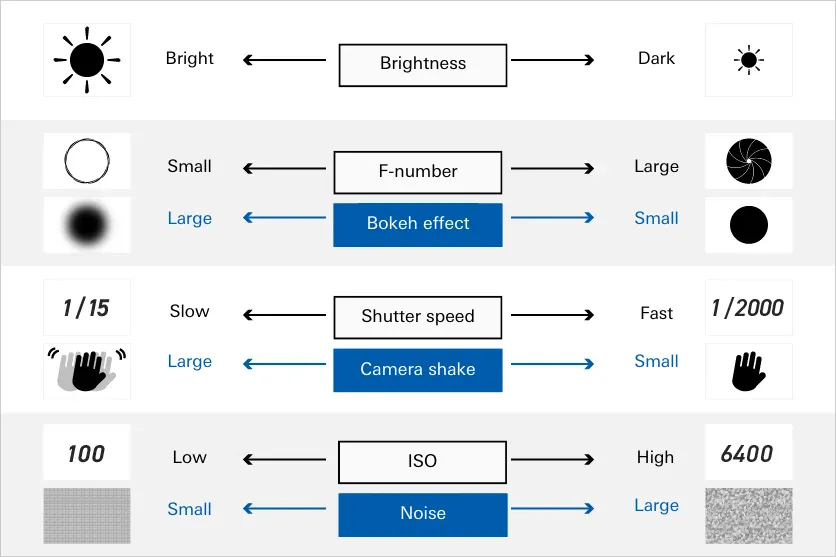
The brightness of a photo is determined by three factors:
aperture (f-stop)
shutter speed
ISO sensitivity
Since pets move a lot and their facial features are three-dimensional, you’ll often need to adjust these settings.
Aperture (f-stop)
The aperture controls how much light passes through the lens.
small f-number (e.g. f/1.8)
more light
strong background blur
large f-number (e.g. f/8)
less light
greater depth of field
If you want the typical look of an interchangeable lens camera—a sharp subject with a beautifully blurred background—you should choose a small aperture value.
However, with a very wide aperture, it can be more difficult to nail the focus precisely. That’s why it often helps to stop down the aperture slightly so the entire facial expression remains sharp.
Shutter Speed
Shutter speed determines how long light hits the sensor.
slow shutter speed (e.g. 1/50 s)
more light
but higher risk of motion blur
fast shutter speed (e.g. 1/1000 s)
less light
freezes motion
Since pets rarely sit still, a fast shutter speed is recommended.
Suggested guideline values:
1/250 – 1/500 s for calmer movements indoors
up to around 1/1000 s if your pet is running around
If the image becomes too dark, you can increase the ISO value.
ISO Sensitivity
ISO determines how much the camera signal is amplified.
high ISO → brighter image
but also more image noise
In good lighting conditions, you can usually shoot with a low ISO. Indoors or on cloudy days, you’ll often need to increase it.
This is especially true in situations such as:
living room
indoor dog parks
walks in bad weather
Exposure Modes
To shoot more efficiently, you can use different camera modes.
Aperture Priority (A / Av)
Ideal for portraits with beautiful background blur.
Shutter Priority (S / Tv)
Well suited for moving animals.
Manual Mode (M)
Maximum control over aperture and shutter speed.

5. Dynamic Shots with a Wide-Angle Lens
A wide-angle lens offers a large field of view and a high depth of field. This means that background elements remain clearly visible.
This makes it perfect for photos such as:
dogs on a wide open field
cats in the garden
animals in landscapes with flowers or fields
It also allows you to get closer to your pet while still capturing a lot of the surroundings.
Shots feel especially dynamic when taken:
from a low perspective
with trees or buildings in the background

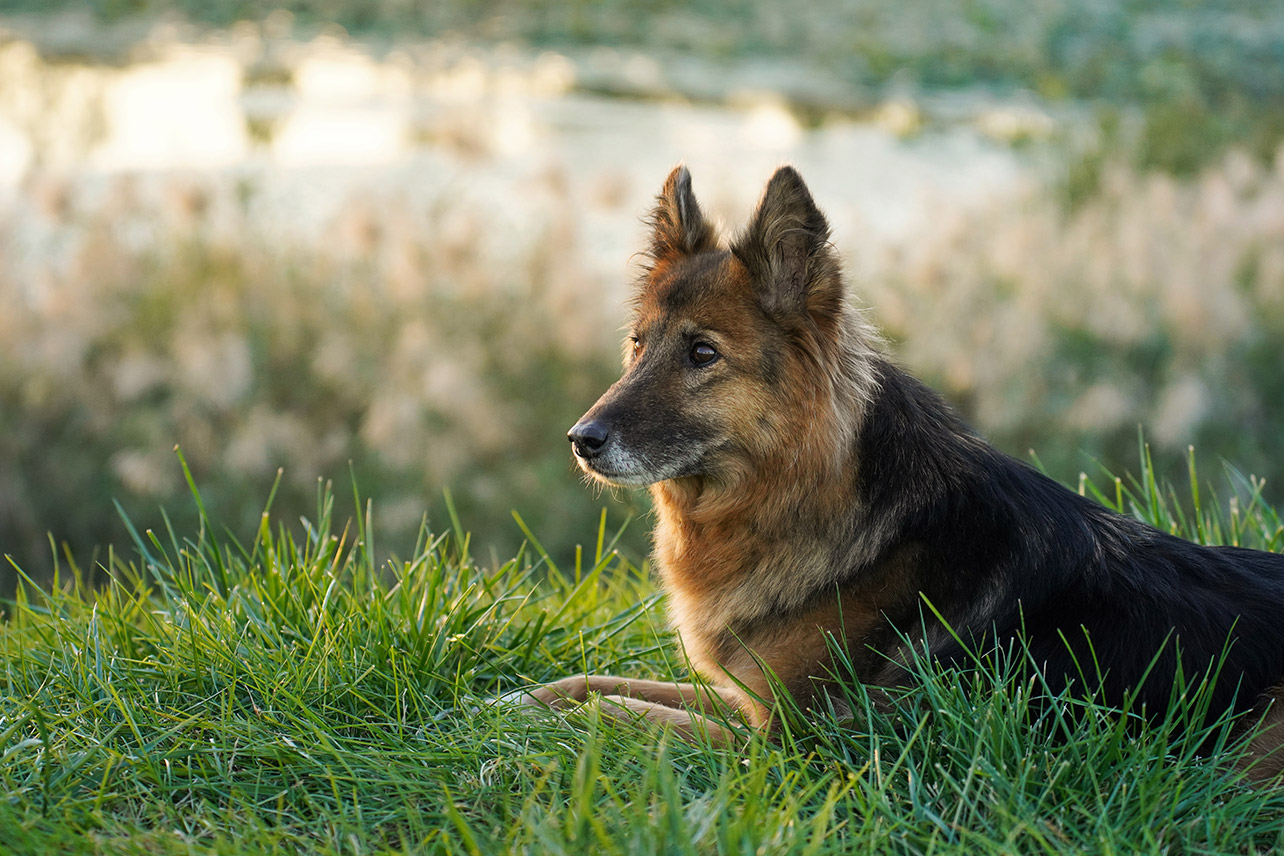
6. Expressive Portraits with a Telephoto Lens
A telephoto lens has a narrower angle of view and magnifies distant subjects.
This offers several advantages:
fine details in the face become more visible
fur textures appear clearer
you can shoot from a greater distance
Shy animals in particular feel more comfortable when you don’t get too close.
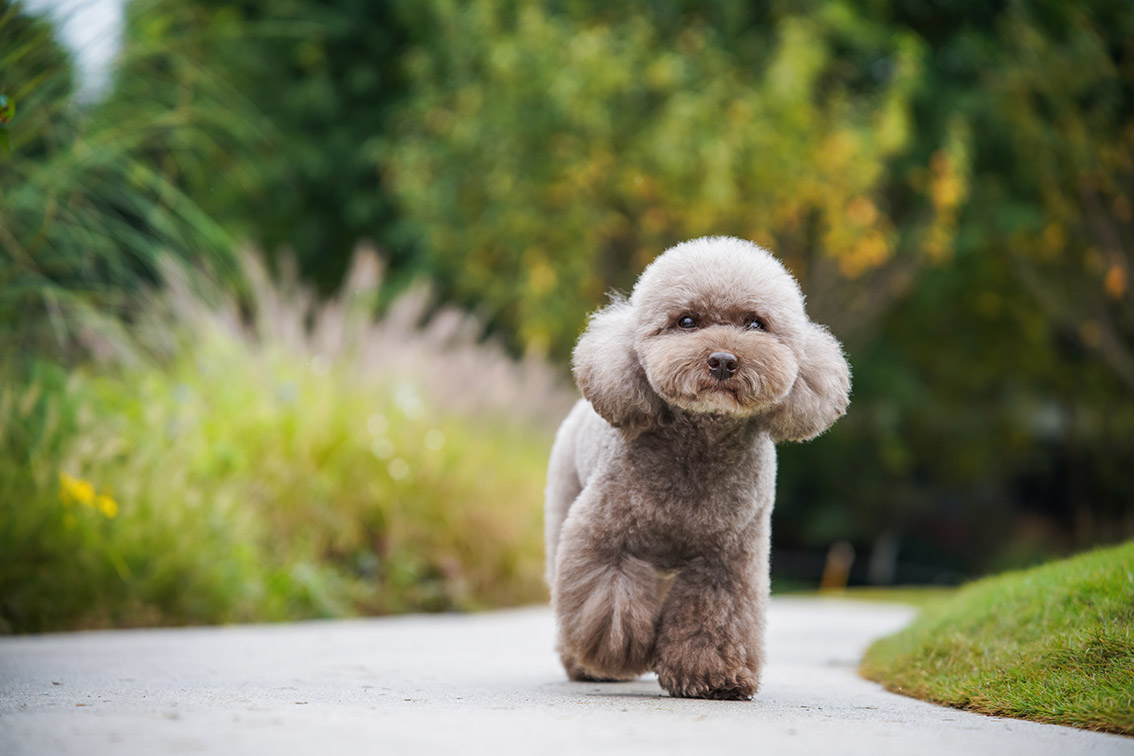
Telephoto lenses also create a compression effect, where the background appears closer. This results in especially beautiful portraits with strong bokeh.
Photo Tips for Different Situations
Our pets accompany us to many different places. That’s why it’s worth adapting your techniques depending on the environment.
Shooting at Home
The biggest challenge indoors is often a lack of light.
Tips:
shoot near a window
use a bright wall as a background
open the aperture as wide as possible
increase the ISO value
If your pet isn’t in the mood for photos, you can motivate it with:
toys
snacks or treats
Shooting on a Walk
Walks are perfect for capturing dynamic images.
Keep your camera as low as possible so you can shoot at eye level. Low-angle perspectives work especially well here.
Since animals are constantly moving, it can be difficult to capture the perfect moment.
That’s why you should use burst mode.
This allows you to take multiple shots in quick succession and choose the best one later.
Shooting in Nature
Natural environments offer fantastic opportunities for vibrant photos.
Examples:
animals in front of mountains or forests
photos by the water
pets in flower meadows
If your pet is running around a lot:
increase the shutter speed
use burst mode
With a telephoto lens, you can also create beautiful background blur.
Backlit shots outdoors can look especially dramatic. However, make sure to adjust the exposure so that the facial expression remains visible.
If the sunlight is too harsh, it’s better to shoot in the shade.
On cloudy days, the light is softer—perfect for natural and gentle pet portraits.
Choosing the Right Lens for Pet Photography
In addition to camera technique, the lens also plays a crucial role.
Here are a few key factors to consider.

Weight and Portability
When photographing pets, you often need to move around and react quickly.
A lightweight, compact lens is ideal because you can:
change your position more quickly
carry less weight around
Large Maximum Aperture
Lenses with a wide aperture (small f-number) offer several advantages:
more light in low-light conditions
faster shutter speeds possible
stronger bokeh
Autofocus and Image Stabilization
Animals are constantly moving. That’s why your lens should:
have fast autofocus
be able to track movement reliably
If your pet is sensitive to noise, a particularly quiet autofocus system is also worth considering.
Built-in image stabilization also helps reduce camera shake.
Minimum Focusing Distance
The minimum focusing distance determines how close you can get to your subject.
The shorter this distance, the closer you can get to your pet—perfect for:
detail shots
expressive portraits
Maximum Magnification
Maximum magnification describes how large an object appears in the image.
A higher magnification is ideal if you want to:
photograph small pets
capture highly detailed images
Weather Resistance
Durable lenses make everyday shooting easier.
Many lenses feature:
seals against moisture
protective coatings against dirt
This is especially useful when photographing pets—because sometimes your lens might get curiously sniffed… or even licked.
Conclusion: Create Stunning Pet Photos with These Tips
With the right techniques, you can capture your pet’s personality much more effectively.
Pay special attention to:
focusing on the eyes
shooting at eye level
creative use of light
proper exposure settings
choosing the right lens
A great starting point is to bring your camera down to your pet’s eye level and simply take lots of photos. With a bit of practice, you’ll create images that are not only technically strong but also full of genuine emotion.
TAMRON products mentioned in this article
28-75mm F/2.8 Di III VXD G2
Model A063
70-180mm F/2.8 Di III VC VXD G2
Model A065
16-30mm F/2.8 Di III VXD G2
Model A064
17-50mm F/4 Di III VXD
Model A068
70-300mm F/4.5-6.3 Di III RXD
Model A047
