
Apr 9, 2026
Focusing Correctly: The Most Common Focus Mistakes and Practical Solutions
Causes of Focus Problems and How to Fix Them
If you want to capture a subject clearly and sharply, correct focusing is essential. When using a camera with interchangeable lenses, focusing can become somewhat more complex—affected by autofocus settings, distance to the subject, and shooting angle. In this article, we cover the fundamental knowledge for proper focusing and provide tips for different shooting situations.

What Does “In Focus” Mean?
In photography, “in focus” means that the edges and details of the desired subject are rendered clearly and sharply. Technically, focus lies on a single plane, but in practice there is an area in front of and behind the focus point where the subject still appears sharp. This area is called depth of field.
Depth of field is influenced by factors such as aperture (f-stop), focal length, and shooting distance. A smaller aperture opening (higher f-number) increases depth of field, expanding the sharp area in front of and behind the focal plane. With telephoto lenses or when shooting very close to the subject, depth of field becomes shallower: the sharp area narrows, and the background appears more blurred.
It is important to note, however, that focusing is not always the “right” answer. Intentionally blurred areas can create specific moods or impressions. In portraits, for example, a blurred background or motion blur with moving subjects can produce artistic effects.
Motion blur occurs when the shutter speed is too slow and the subject moves during exposure, leaving a visible trail in the image.


Camera Shake or Motion Blur with Moving Subjects
Camera shake and motion blur are common issues usually related to shutter speed. A shutter speed that is too slow increases blur—therefore, it should always be chosen carefully.
A general rule:
Use a shutter speed faster than 1 / (focal length × 1.5) to reduce camera shake.
Example: With a 200mm telephoto lens, the shutter speed should be at least 1/300 second.
If you still notice blur, increase the shutter speed further.
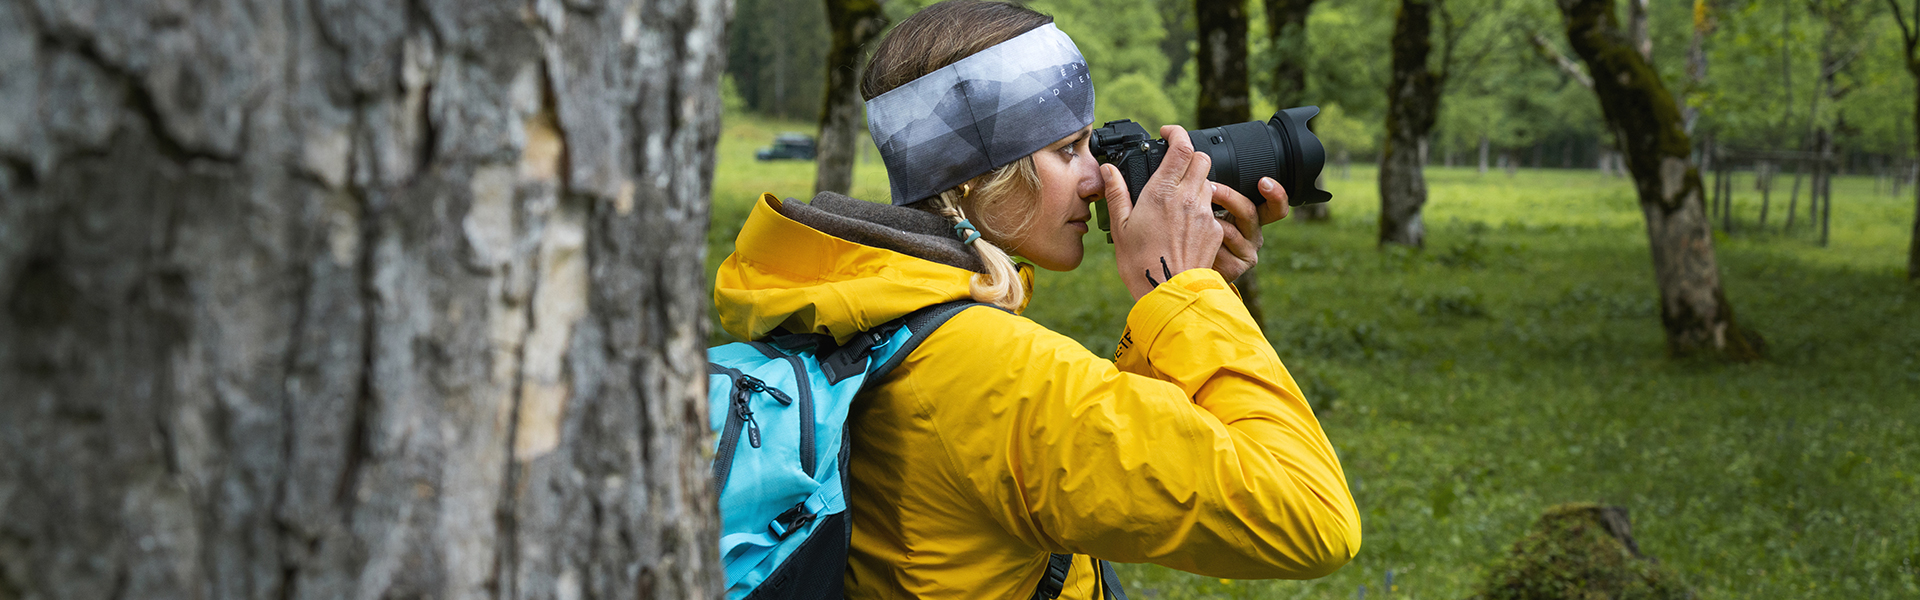
Proper camera handling is also important:
Hold the camera firmly with both hands, keep your elbows close to your body, and adopt a stable stance. Lean against a wall or pillar if possible.
For moving subjects, use continuous autofocus (AF-C) so the focus tracks the subject—ideal for sports and wildlife photography.

Too Close to the Subject
Lenses have a minimum focusing distance. If the subject is closer than this minimum distance, the camera cannot focus properly.
For close-up shots, use a lens with a short minimum focusing distance or a macro lens.
Also consider your shooting location: Using a telephoto lens in a small room may prevent you from keeping enough distance from the subject.
The autofocus has problems with certain subjects
Autofocus works well in many situations, but there are subjects that can cause problems. Low-contrast subjects—such as white walls or a cloudless blue sky—make it difficult for AF to lock on.
In such cases:
Look for areas with higher contrast
Use AF lock
Switch to manual focus (MF)
Autofocus may also struggle in very dark or strongly backlit scenes. If necessary, use an AF assist light or change your shooting angle.
How to Set Focus Effectively
Below are basic tips for precise focusing.

Adjust the AF Mode to the Situation
The choice of AF mode depends on the shooting situation. Common modes include:
Single AF (AF-S)
Ideal for stationary subjects. The focus locks once achieved—perfect for landscapes, still life, or macro photography.
Continuous AF (AF-C)
Continuously tracks subject movement. Essential for sports, animals, or any moving subjects.
Auto-Area AF
The camera automatically selects the focus subject. Useful for quick snapshots but not always reliable for precise compositions.
Choosing the Right AF Area Size
The AF area determines where the camera focuses. Important options include:
Spot AF
Focuses on a very small point—ideal for portraits, flowers, or animals.
Wide-Area AF
Scans the entire frame for a focus point. Practical for landscapes or spontaneous shots of children or pets.
Zone AF
A mix between spot and wide-area; ideal for sports, as it tracks movement within a defined area.
Face/Eye Detection
Automatically detects and focuses on faces and eyes—especially helpful for portraits and moving children.

Using Focus Lock
By half-pressing the shutter button, you can lock focus and then adjust your composition.
Example: In portraits, focus on the eyes first, half-press the shutter, then recompose.
With wide apertures or macro photography, slight angle changes can cause focus errors (cosine error).
Tips for Manual Focus (MF)
Manual focus is helpful when autofocus struggles or when you want to create creative bokeh.
Mirrorless cameras often offer automatic magnification or focus peaking.
When focusing manually:
Imagine searching for the point of maximum sharpness (“peak”) and adjust slightly back and forth.
Examples of Focus Adjustments in Different Scenes
Portraits
Focus on the eyes
Ideally use Eye AF
Wide apertures (f/2–f/2.8) for strong background blur
If focusing is difficult: stop down slightly
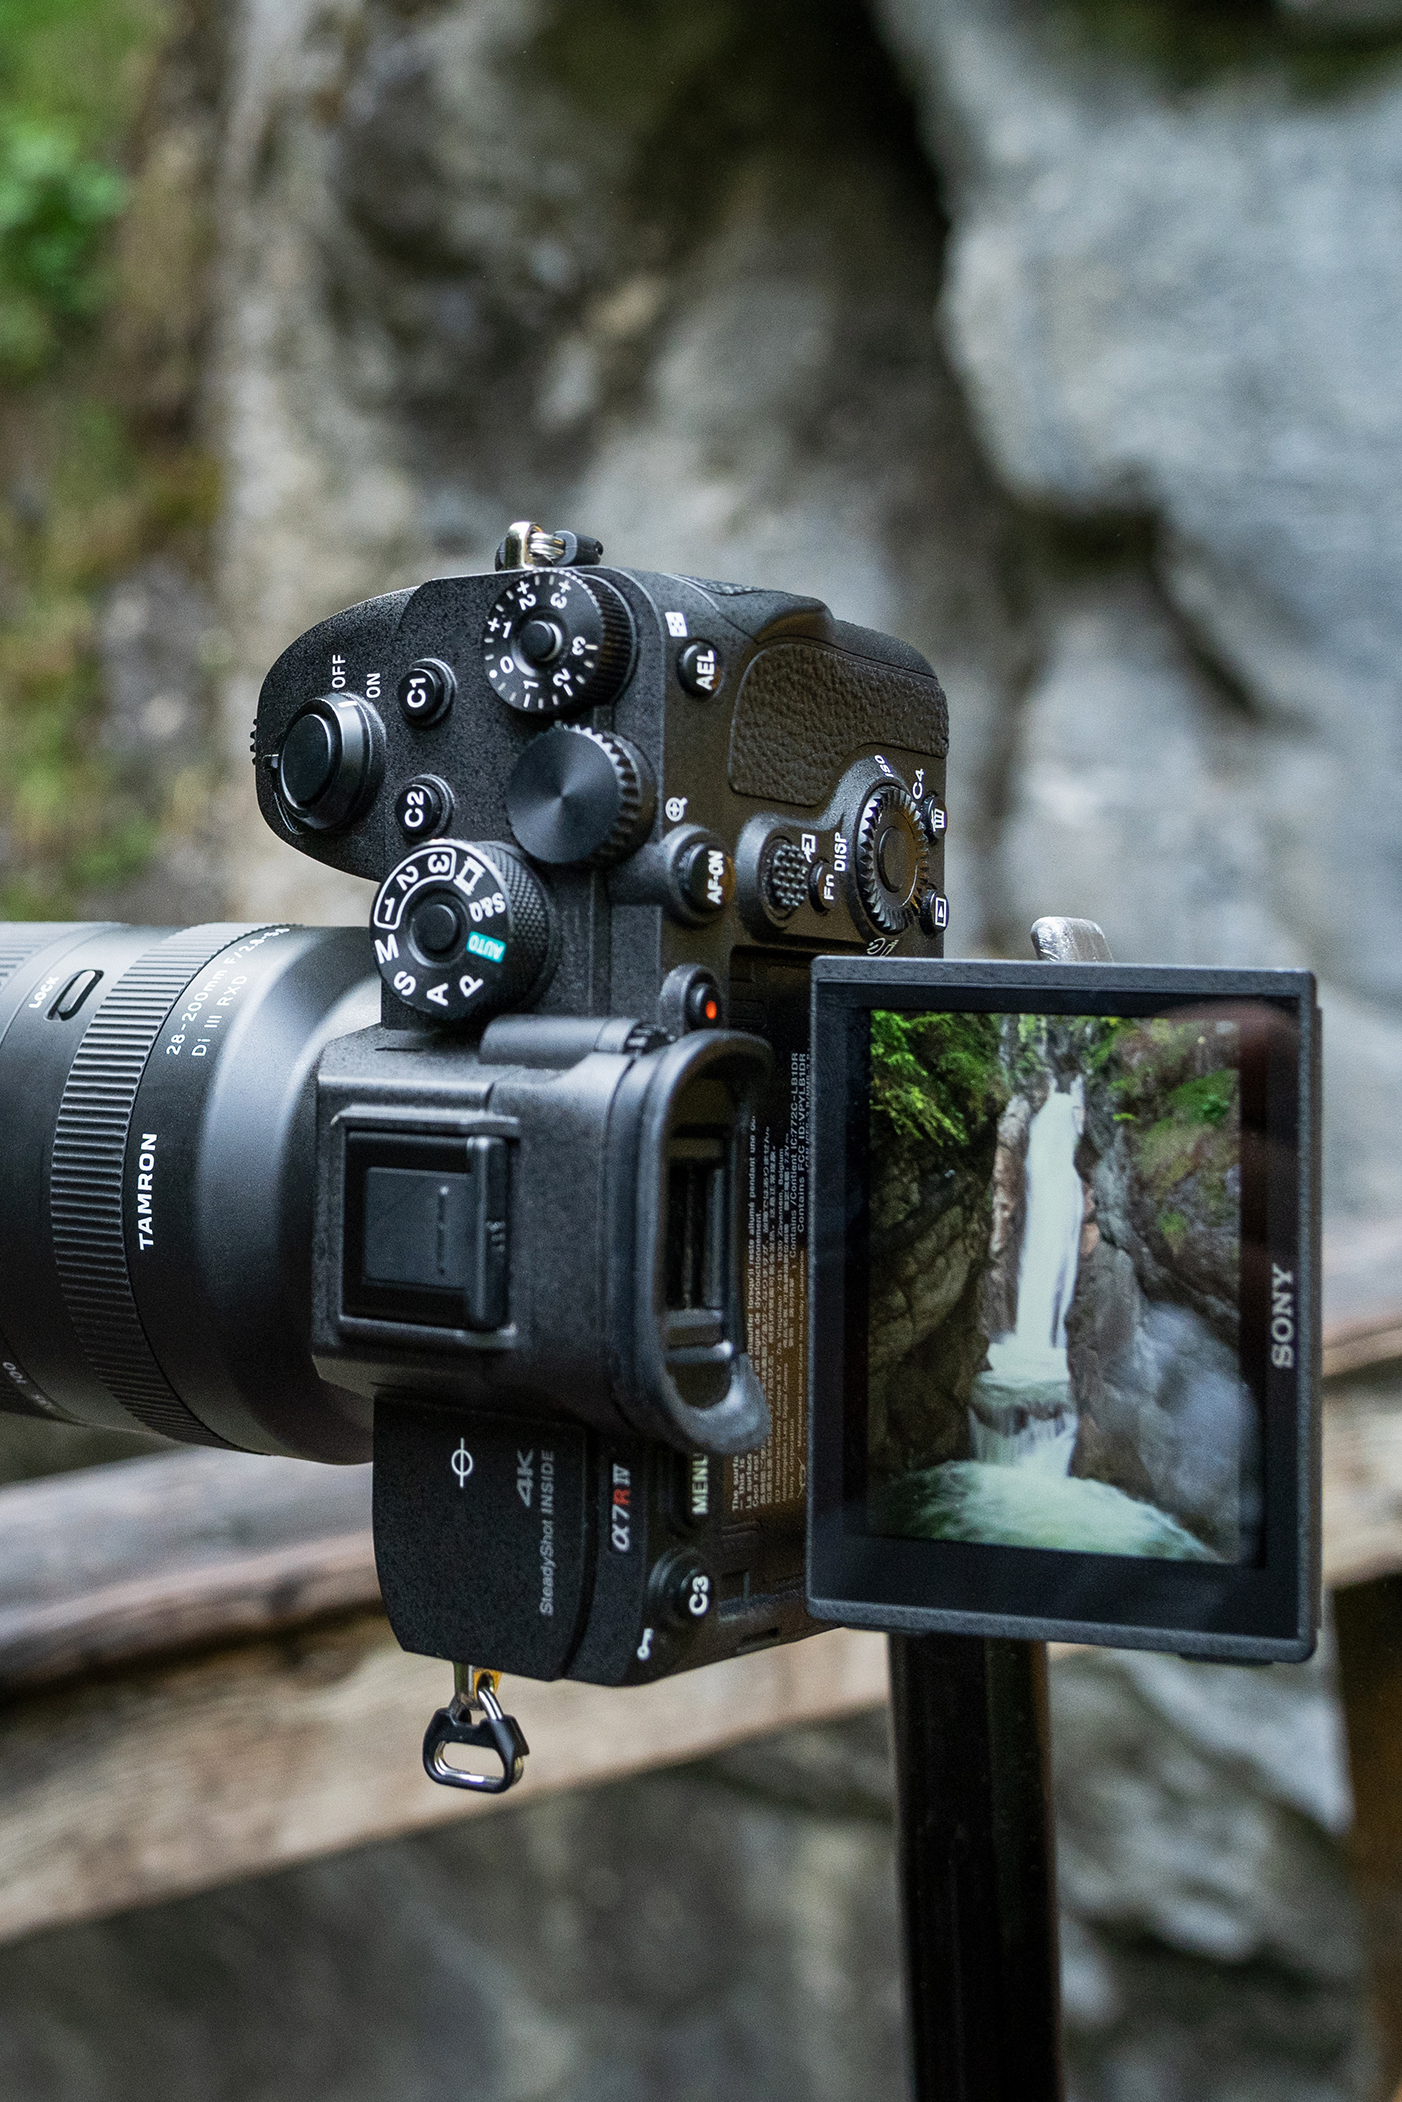
Landscape
Aperture f/8 to f/11 for greater depth of field
Best used with a tripod and Live View
Sports
Use Continuous AF
Spot AF for individual actions, Zone AF for team sports
Activate burst mode
Low Light
Focus on high-contrast areas
If necessary, switch to manual focus
Close-Up / Macro
Very shallow depth of field
Stop down slightly
Manual focus is often more precise
Use a tripod and magnification

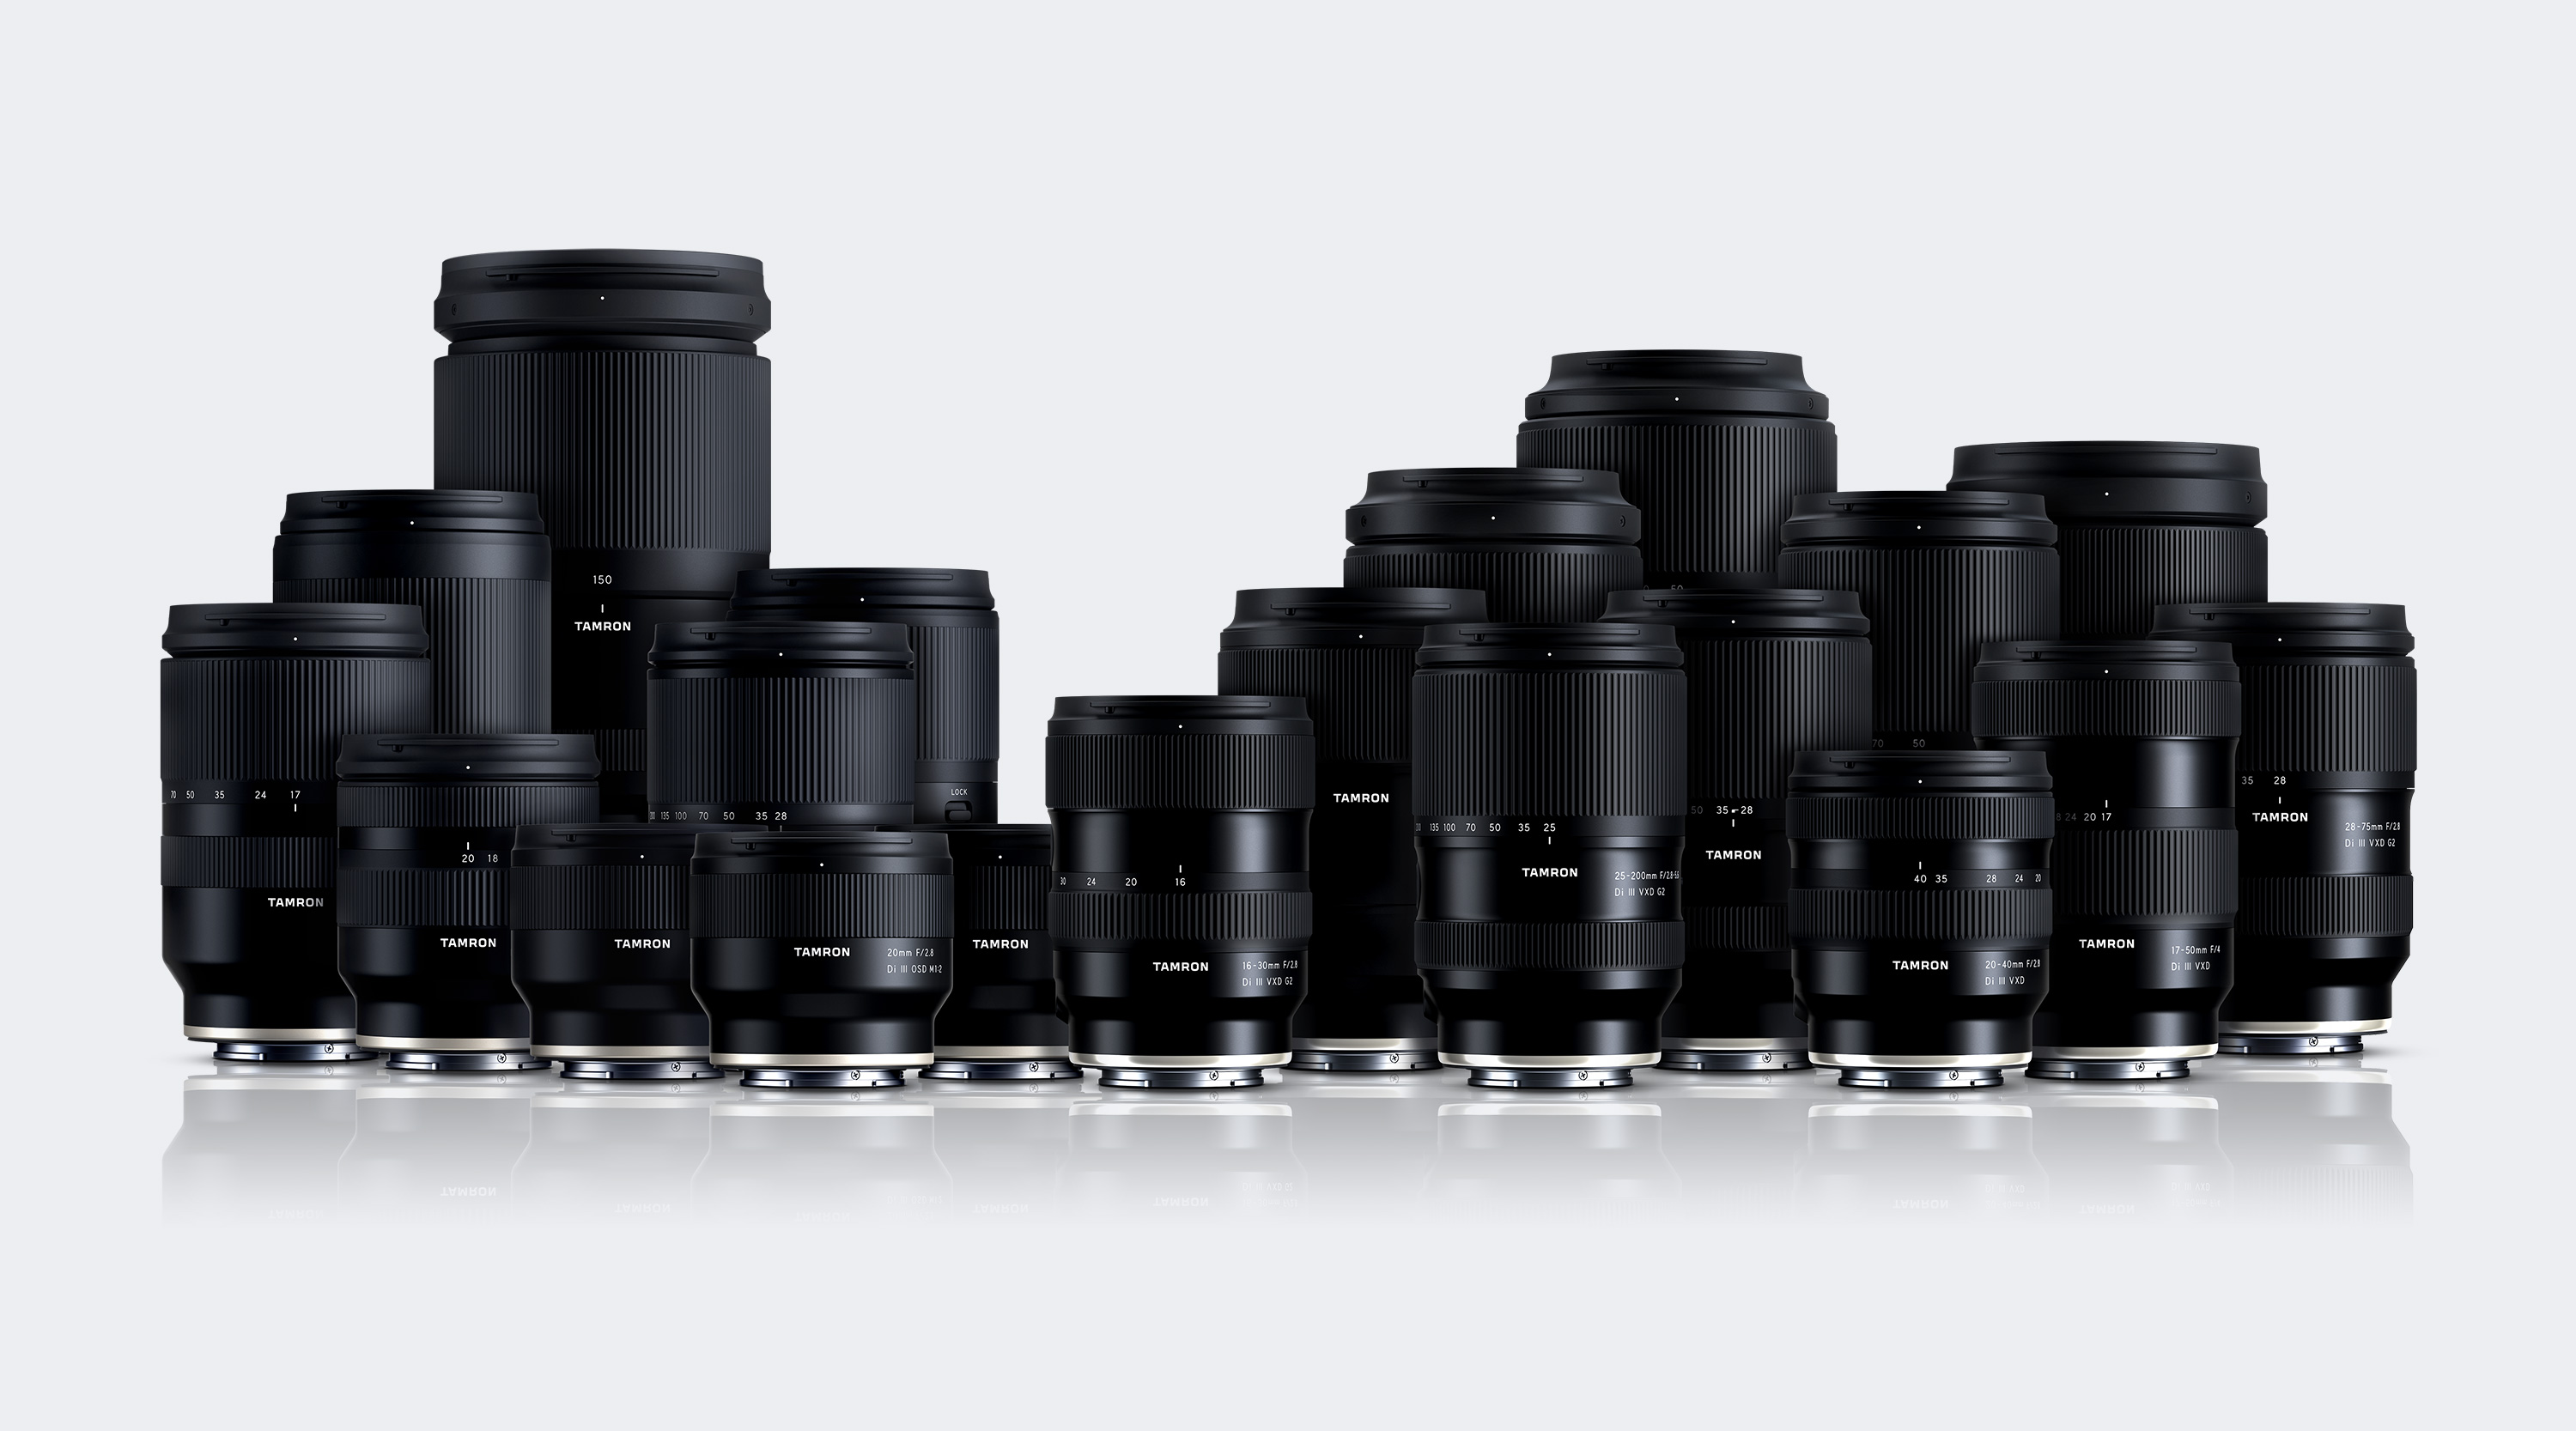
Choosing the Right Lens
The type of lens determines depth of field, focus performance, and overall image effect.
Prime vs. Zoom
Prime lenses:
Better light-gathering ability
High sharpness
Require changing position
Zoom lenses:
More flexible
Ideal in limited spaces or with moving subjects
Focal Length
Wide-angle (≤ 35mm): Large depth of field, ideal for landscapes
Standard (50mm): Natural angle of view
Telephoto (> 80mm): Strong background separation, ideal for portraits and distant subjects
Aperture
Fast lenses (small f-numbers) create stronger background blur and perform better in low light.
AF Performance
Especially important for sports, animals, or children.
Mastering Focus in Different Situations
Focusing is a fundamental photographic skill. With the right understanding of AF modes and focusing strategies, you can master any scene. Theory is helpful—but practice is what ultimately leads to clean and confident focus control.

TAMRON Lens Utility™
The TAMRON Lens Utility™ is software that lets you customize lens functions and update firmware for TAMRON lenses with a USB Type-C Connector Port – via computer or Android smartphone. By personalizing the settings to your shooting style, you can make photography even more enjoyable.
