3 nov 2026
Portrait Photography: Tips and Settings for Expressive Portraits
Good portraits come together when three things are right: suitable light, precise focus on the eyes, and an atmosphere in which the photographed person feels comfortable.
Camera settings support these three points – but they do not replace them.
As a reliable starting point for a calm single portrait, choose A/Av mode, aperture F2.8, a shutter speed of at least 1/200 second, Auto ISO and eye autofocus. If the person is moving, 1/500 second or faster is usually the better choice. For several people, stop down to F4–F8, depending on how many rows you are photographing.
These values are not fixed rules. Focal length, shooting distance, movement and available light change the appropriate setting. This guide explains how to adjust the values deliberately and create better portraits with light, background, perspective and communication.
Portrait photography settings at a glance
Important: The figures are starting values. After the first shots, check focus, histogram and highlights – especially on bright skin, the forehead and cheeks.
Which camera settings are suitable for portraits?
The right portrait photography settings depend above all on whether the person is still or moving, how much light is available, and how large the sharply rendered area should be. Therefore, do not start by choosing a particular numerical value; decide first what must be sharp in the image and how you want the background to look.
A/Av or manual mode?
For calm portraits in changing daylight, aperture priority A/Av is particularly practical. You choose the desired aperture while the camera adjusts the shutter speed. If your camera offers the function, set a minimum shutter speed and a sensible ISO limit.
With movement or constant light, manual mode with Auto ISO is often clearer: you determine aperture and shutter speed, while the camera compensates for brightness changes through ISO. Nevertheless, check regularly that the face is correctly exposed.
Which aperture is suitable for portrait photography?
For a single face, F2–F2.8 is a good starting point. The background becomes soft while, with accurate focus, there is still enough room for sharp eyes. An even wider aperture can look attractive, but it greatly reduces depth of field. If the person turns their head slightly, only one eye may already be sharp.
For two people, F2.8–F4 is often suitable. Place both faces at a similar distance from the camera if possible. For a group in one row, F4–F5.6 is usually sensible; for several rows, often F5.6–F8. Arrangement, distance and focal length matter – not simply the number of people.
We explain in detail how aperture, light quantity, and depth of field are related in the TAMRON guide What Is Aperture?

How can I choose a shutter speed that prevents blurry portraits?
Even a person standing still moves: they breathe, blink or change expression. Therefore, 1/200 or 1/250 second is a more robust starting point for many handheld portraits than a very long exposure. When walking, turning or laughing energetically, 1/500 to 1/1000 second is sensible.
With longer focal lengths, an even faster shutter speed may be necessary to avoid camera shake. Image stabilization can compensate for camera movement – but it cannot freeze movement of the photographed person.
Which ISO value is right?
Do not insist on the lowest possible ISO if that makes the shutter speed too slow. A sharp image with moderate noise is generally more usable than a blurred image at ISO 100. Auto ISO is particularly helpful when you can define a minimum shutter speed.
With constant studio light, you can usually keep ISO low. Outdoors or near a window, it may rise as the light decreases. The key is a sufficiently bright exposure without blowing out important areas of skin.
Where should the focus be?
In a classic portrait, focus on the eye closest to the camera. Use your camera’s eye or face detection. With a still person, single AF works well; with movement, AF-C/continuous autofocus is the better choice.
With very shallow depth of field, avoid strongly recomposing after focusing. This can shift the plane of focus. Instead, move the AF point or use eye detection. If the hit rate is too low, stop down slightly and inspect individual images enlarged.
For more solutions to blurry images, unsuitable AF points, and focusing issues, check out the article Focusing Correctly: The Most Common Focusing Errors and Practical Solutions.
Exposure and white balance
Bright windows, sky or backlighting can make the face appear too dark. In A/Av, use positive exposure compensation if necessary and check the histogram or highlight warning. Make sure bright skin areas still retain detail.
Automatic white balance often works well in daylight. For a series under consistent light, a fixed white balance produces more uniform skin tones.
If possible, shoot in RAW so that exposure and color can be corrected more flexibly later.
Which focal length is suitable for portraits?
The right focal length depends on how much of the surroundings you want to show and how much space is available. Important: Focal length alone does not change facial perspective; your distance from the person is the main factor. For the same framing, a longer focal length means moving further back, which usually makes facial proportions look calmer.
On an APS-C camera, the angle of view is narrower. A 50 mm lens gives, depending on the system, approximately the angle of view of a 75–80 mm lens on full frame. For actual perspective, however, your shooting distance remains decisive.
You can find detailed sample photos illustrating short, medium, and long focal lengths in the TAMRON article The Role of Focal Length in Portrait Photography.
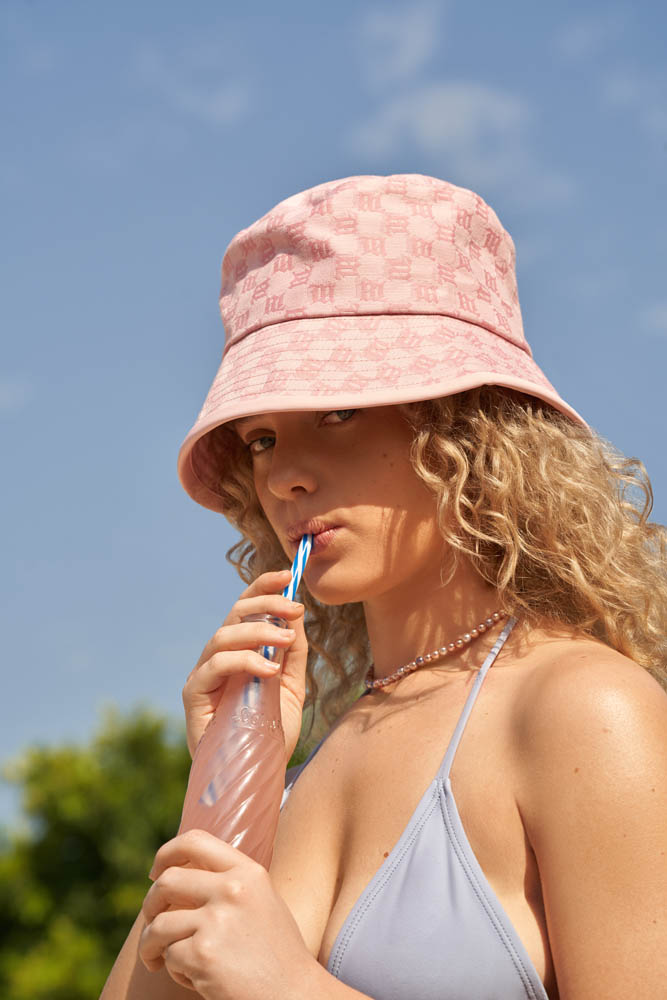
12 portrait photography tips for better portraits
1. Define an image idea before the shoot
Think about the mood you want: friendly and bright, calm and reserved, or contrasty and dramatic. A small mood board with light, colors, clothing and framing helps everyone develop the same vision.
2. Look for soft, directional light
A large window, open shade or an overcast sky are ideal starting points. Soft light reduces hard shadows; directional light shapes the face. Make sure light is reflected in the eyes – these catchlights make the gaze look more lively.
3. Use the golden hour deliberately
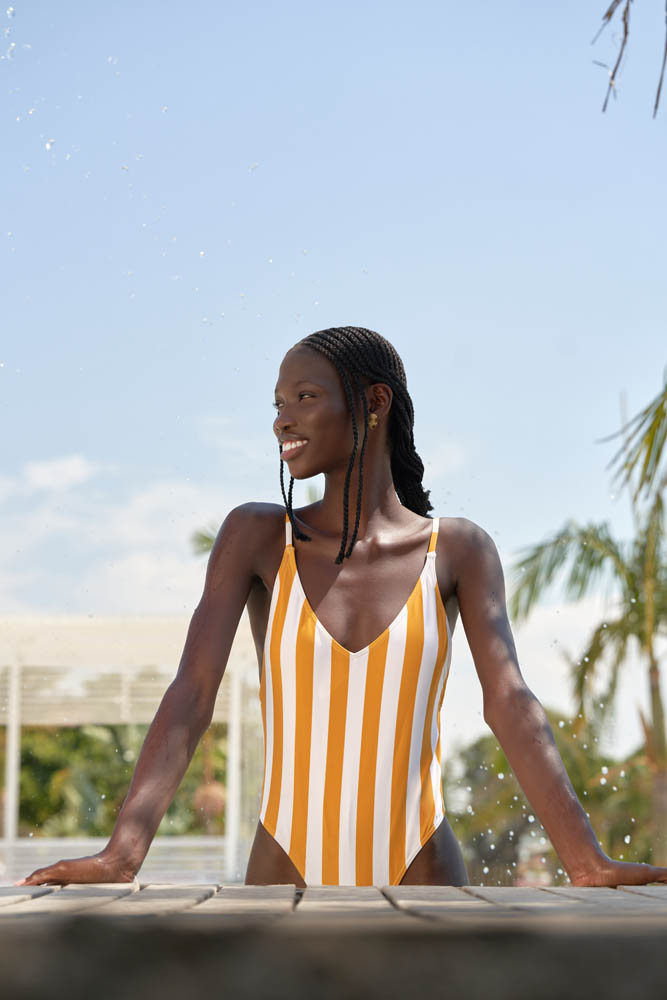
Shortly after sunrise or before sunset, the light is warm and low. Position the sun to the side or slightly behind the person and expose for the face. In strong backlight, a reflector or bright wall can gently lift the shadows.
4. Design the background first
Remove distracting objects, bright spots and lines that appear to grow out of the head. Even a small step to the side can calm the image. The greater the distance between person and background, the easier it is to render the background out of focus.
5. Focus reliably on the eyes
Activate eye autofocus and check that the camera has detected the nearer eye. With movement, use AF-C. If the person remains still, single AF is possible. A slightly stopped-down aperture improves the hit rate when the head is angled toward the camera.
6. Choose perspective and camera height deliberately
Eye level is a neutral and often flattering starting point. A slightly higher or lower position can change the effect, but should suit the person and the image idea. Avoid getting too close for tight facial shots, otherwise nearby facial features can become exaggerated.
7. Give movement tasks instead of rigid poses
Let the person slowly walk toward you, shift their weight, look over their shoulder or adjust a jacket. Small actions look more natural than complicated posing instructions and create transitional moments with authentic expression.
8. Pay attention to hands, shoulders and chin
Relaxed shoulders, visible hands and a natural posture make a big difference. Ask the person to move the chin slightly forward and minimally downward instead of pulling it in. Also check whether fingers are awkwardly cropped or hands are tense.
9. Communicate while photographing
Briefly explain what you are planning and give concrete, positive guidance. Conversation and short breaks help reduce tension. Occasionally show a successful image – not every shot – so the person gains confidence.
10. Photograph a complete series
Start with a wider image, move to a half-length portrait and then a head portrait. Vary portrait and landscape orientation, gaze direction and expression. This creates choice without taking hundreds of almost identical photos at random.
11. Check edges and crops
Do not accidentally crop arms or legs directly at joints. Check hair, clothing, jewelry and the area behind the person. Small distractions are quicker to fix before the shot than later in retouching.
12. Retouch skin tones with restraint
Adjust exposure, white balance and contrast first. Remove only temporary skin blemishes and preserve natural texture. A portrait rarely looks better when skin is completely smoothed or eyes and teeth are unnaturally brightened.
Which TAMRON lenses are suitable for portraits?
A good portrait lens does not have to be a prime lens. A fast zoom lets you adjust framing and focal length quickly without interrupting a relaxed situation through frequent lens changes.
Do not decide based on maximum aperture alone. Room size, shooting distance, weight and the type of portraits you make are at least as important. For an environmental portrait, 35 mm can be ideal, while tight head portraits are often easier at 85–180 mm.
If you want to work with controlled lighting in the studio, the article Studio Portrait Photography: How to Find Your Perfect Light shows you a simple setup using key light, fill light, and edge light.
Common portrait photography mistakes
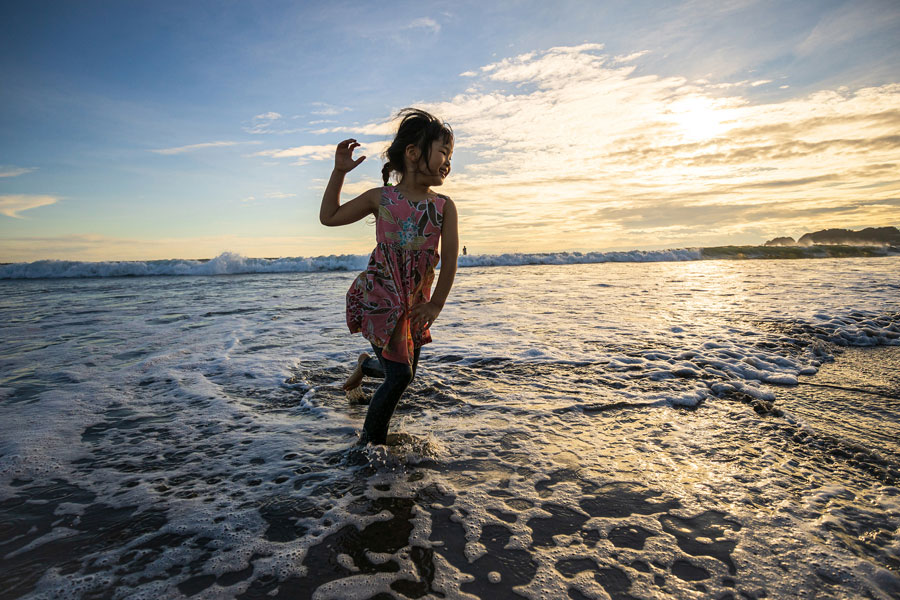
For quickly moving children, shorter shutter speeds and a flexible workflow are also useful. You can find more tips in our article Child Photography Tips: Camera Settings for Sharp, Natural Photos
Frequently asked questions about portrait photography

Conclusion: Technique creates confidence, the person makes the portrait
With an appropriate aperture, sufficiently fast shutter speed and precise eye focus, you create the technical foundation for successful portraits. Images become expressive through light, background, perspective and a good connection with the person being photographed.
Start with a few reliable settings and then deliberately change one factor at a time. This quickly shows how aperture, distance, focal length and light change the look of a portrait – and helps you develop your own style step by step.
TAMRON products mentioned in this article
35-150mm F/2-2.8 Di III VXD
Model A058
70-180mm F/2.8 Di III VC VXD G2
Model A065
28-75mm F/2.8 Di III VXD G2
Model A063
35-100mm F/2.8 Di III VXD
Model A078