

Jan 16, 2025 / Vera Wohlleben
Tips for Perfect Product Photography
Tips for Perfect Product Photography
Whether you’re running an online store, selling at an auction platform, or showcasing products on social media, high-quality photos make all the difference. Even amateur photographers can get creative with product photography and achieve professional-looking results with simple tools.
These tips are designed for amateur and semi-professional photographers who want to take impressive product photos with minimal equipment. All you need is a basic understanding of camera settings and an image editing program like Adobe Lightroom.
1. Prepare the Product
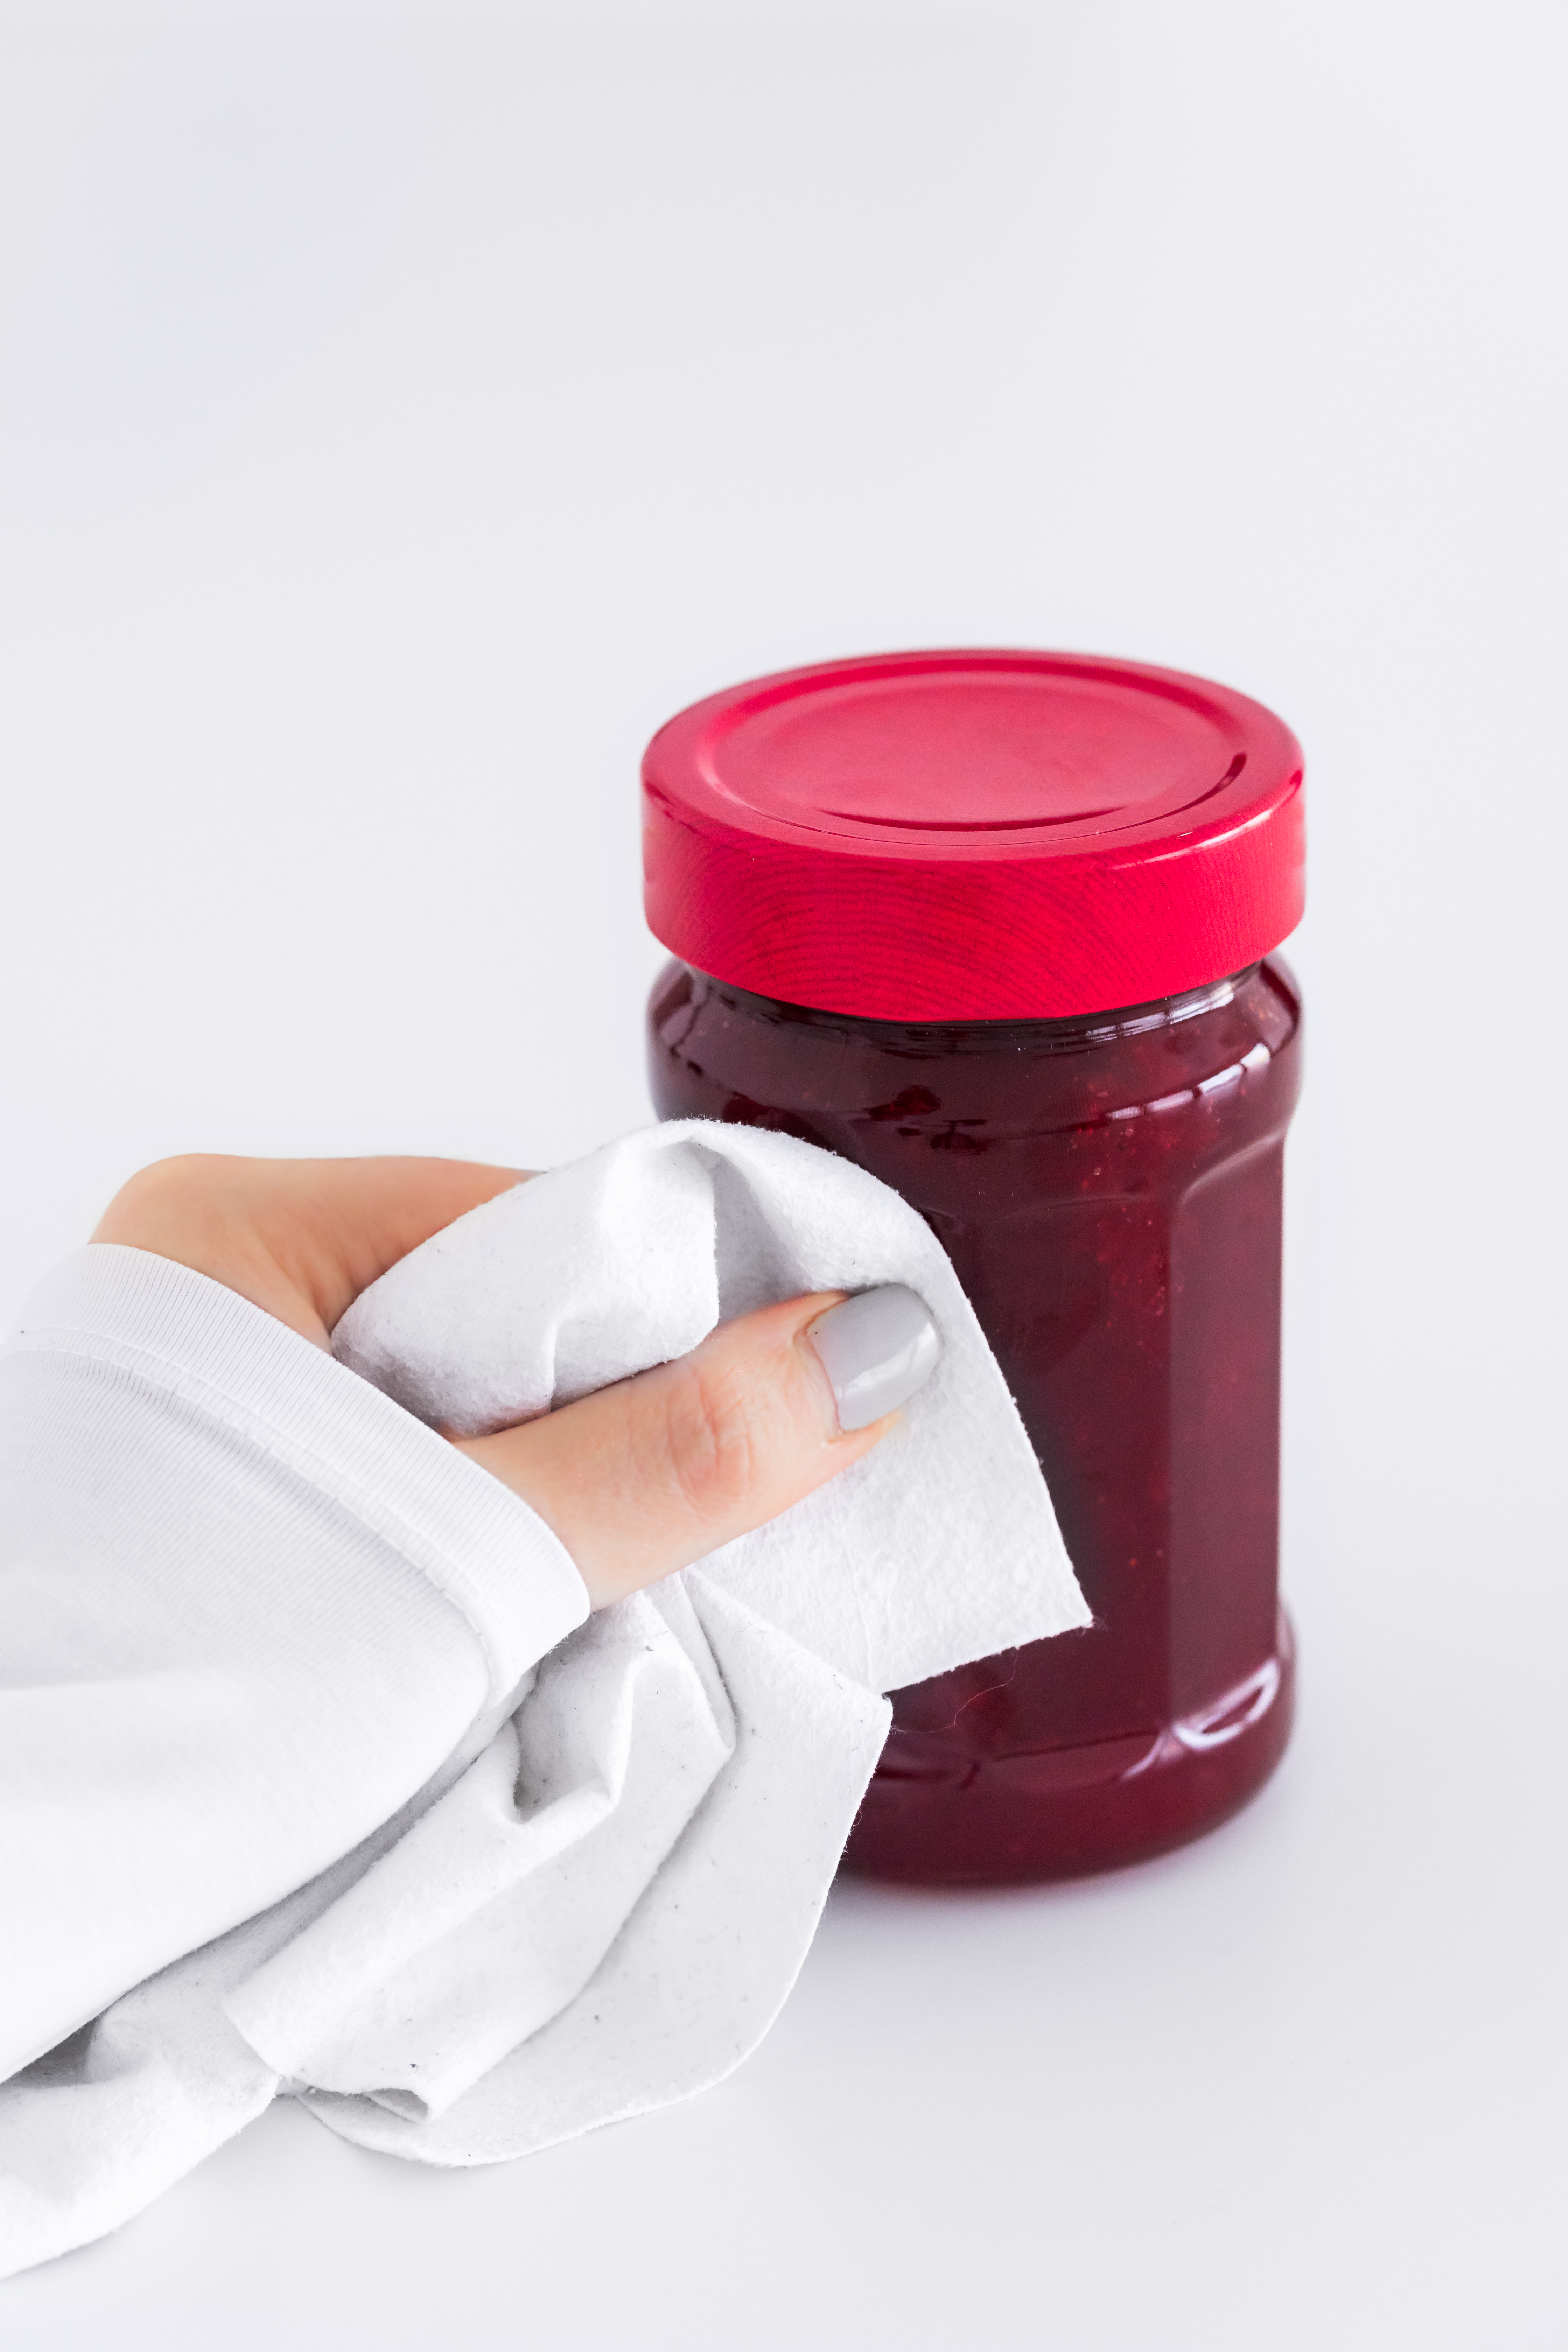
A clean product is the foundation of a great photo. Remove dust and smudges beforehand to minimize post-processing time.
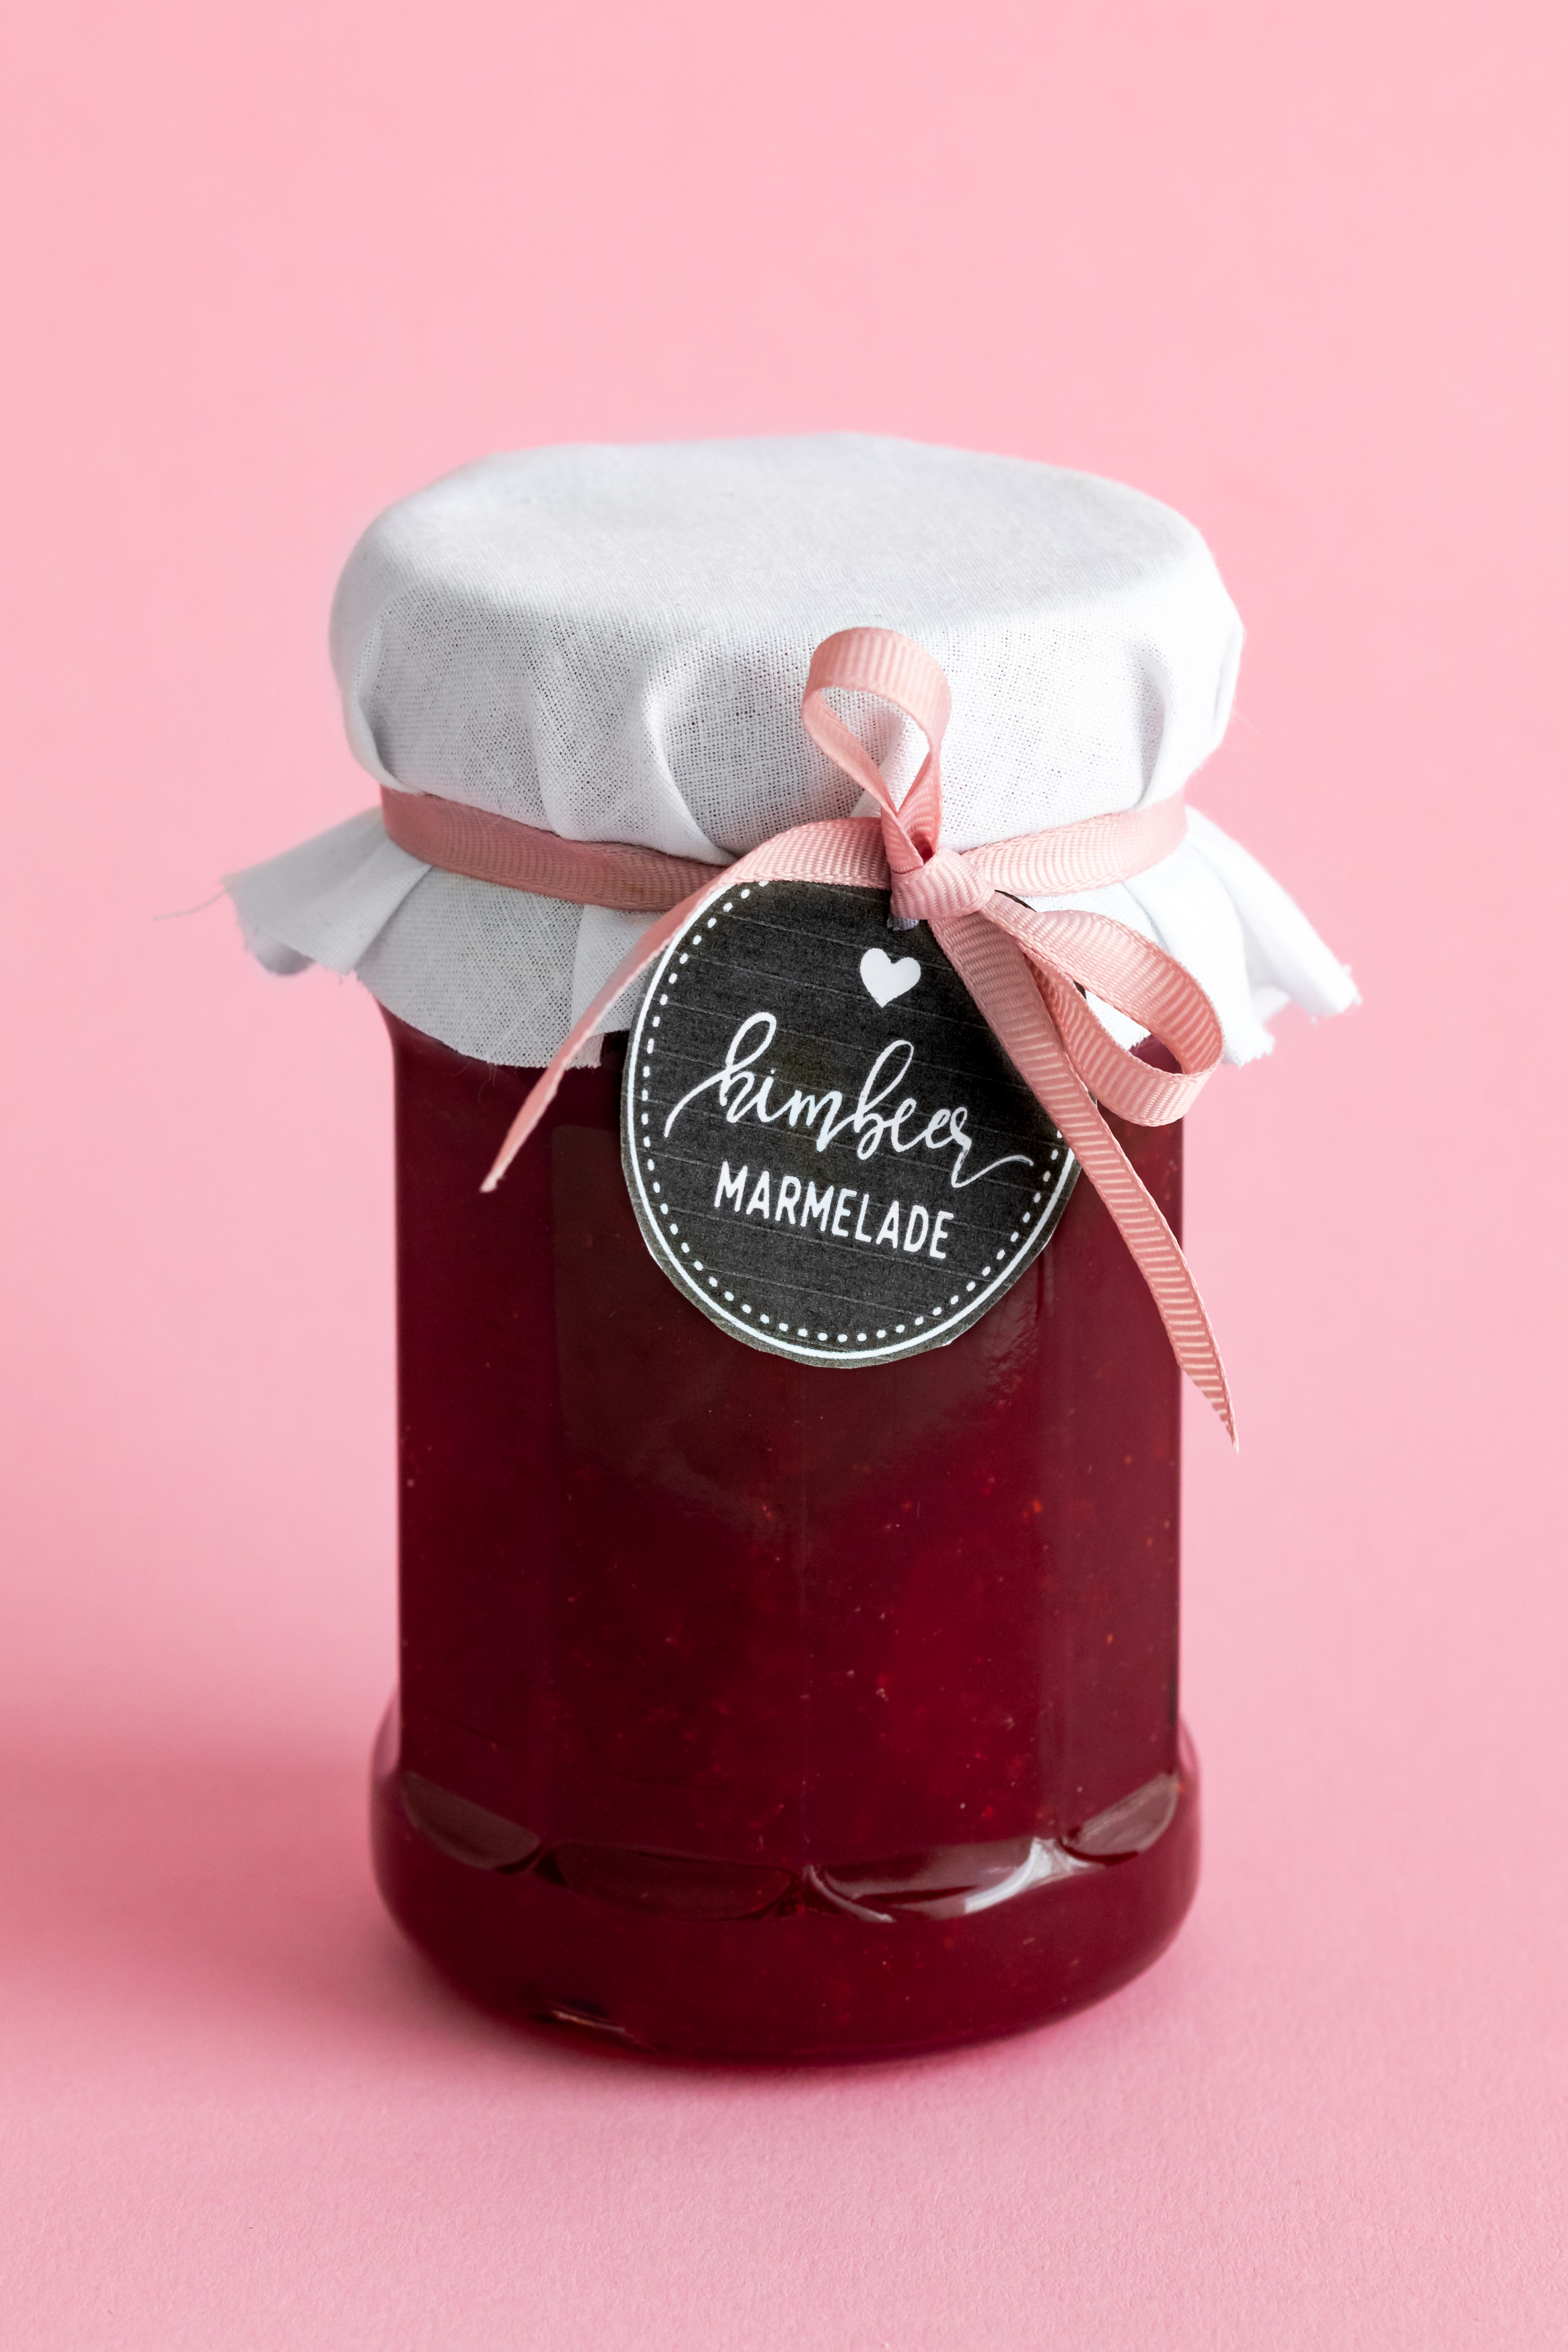
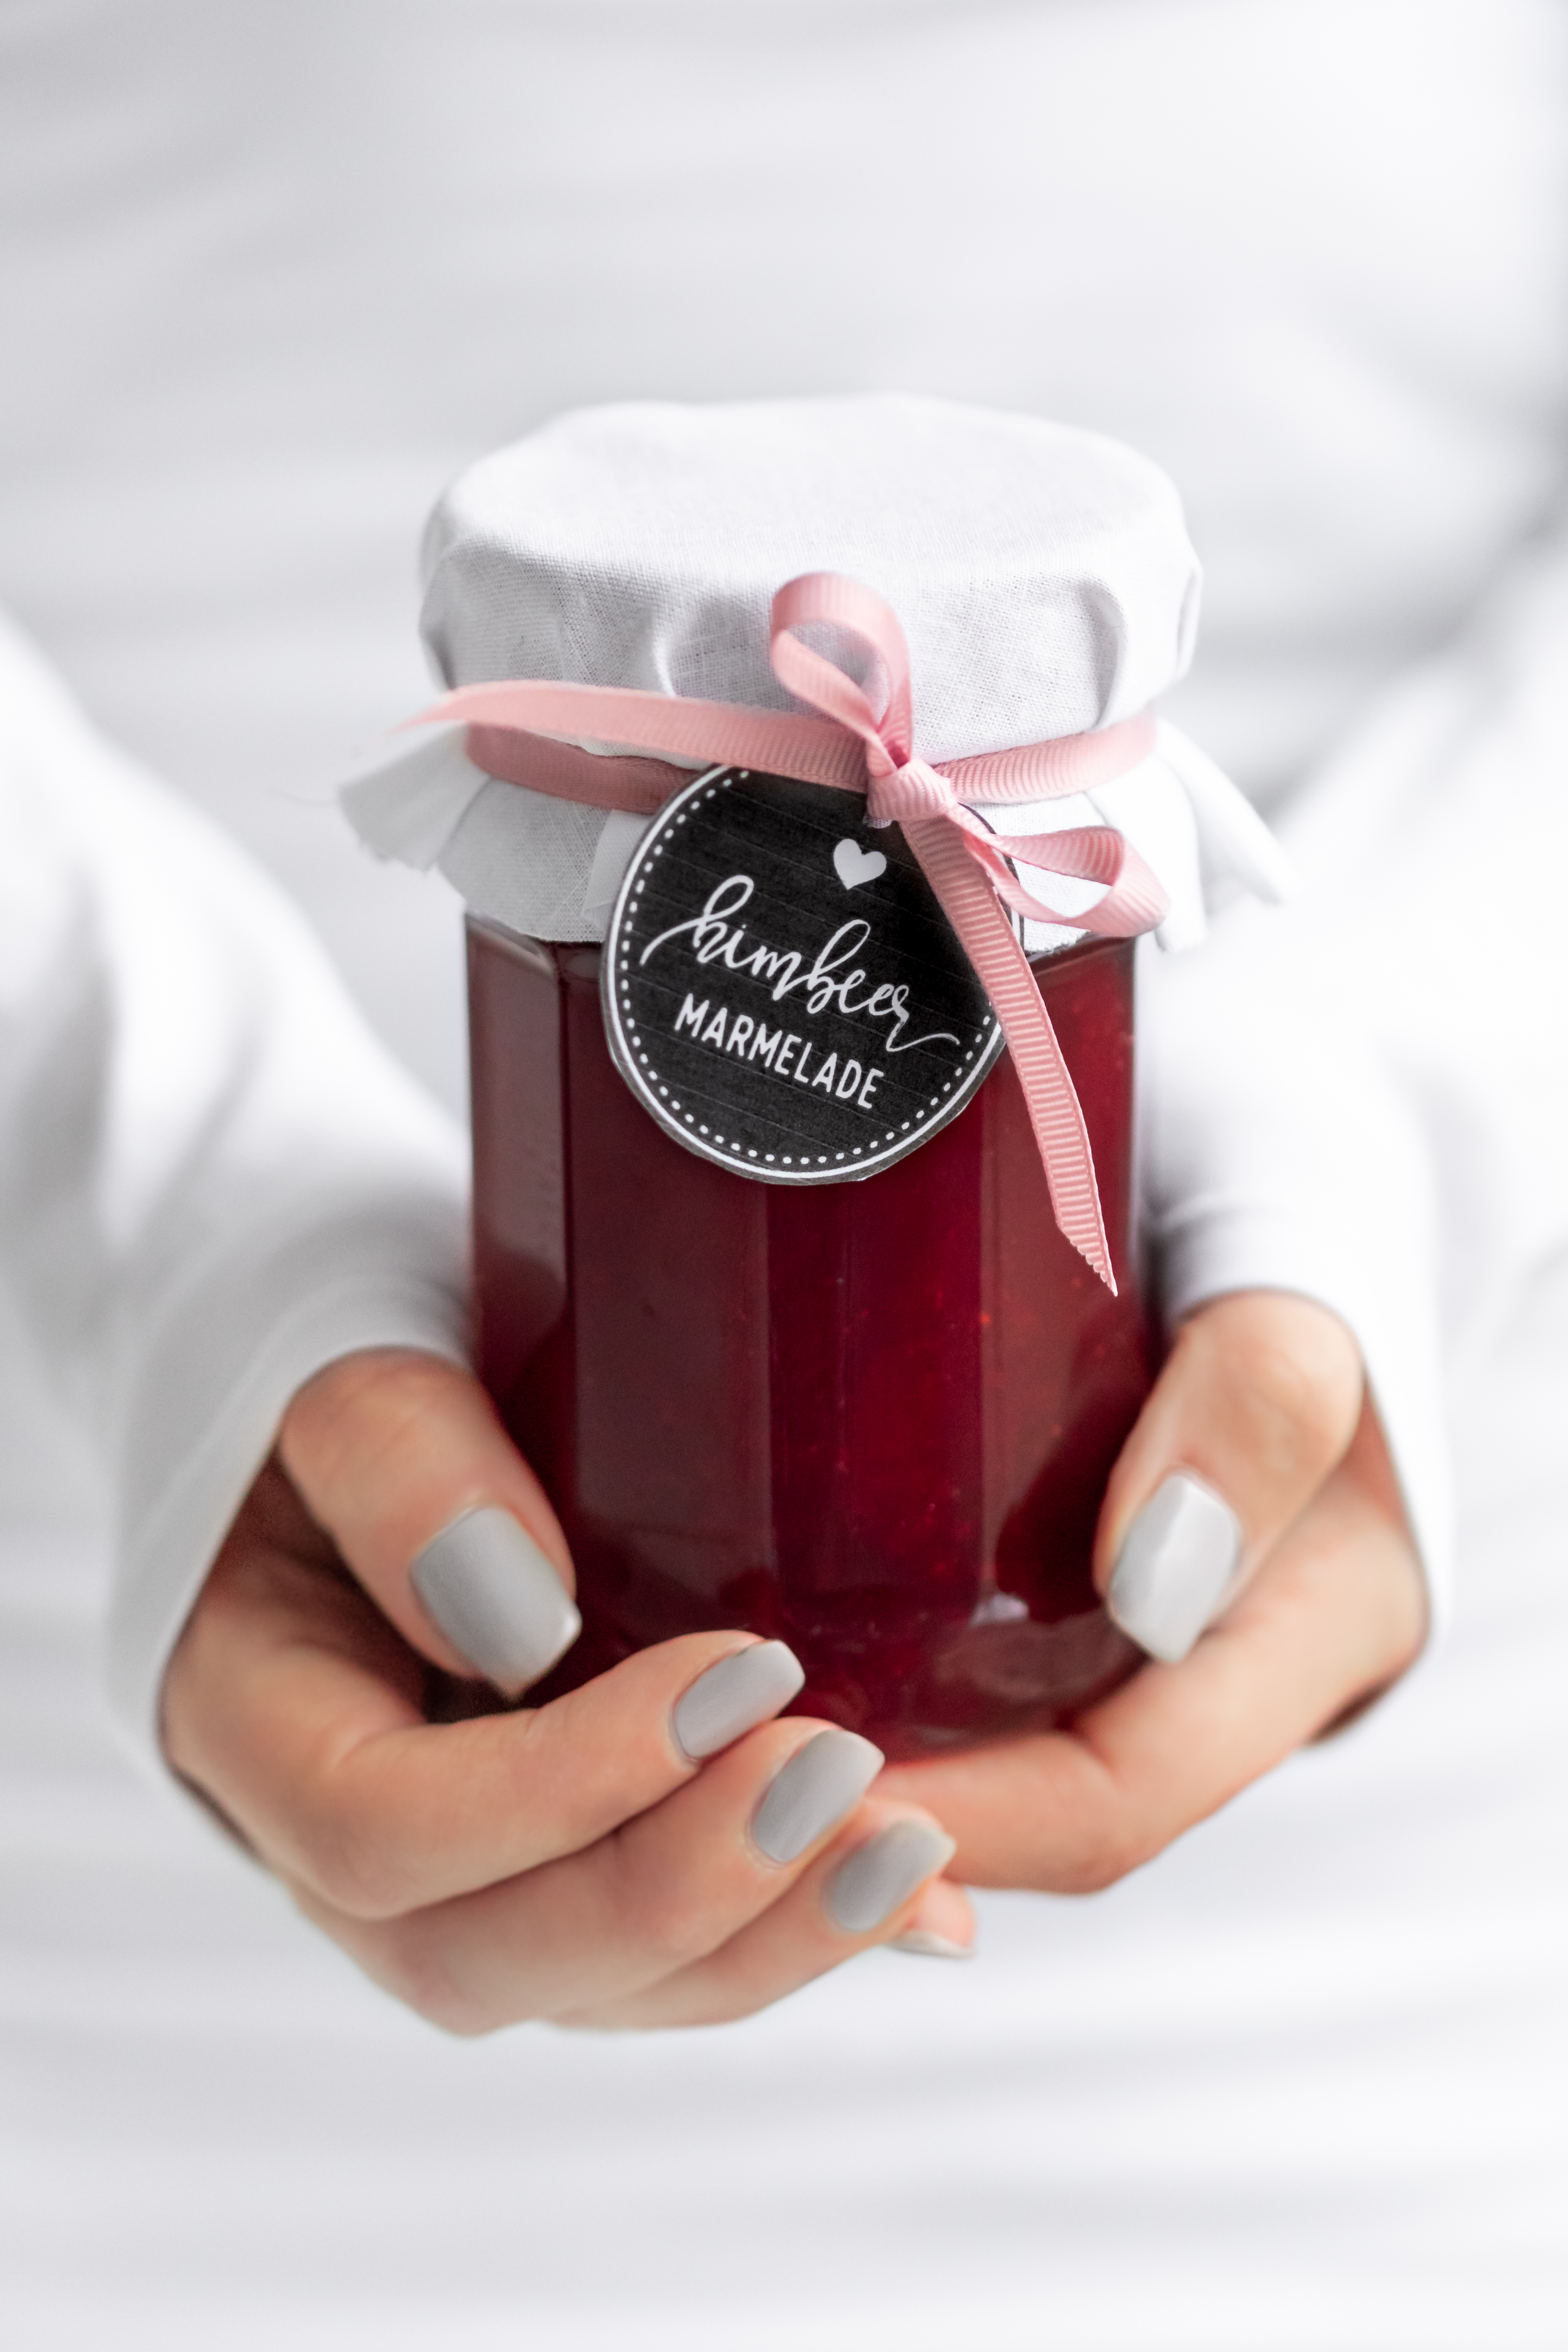
Small styling details can also enhance the product visually. For example, a jam jar can be made more appealing with a fabric cover and a stylish label.
2. Choose the Right Background
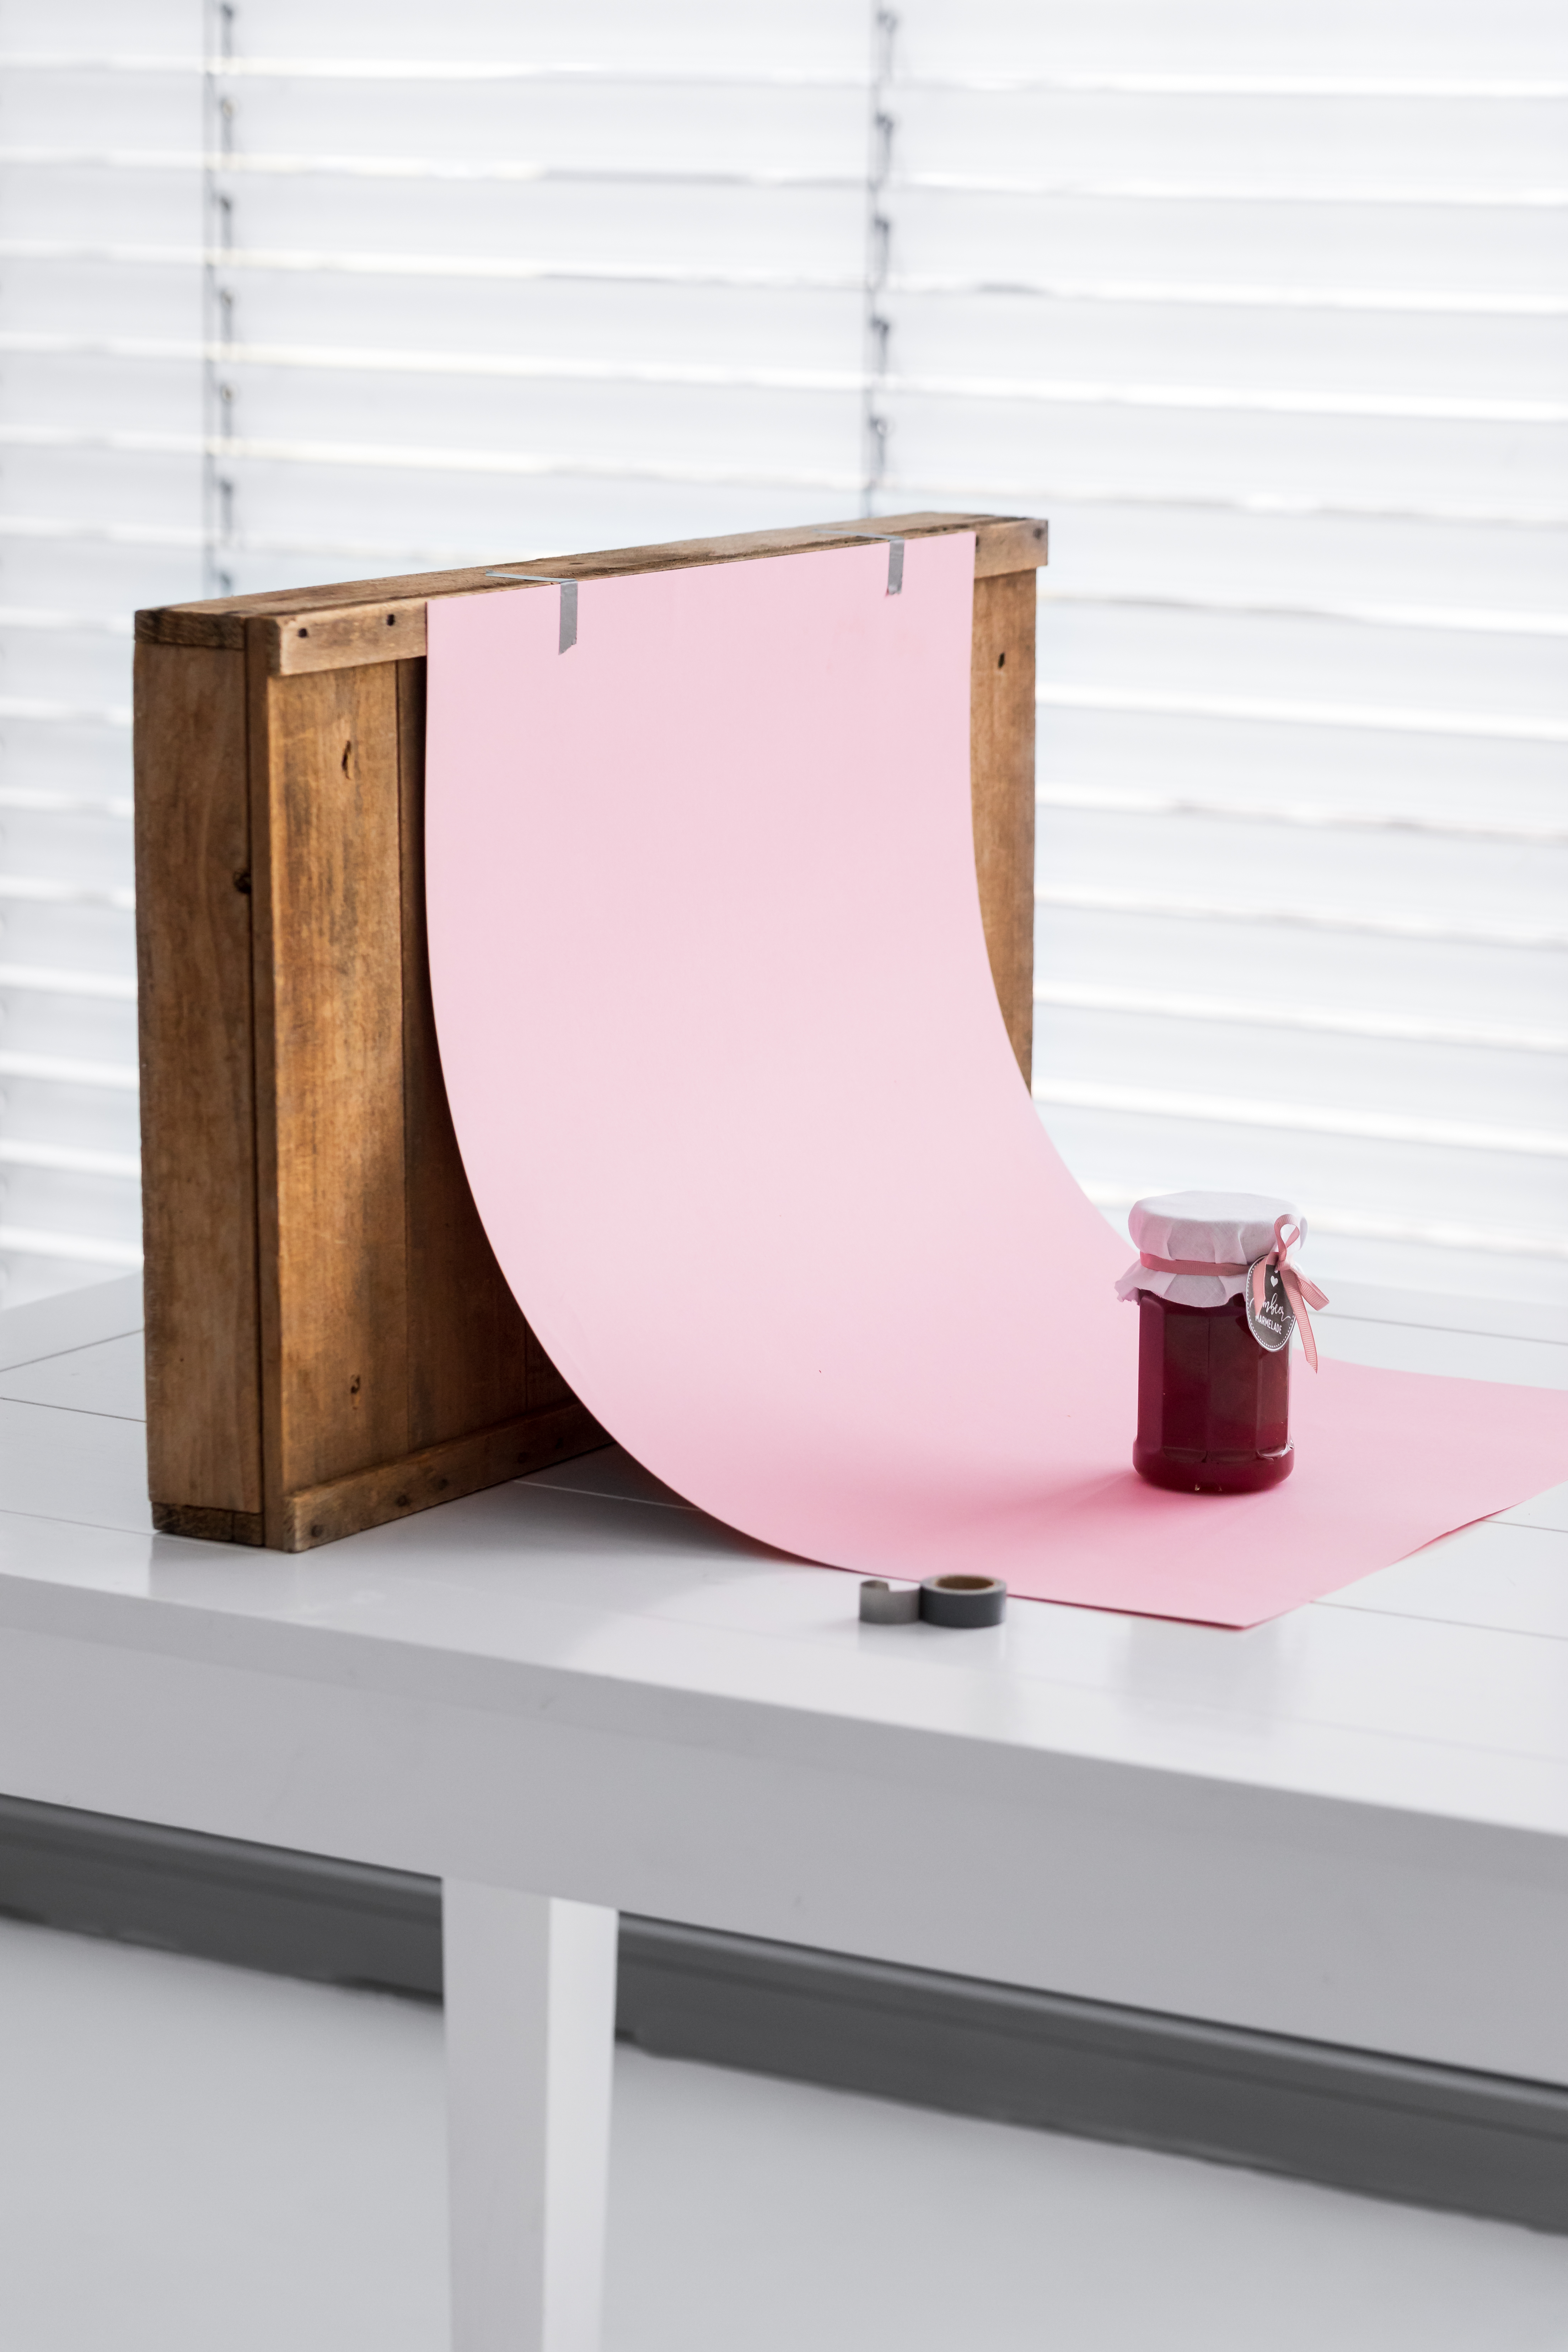
The background should be subtle to keep the focus on the product. A seamless backdrop made of curved cardboard helps eliminate distracting lines.
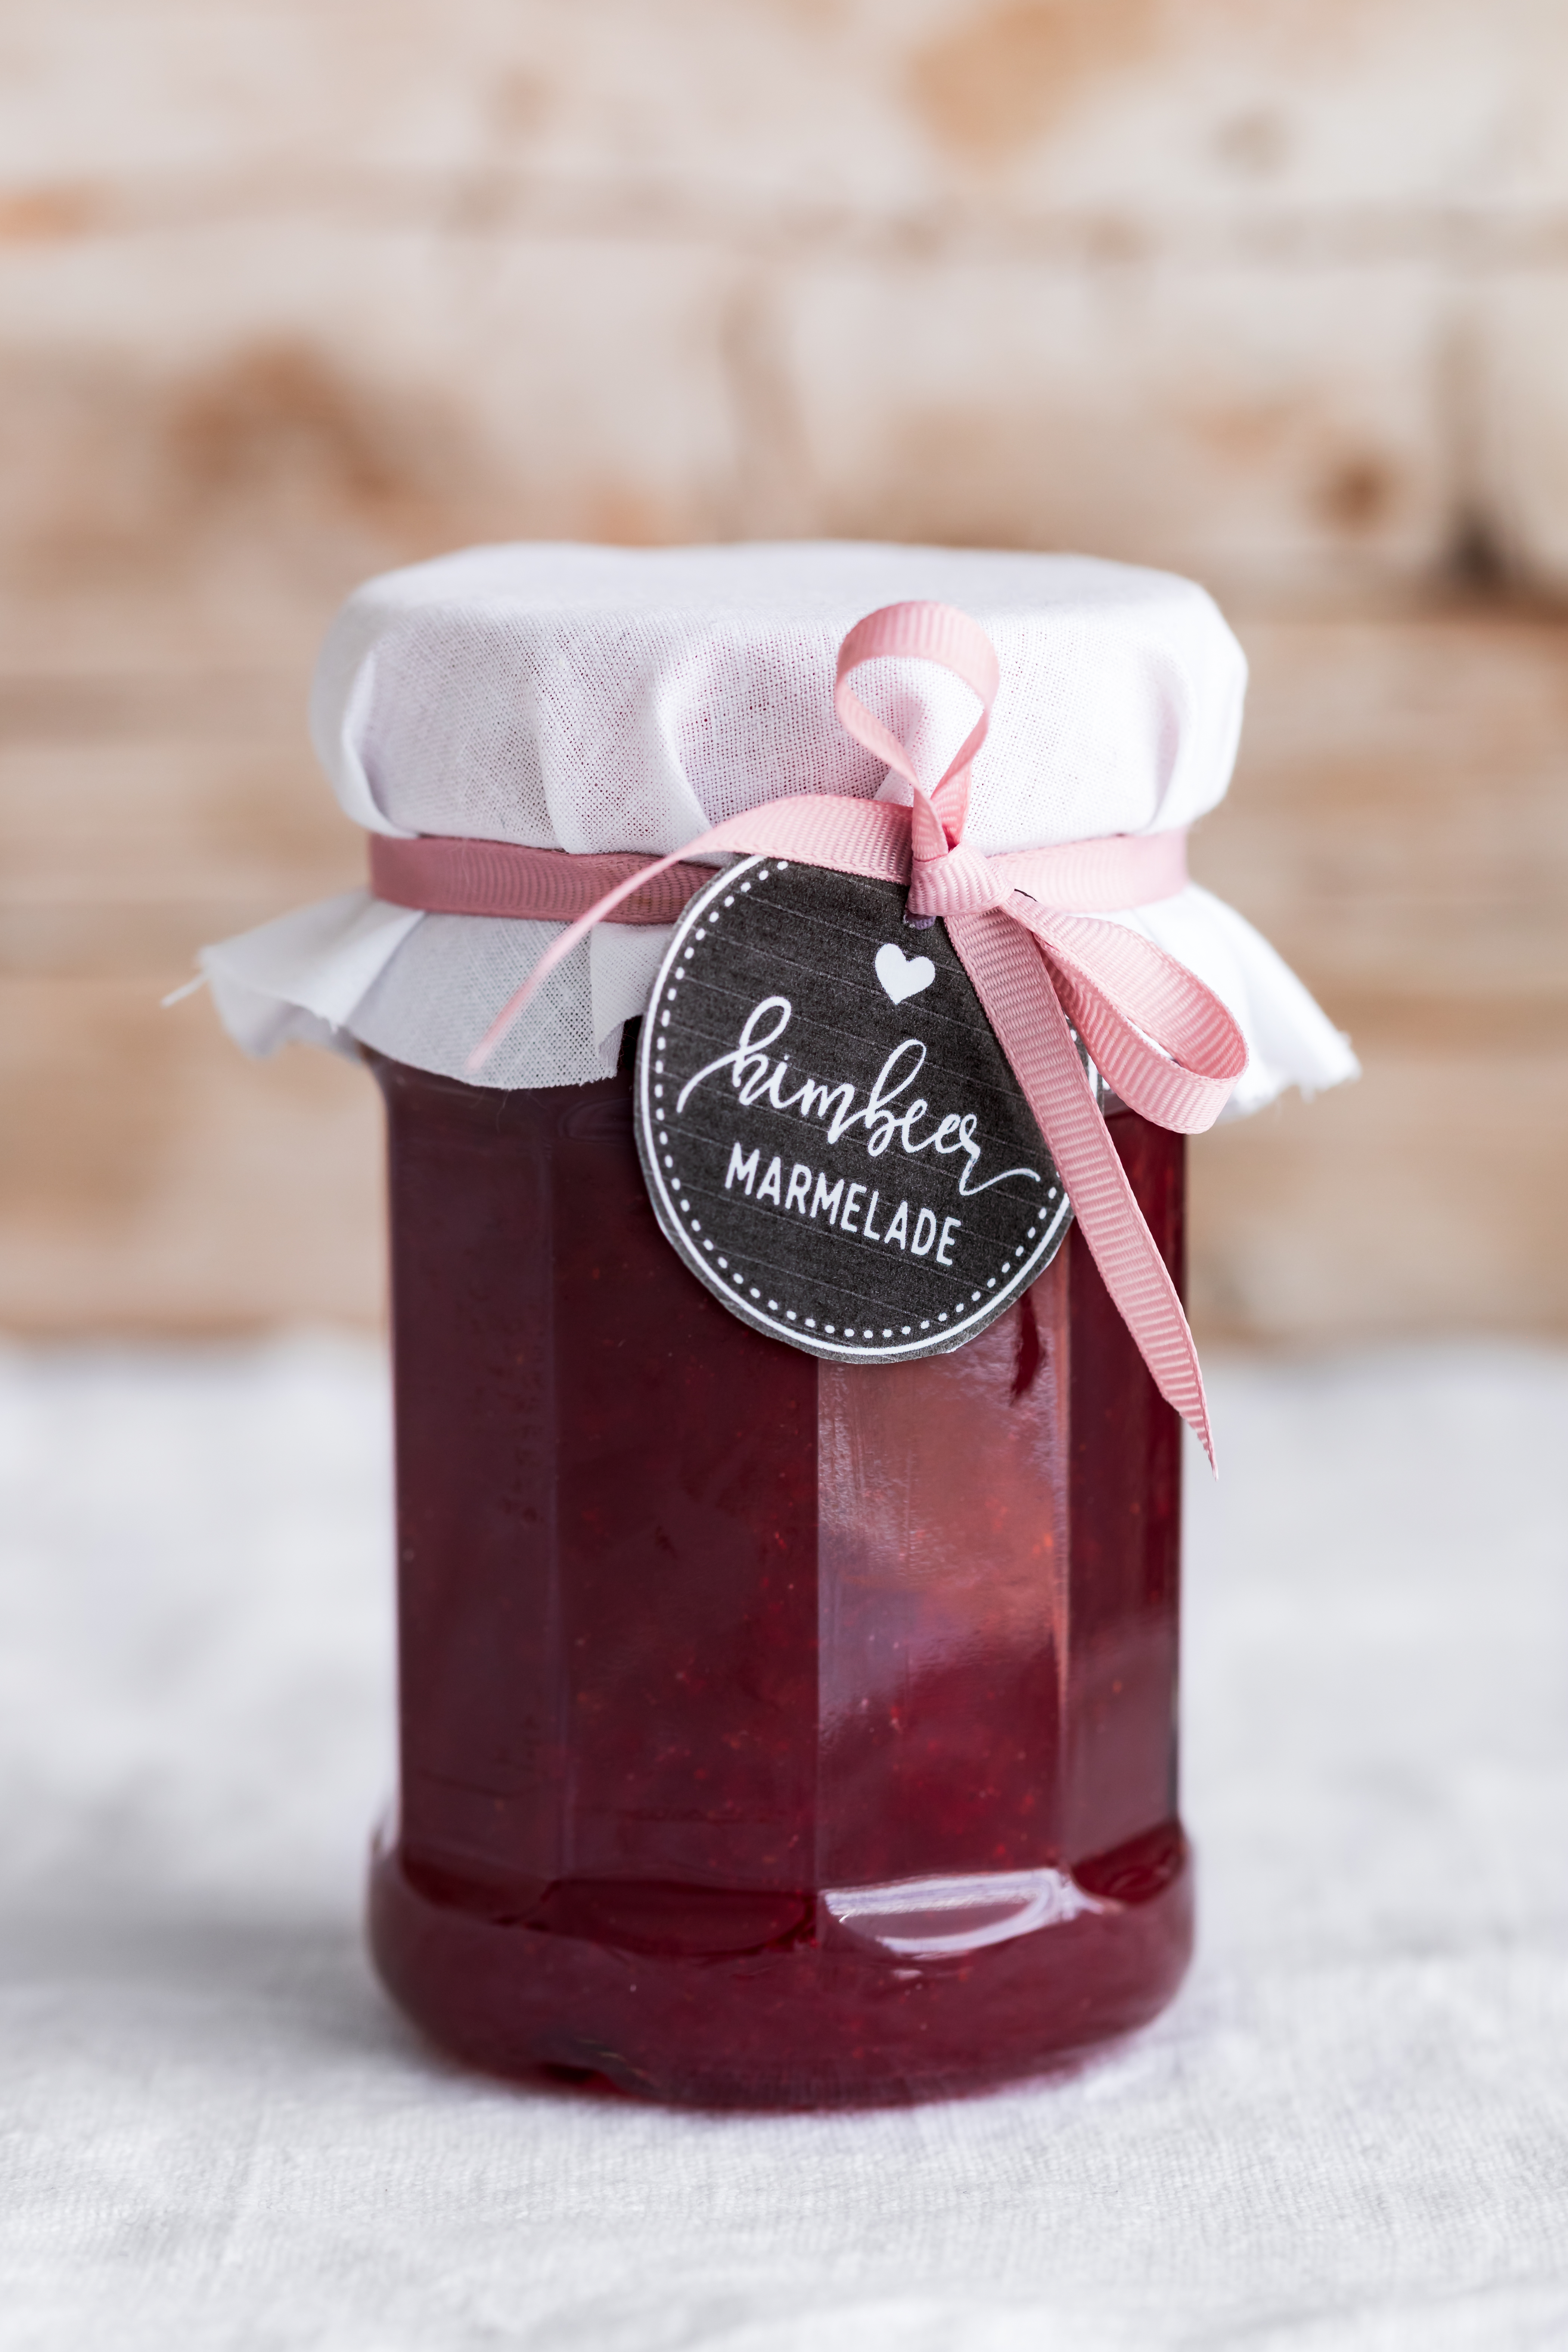
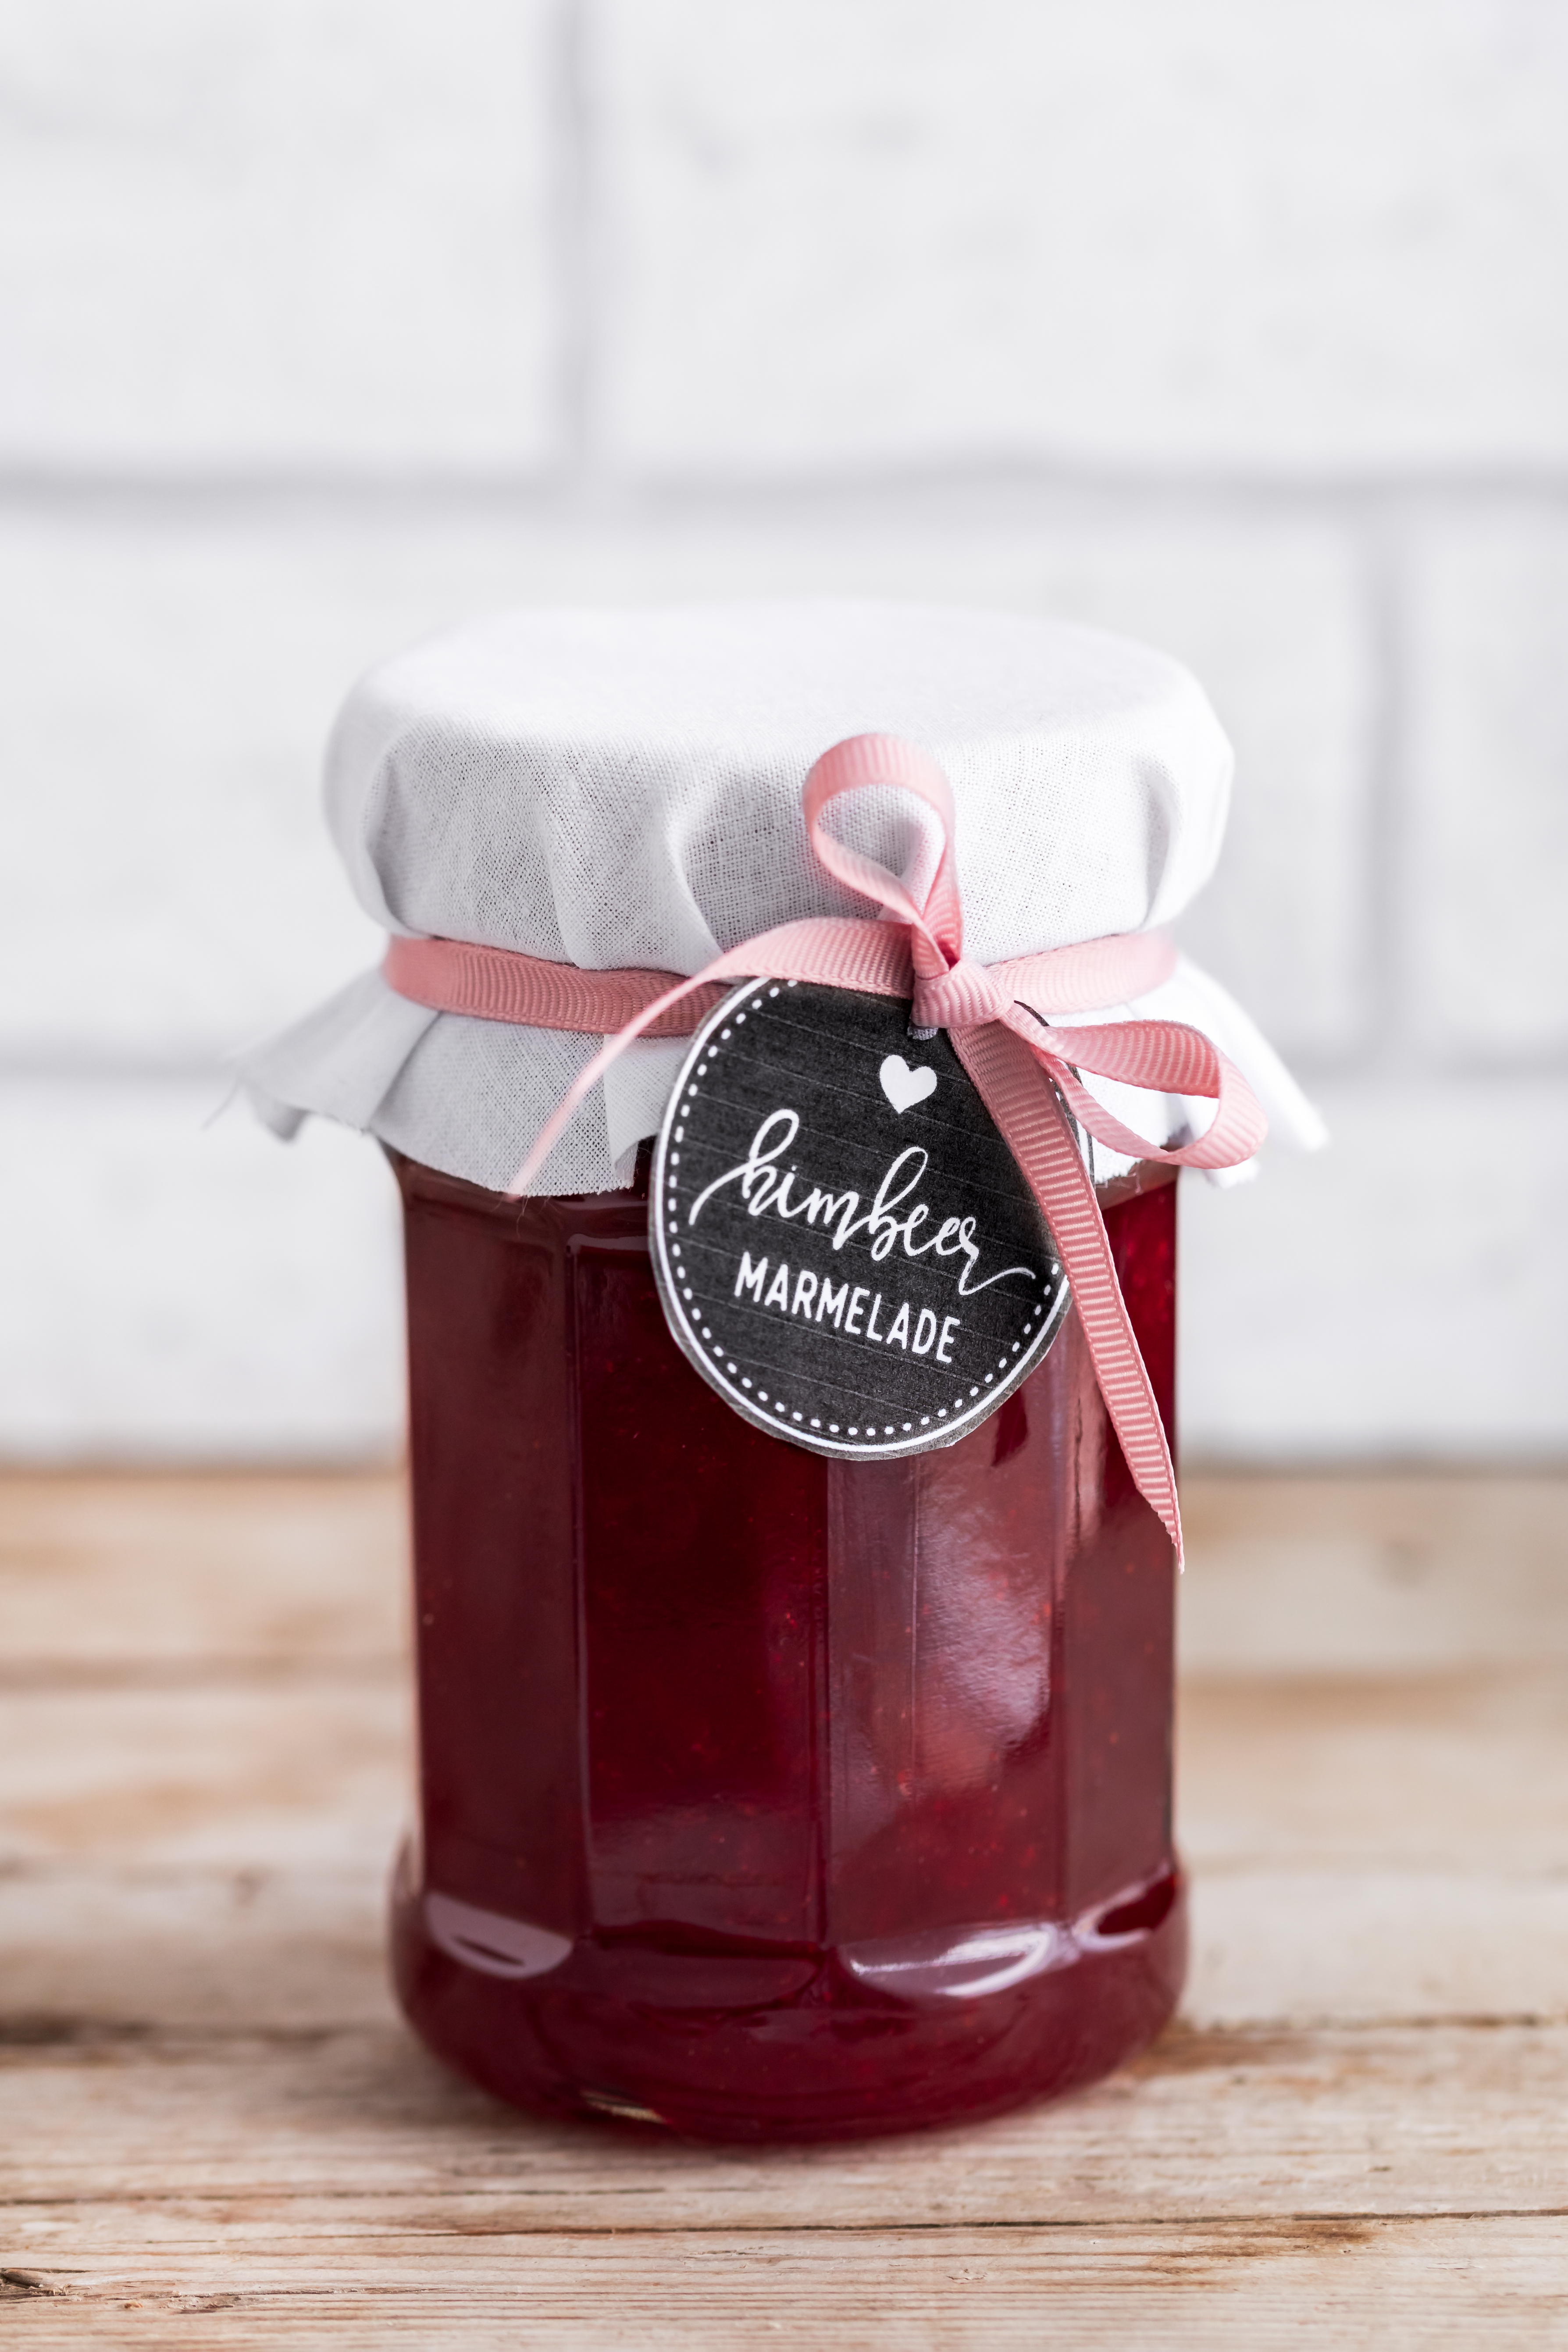
Tip: The background color should complement the product. For instance, red jam looks great against a light pink or contrasting blue backdrop. Alternatively, textured surfaces like wood or linen can add character and reinforce the product’s message.
3. Optimize the Setup
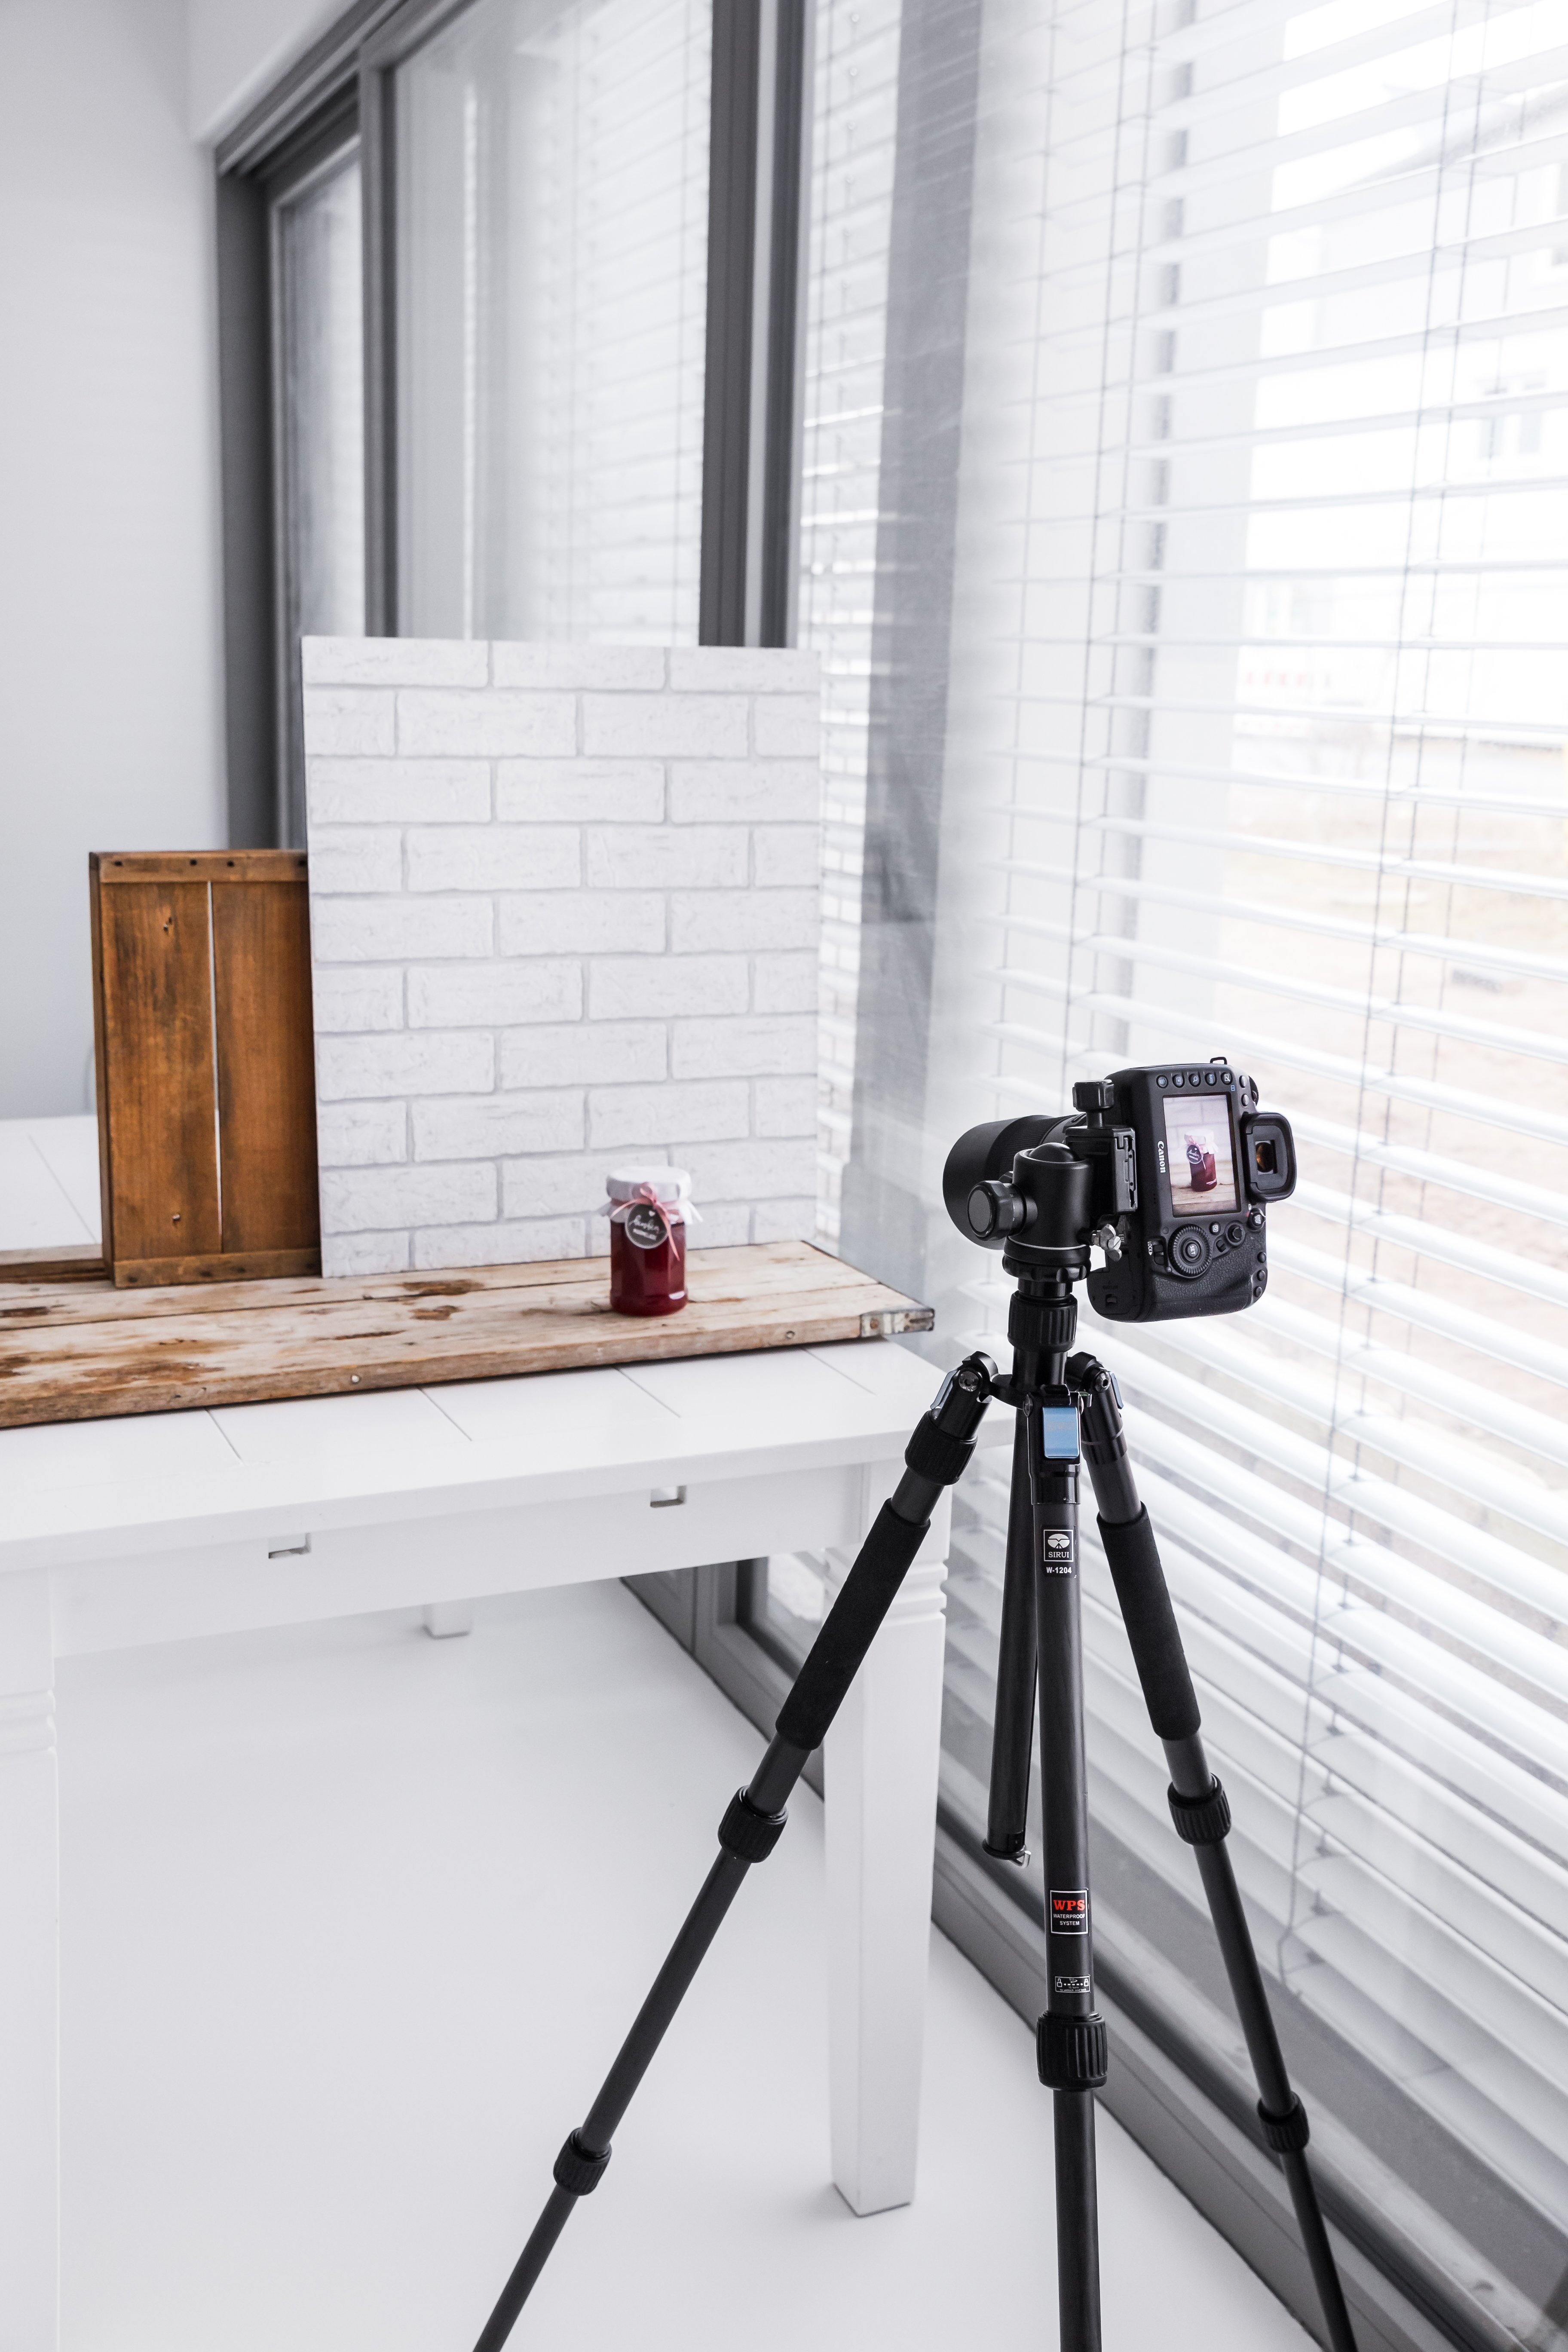
A tripod is essential for sharp and professional-looking product photos. Use a closed aperture (e.g., f/10) to ensure the entire product remains in focus.
For longer exposure times, a remote shutter release helps prevent camera shake. If possible, use tethered shooting to view your images directly on a large screen and make adjustments in real time.
4. Master the Lighting
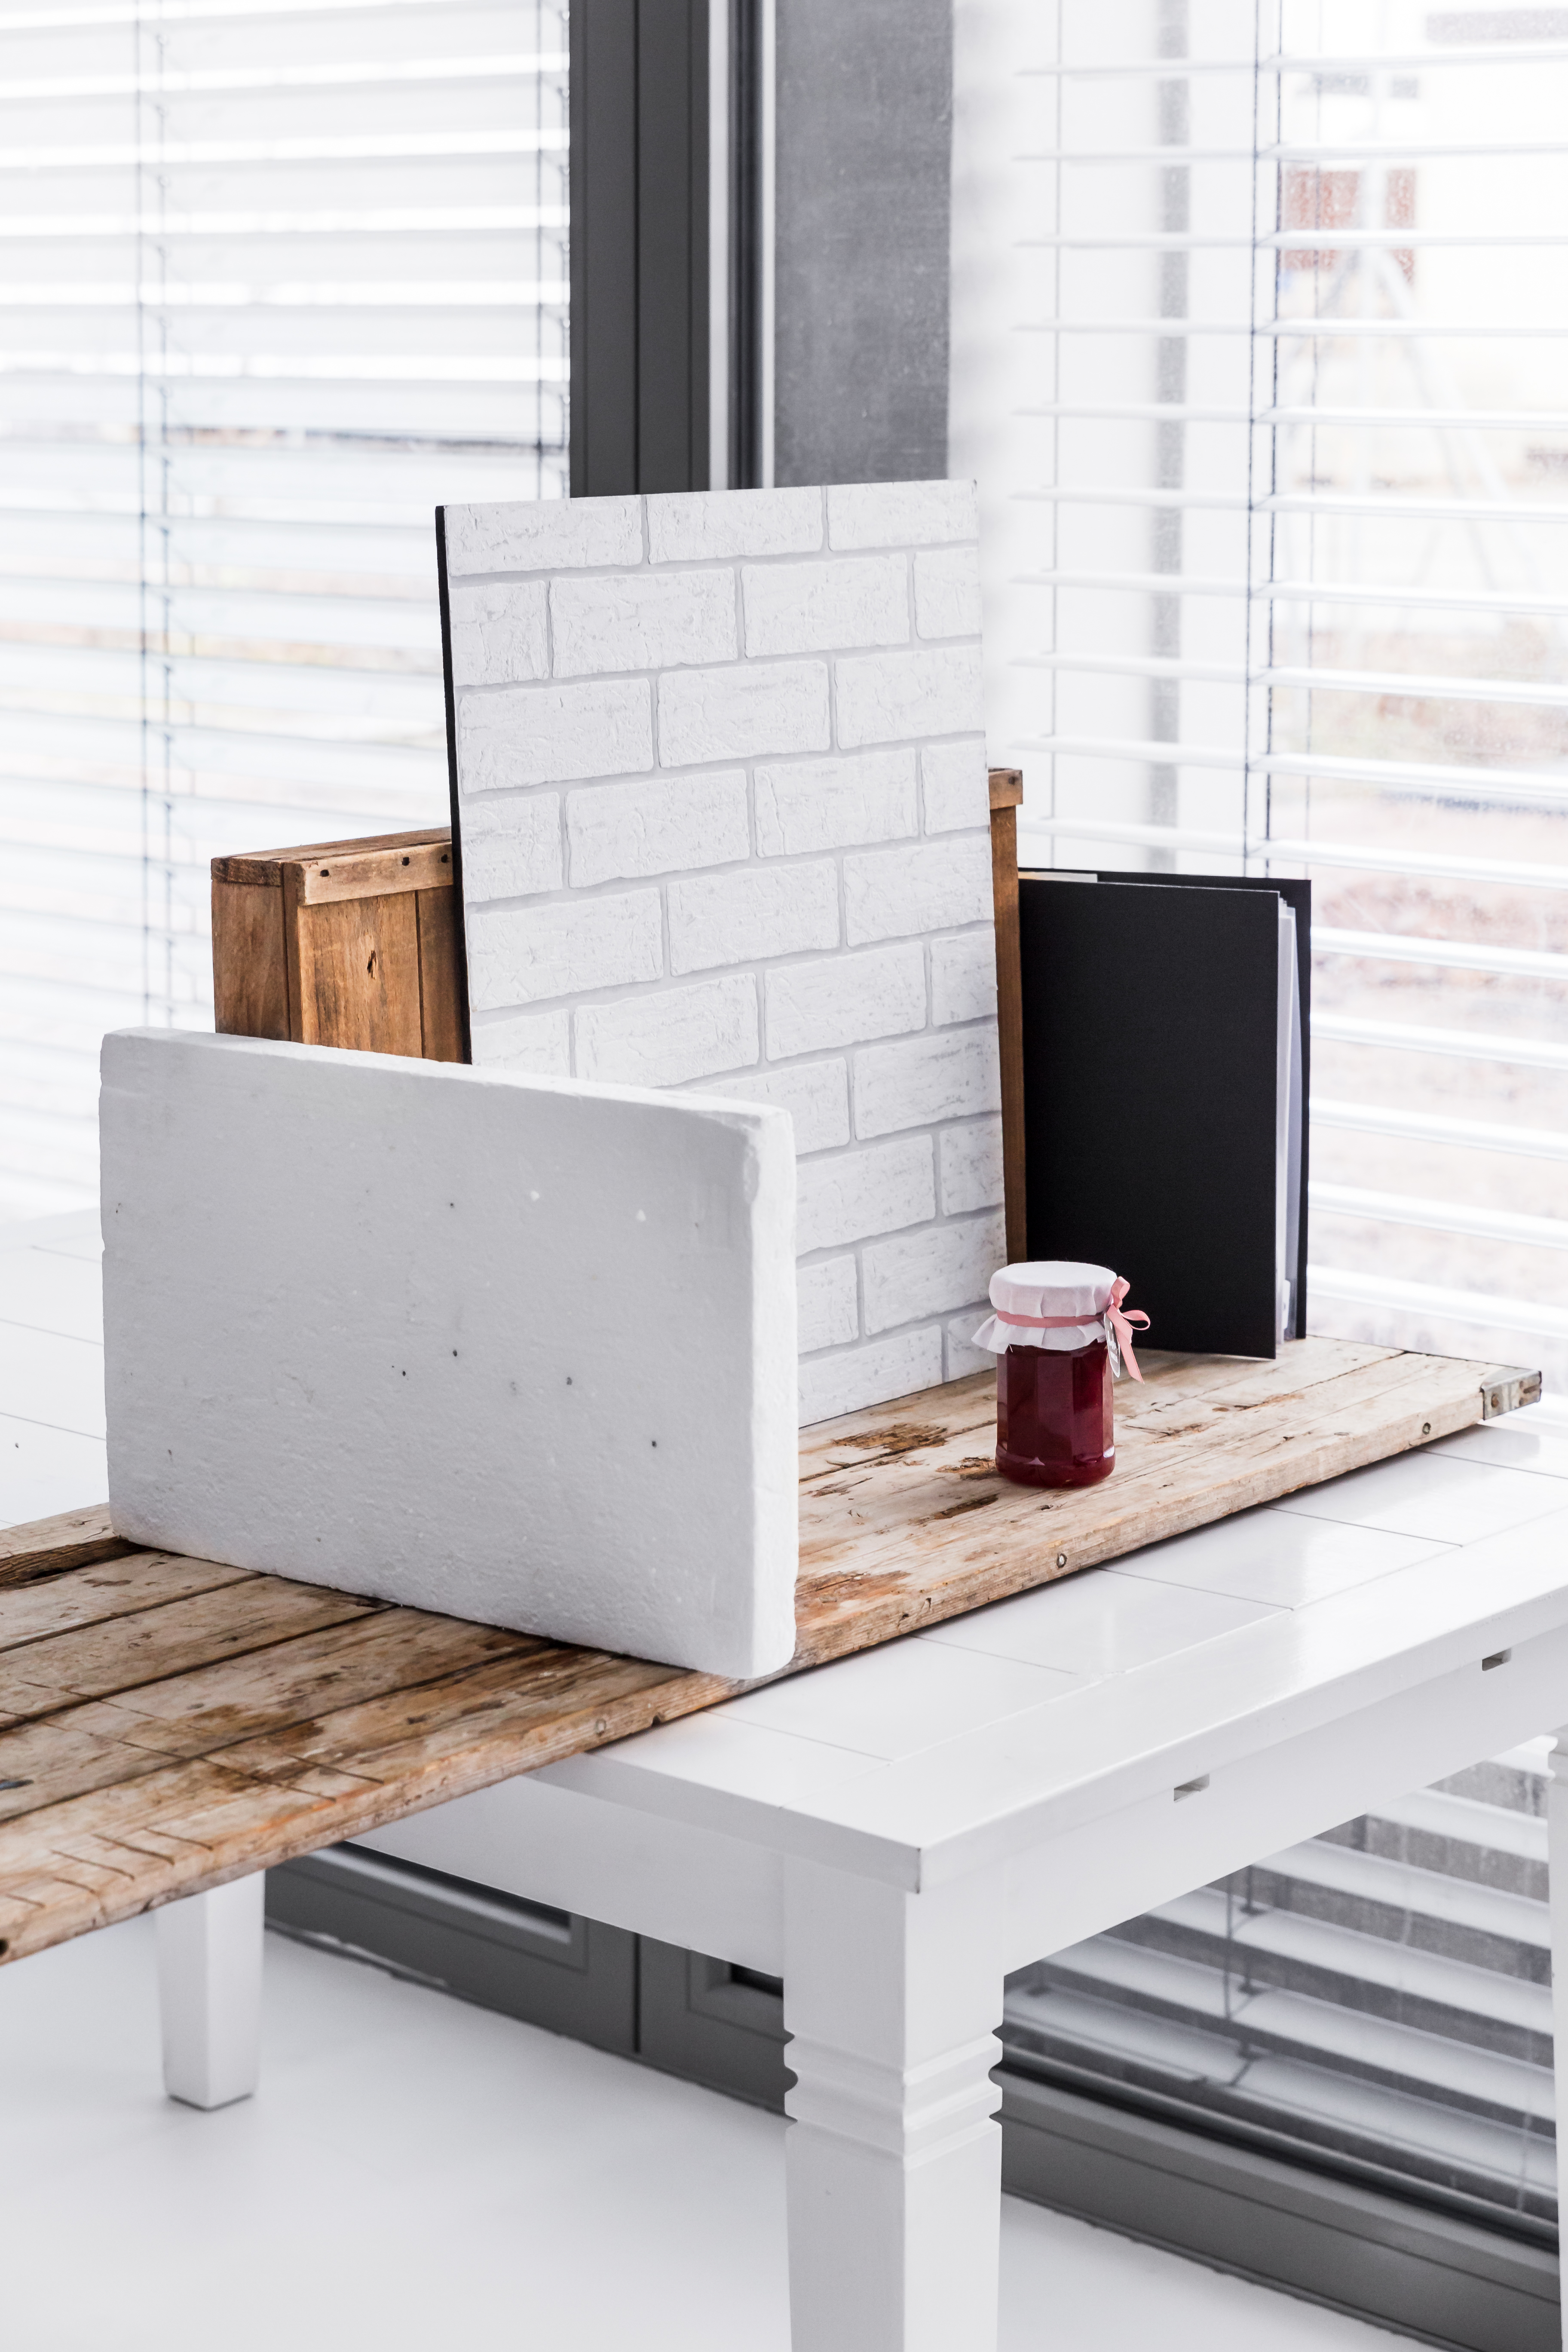
Lighting is crucial for creating depth and dimension. Position the main light source to the side to cast natural shadows and highlights. A secondary, weaker light—such as a polystyrene reflector—can help soften shadows.
For reflective surfaces like glass, a polarizing filter minimizes unwanted reflections. If you want even, shadow-free lighting, consider using a light tent.
5. Find the Best Perspective and Framing
Shoot the product from a slightly angled front view to add depth and showcase multiple sides.
Ensure the product fills the frame for maximum resolution and detail. However, leave some extra space around the object if you plan to crop the image later.
6. Use Props Strategically
Props help tell a story and place the product in a logical context. For example, fresh berries, sugar, or cooking utensils complement a jam jar scene beautifully.
Make sure props harmonize with the main product, or use contrasting colors intentionally for visual impact.
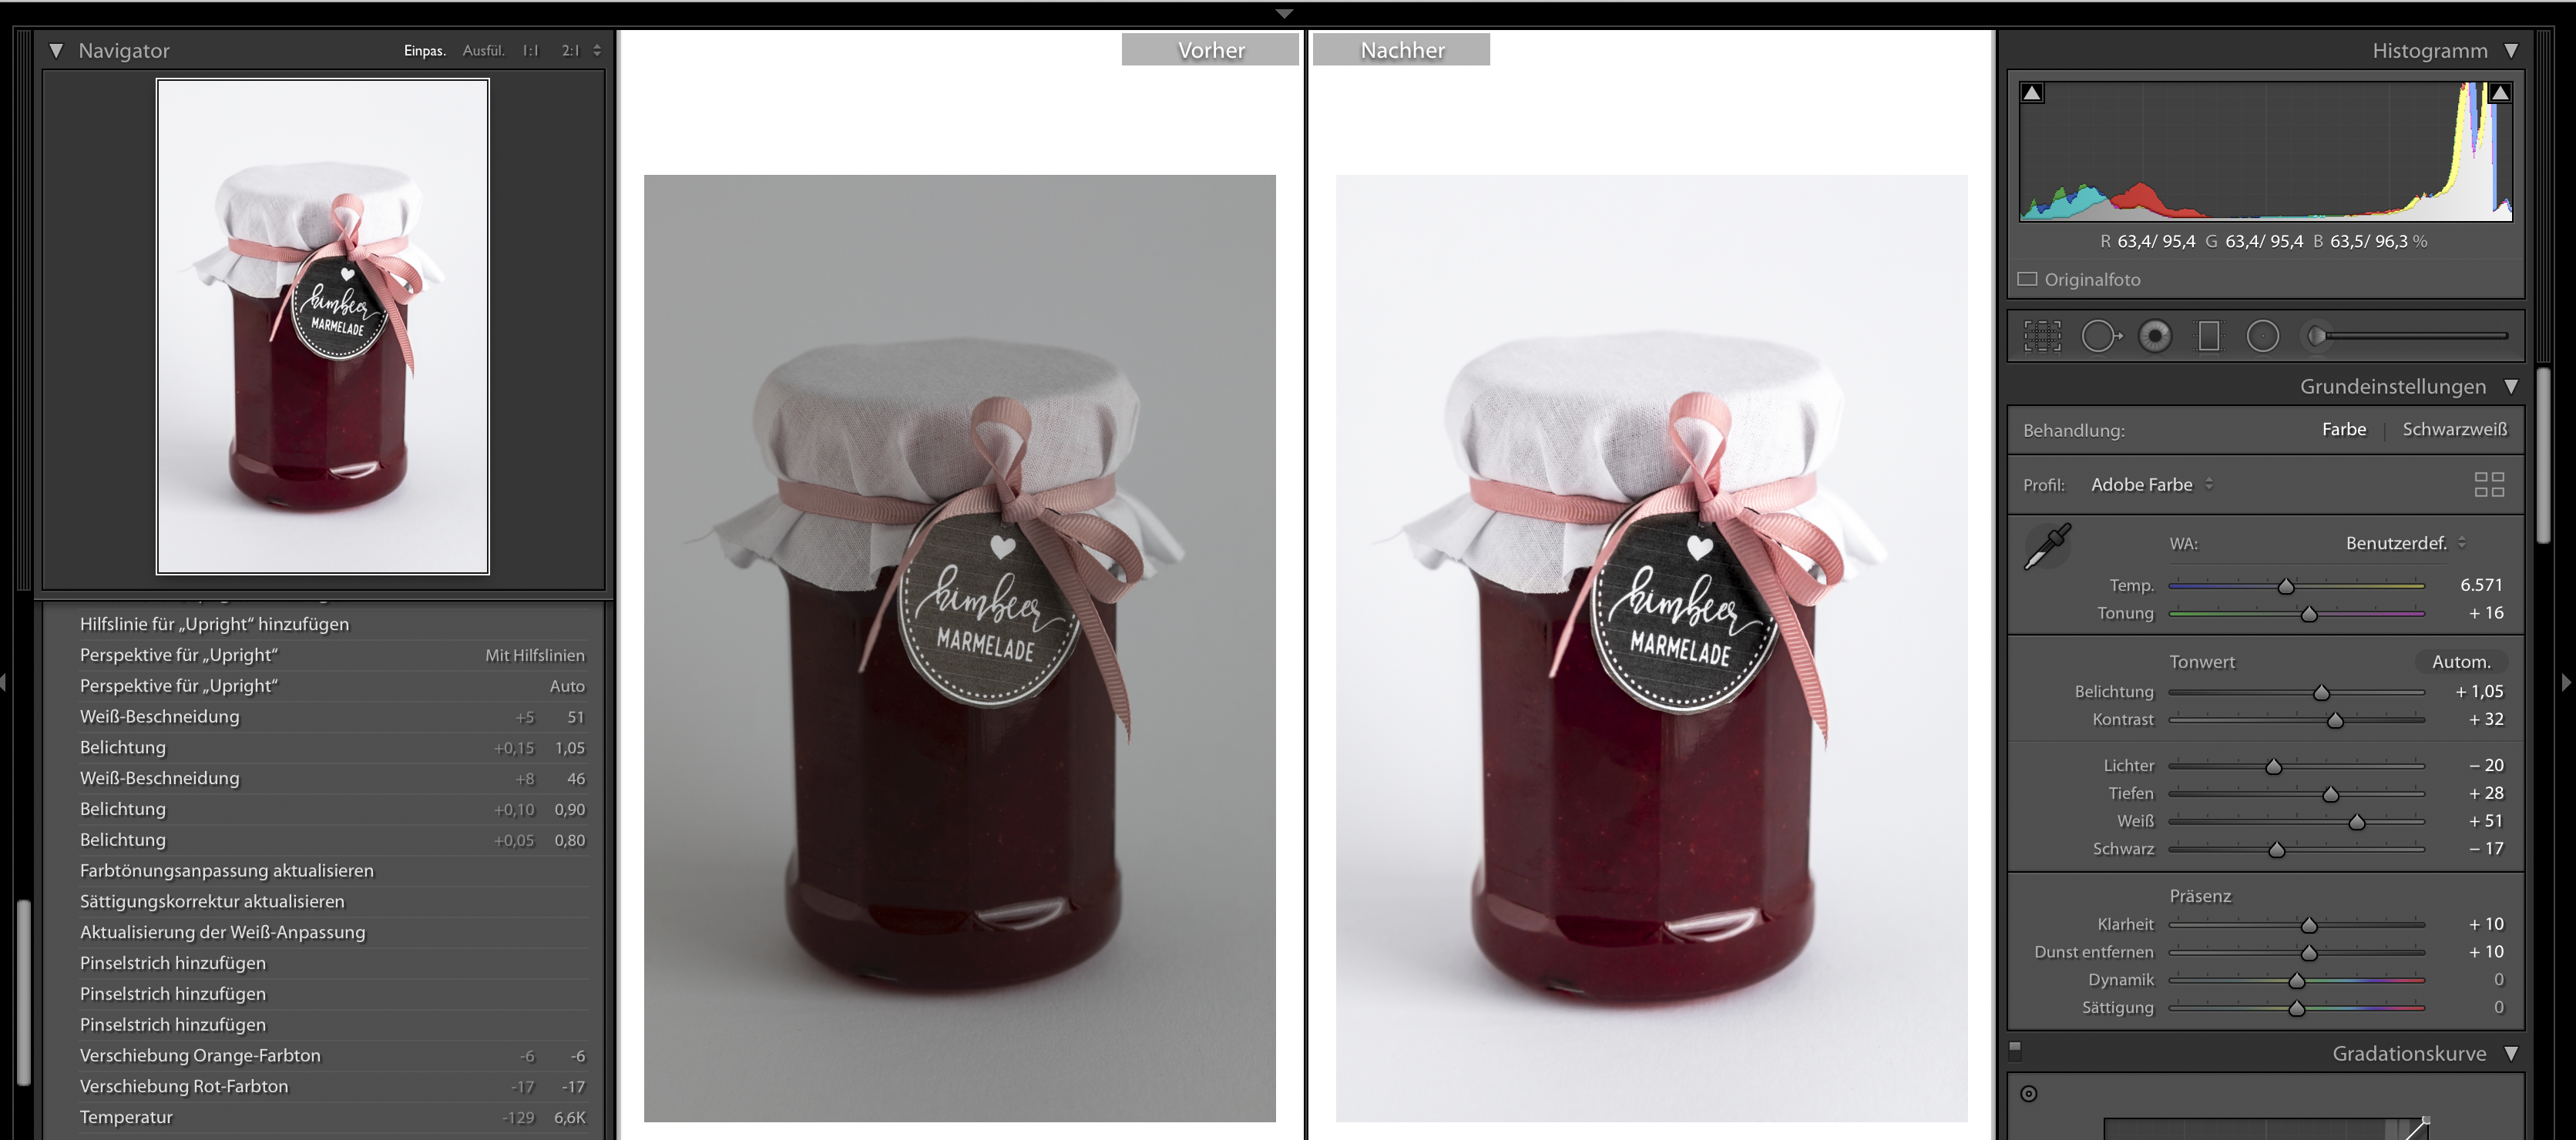
7. Post-Processing for Perfection
Editing software like Adobe Lightroom can enhance exposure, contrast, and white balance. Use the correction brush for targeted edits and remove dust or small imperfections effortlessly.
For more advanced edits, Photoshop is ideal—especially for precise cutouts and background adjustments.
8. Equipment Recommendations
A high-resolution camera ensures optimal image quality. Interchangeable lenses like the TAMRON 90mm F/2.8 are perfect for product photography, offering exceptional sharpness and versatility. For flatlays, the TAMRON 28-75mm F/2.8 is highly recommended due to its flexible focal length.
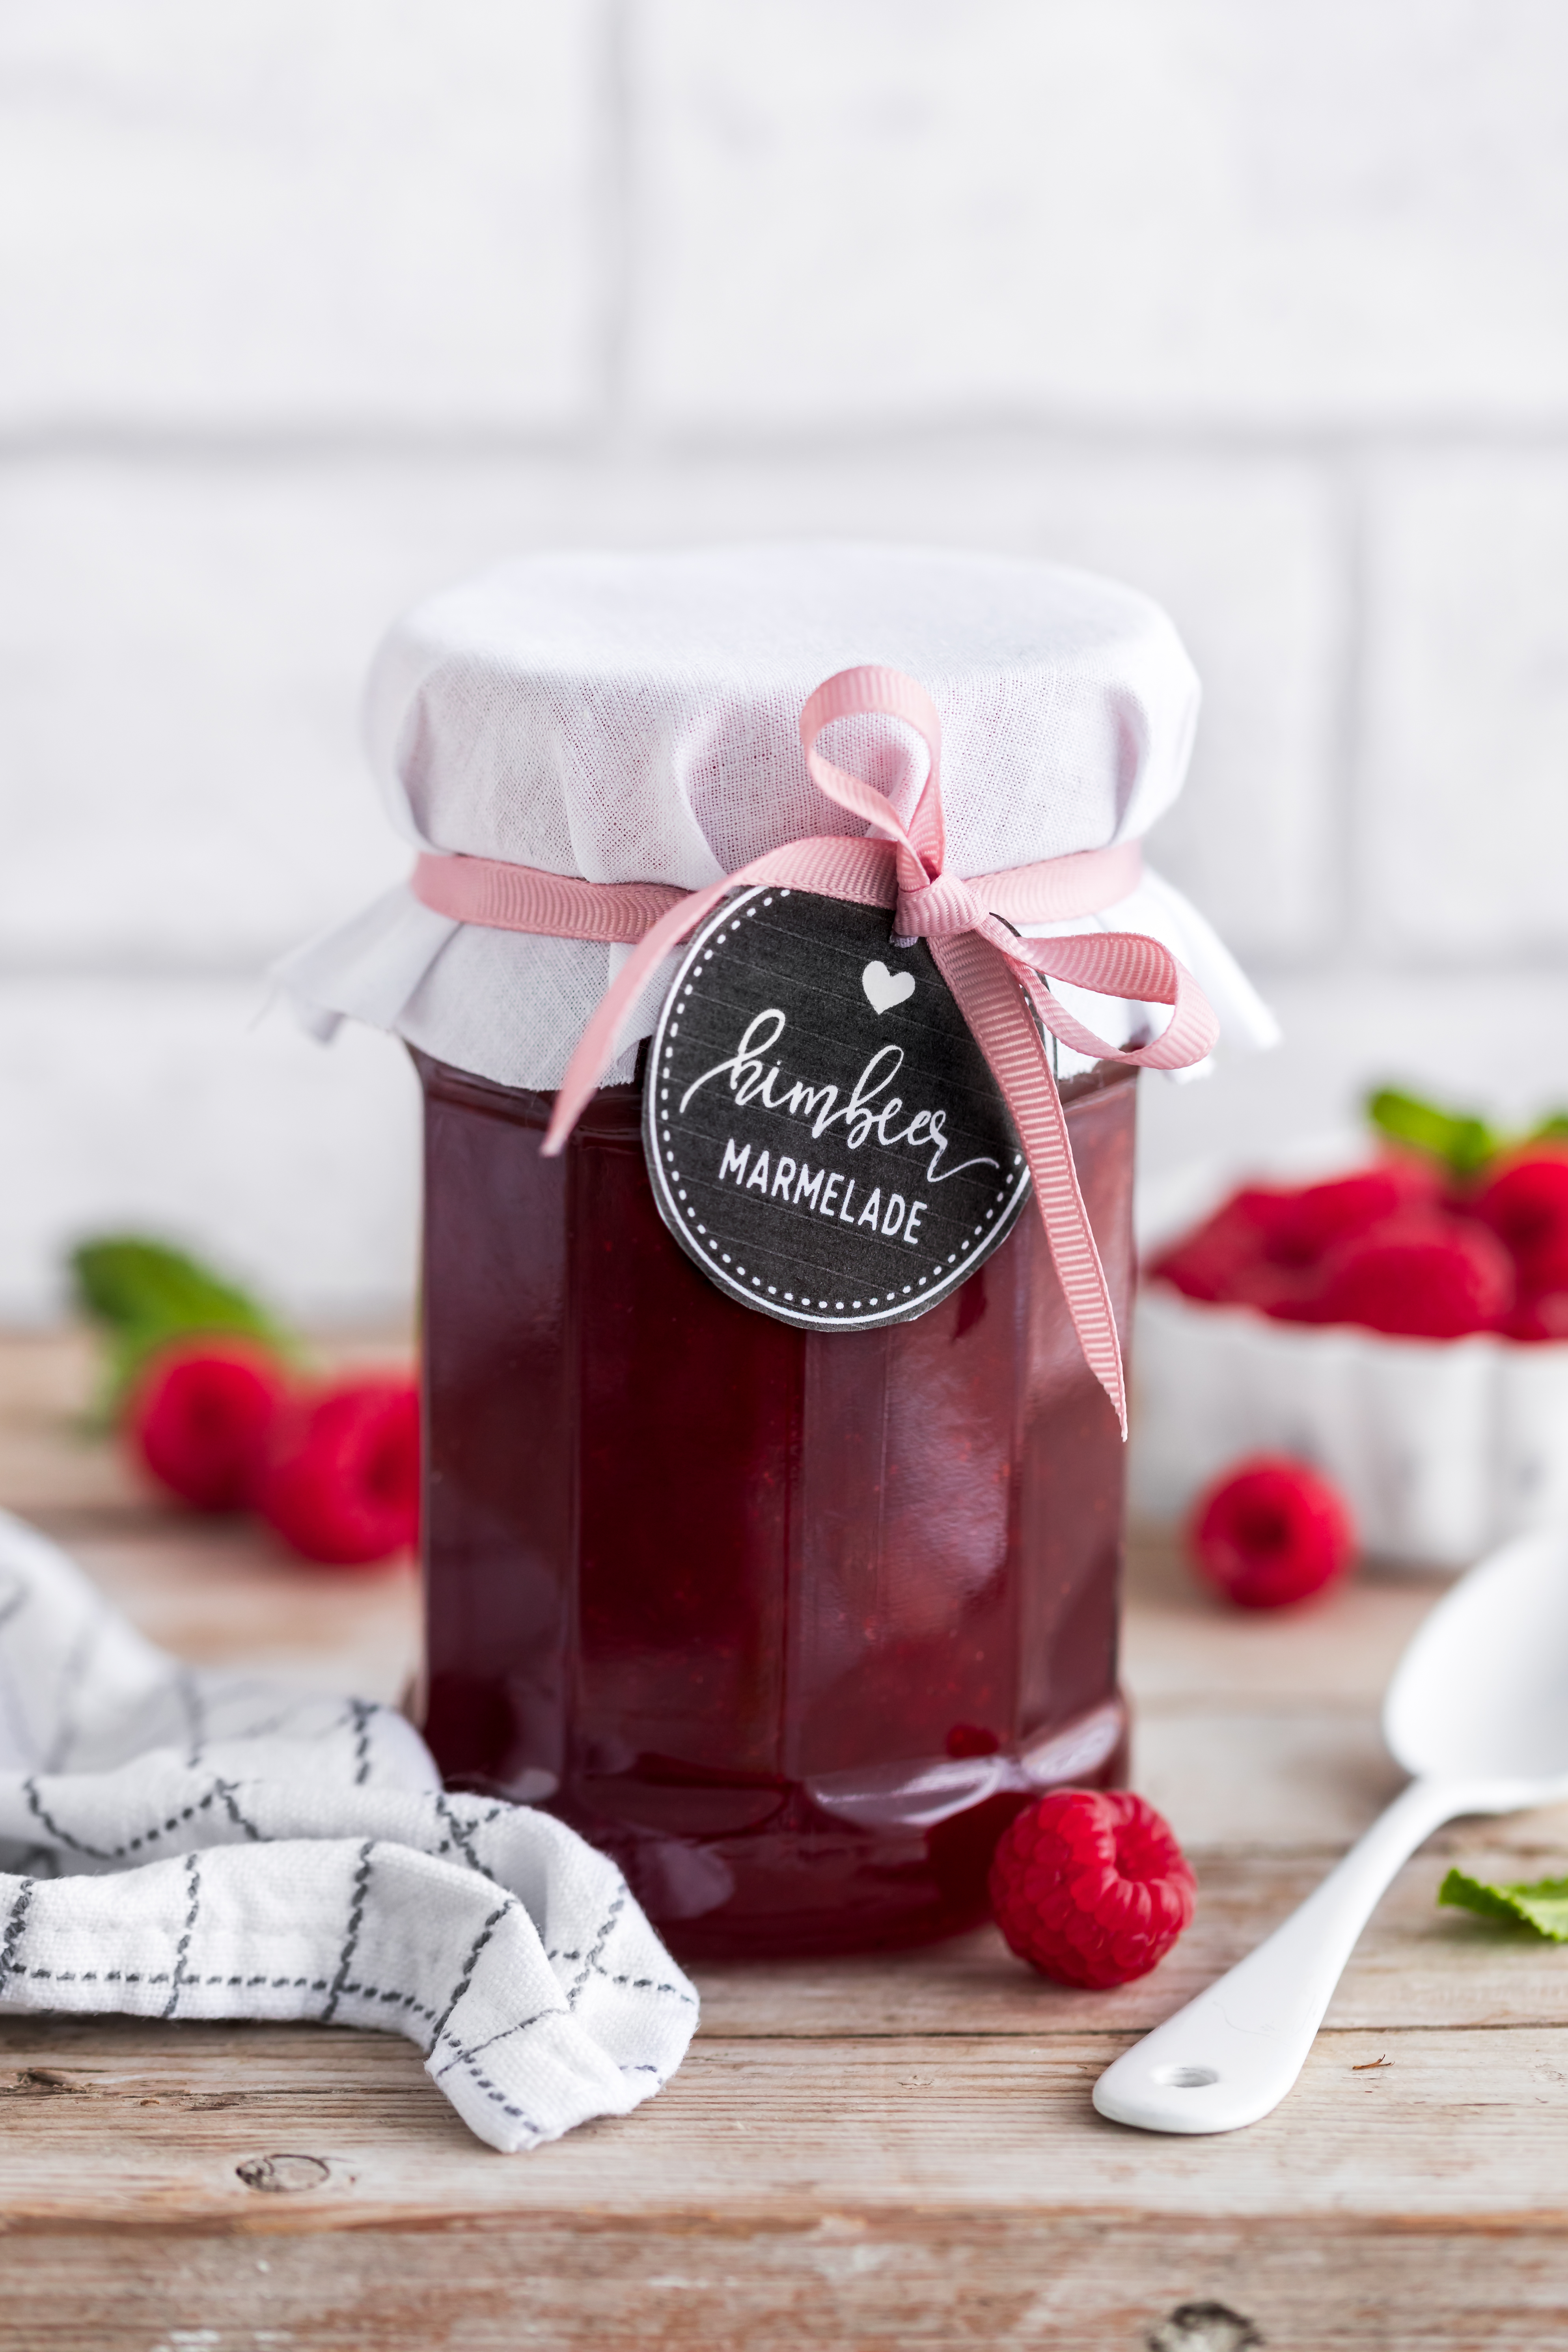
The final result from the shoot
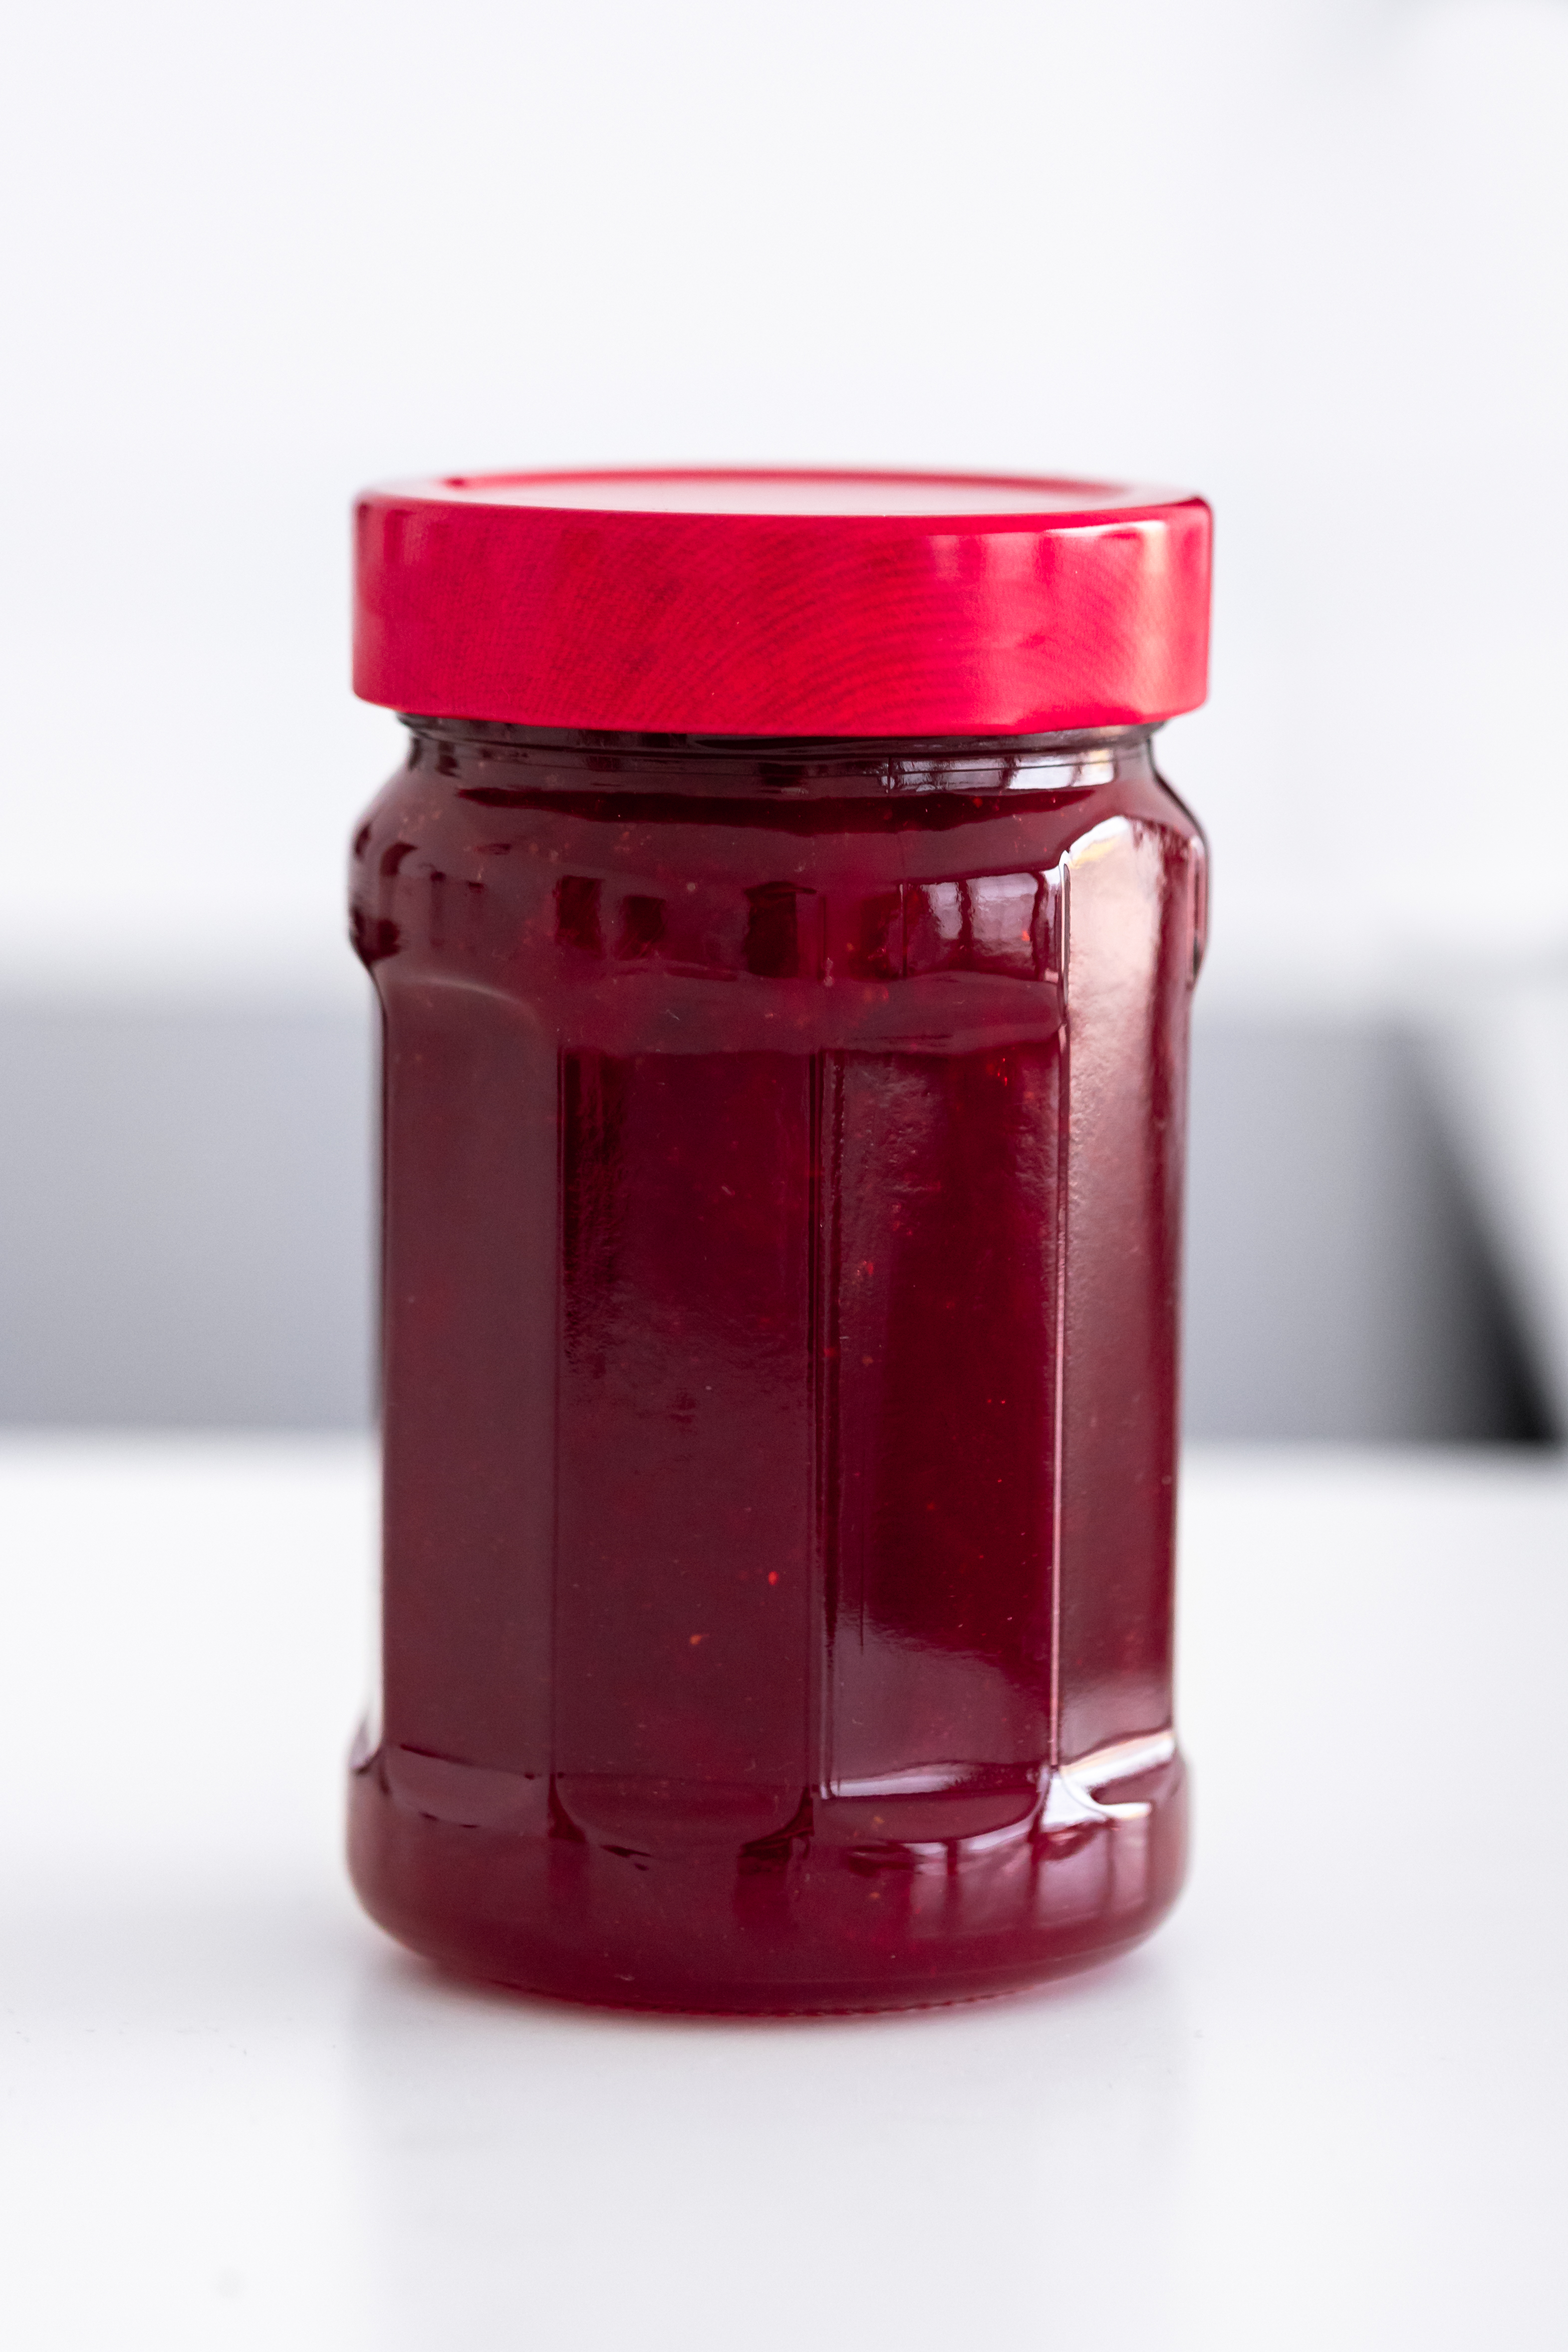
Select the product
Prepare the product

Enhance the product visually with accessories.
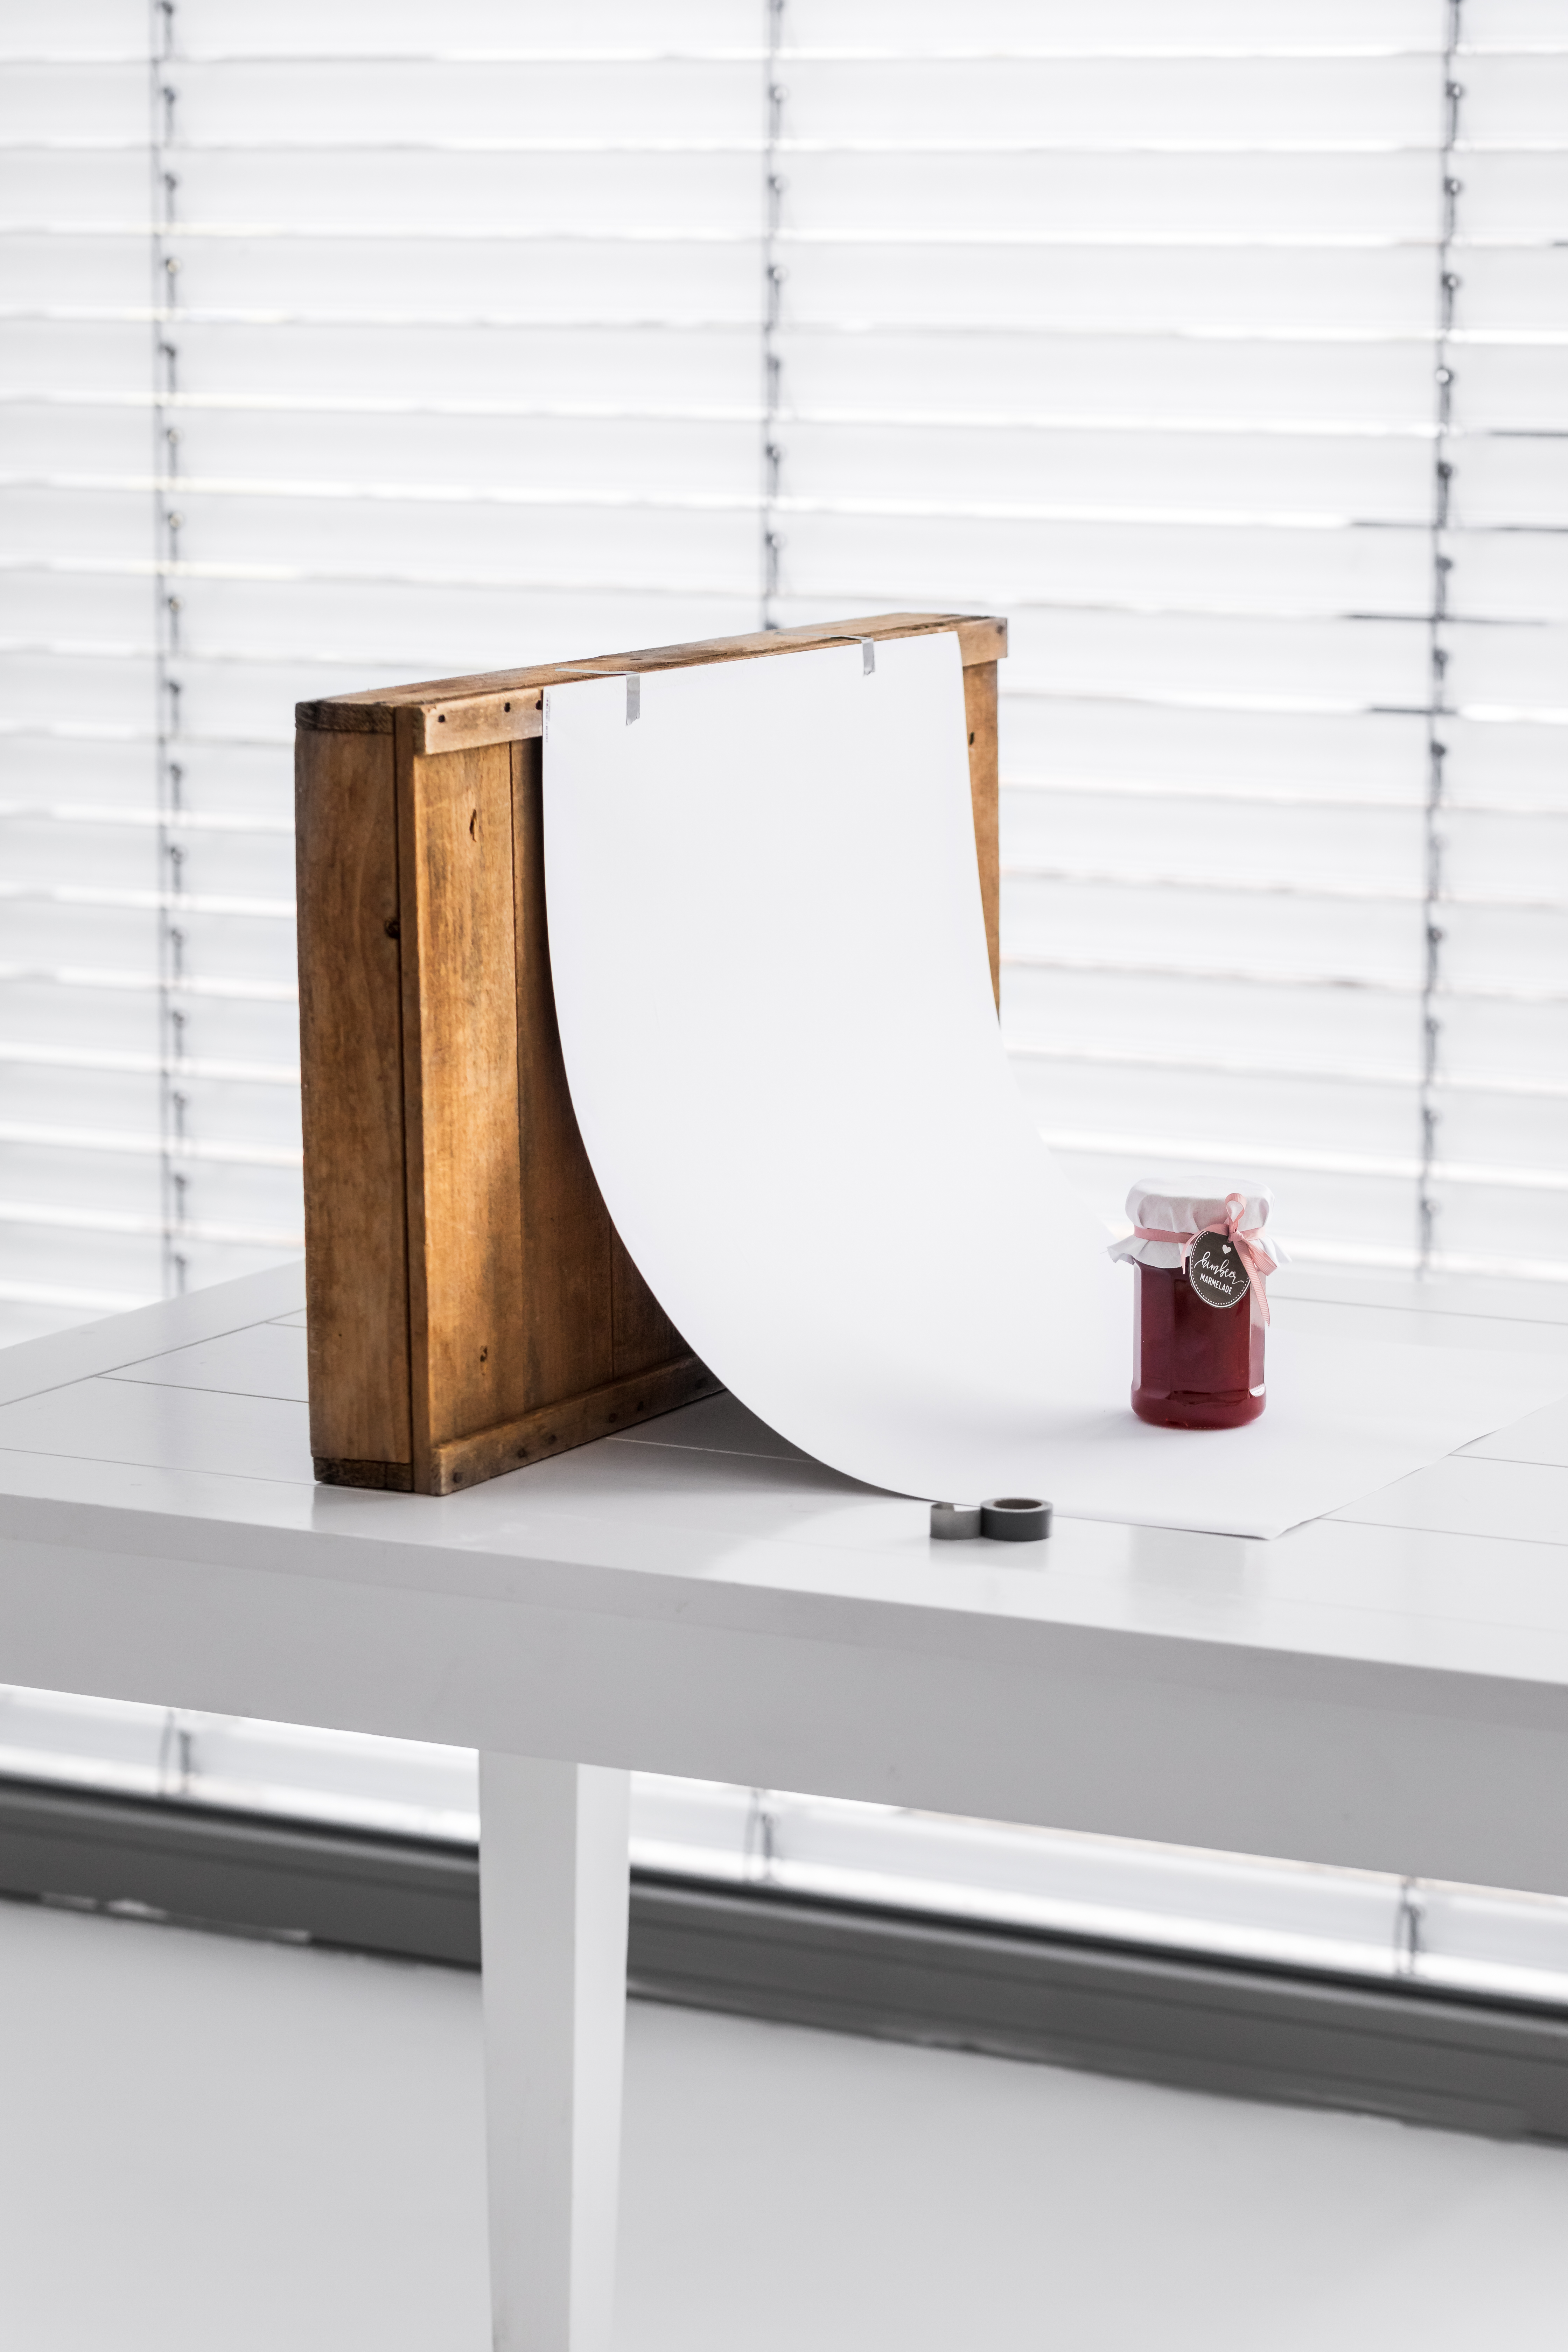
Use a curved cardboard backdrop for a seamless background without distracting lines.
Choose a background color that complements the product.
Use a closed aperture (e.g., f/10) to keep the entire product in sharp focus.
Photograph the product from the front for optimal presentation, ensuring three-dimensionality and showcasing multiple angles.
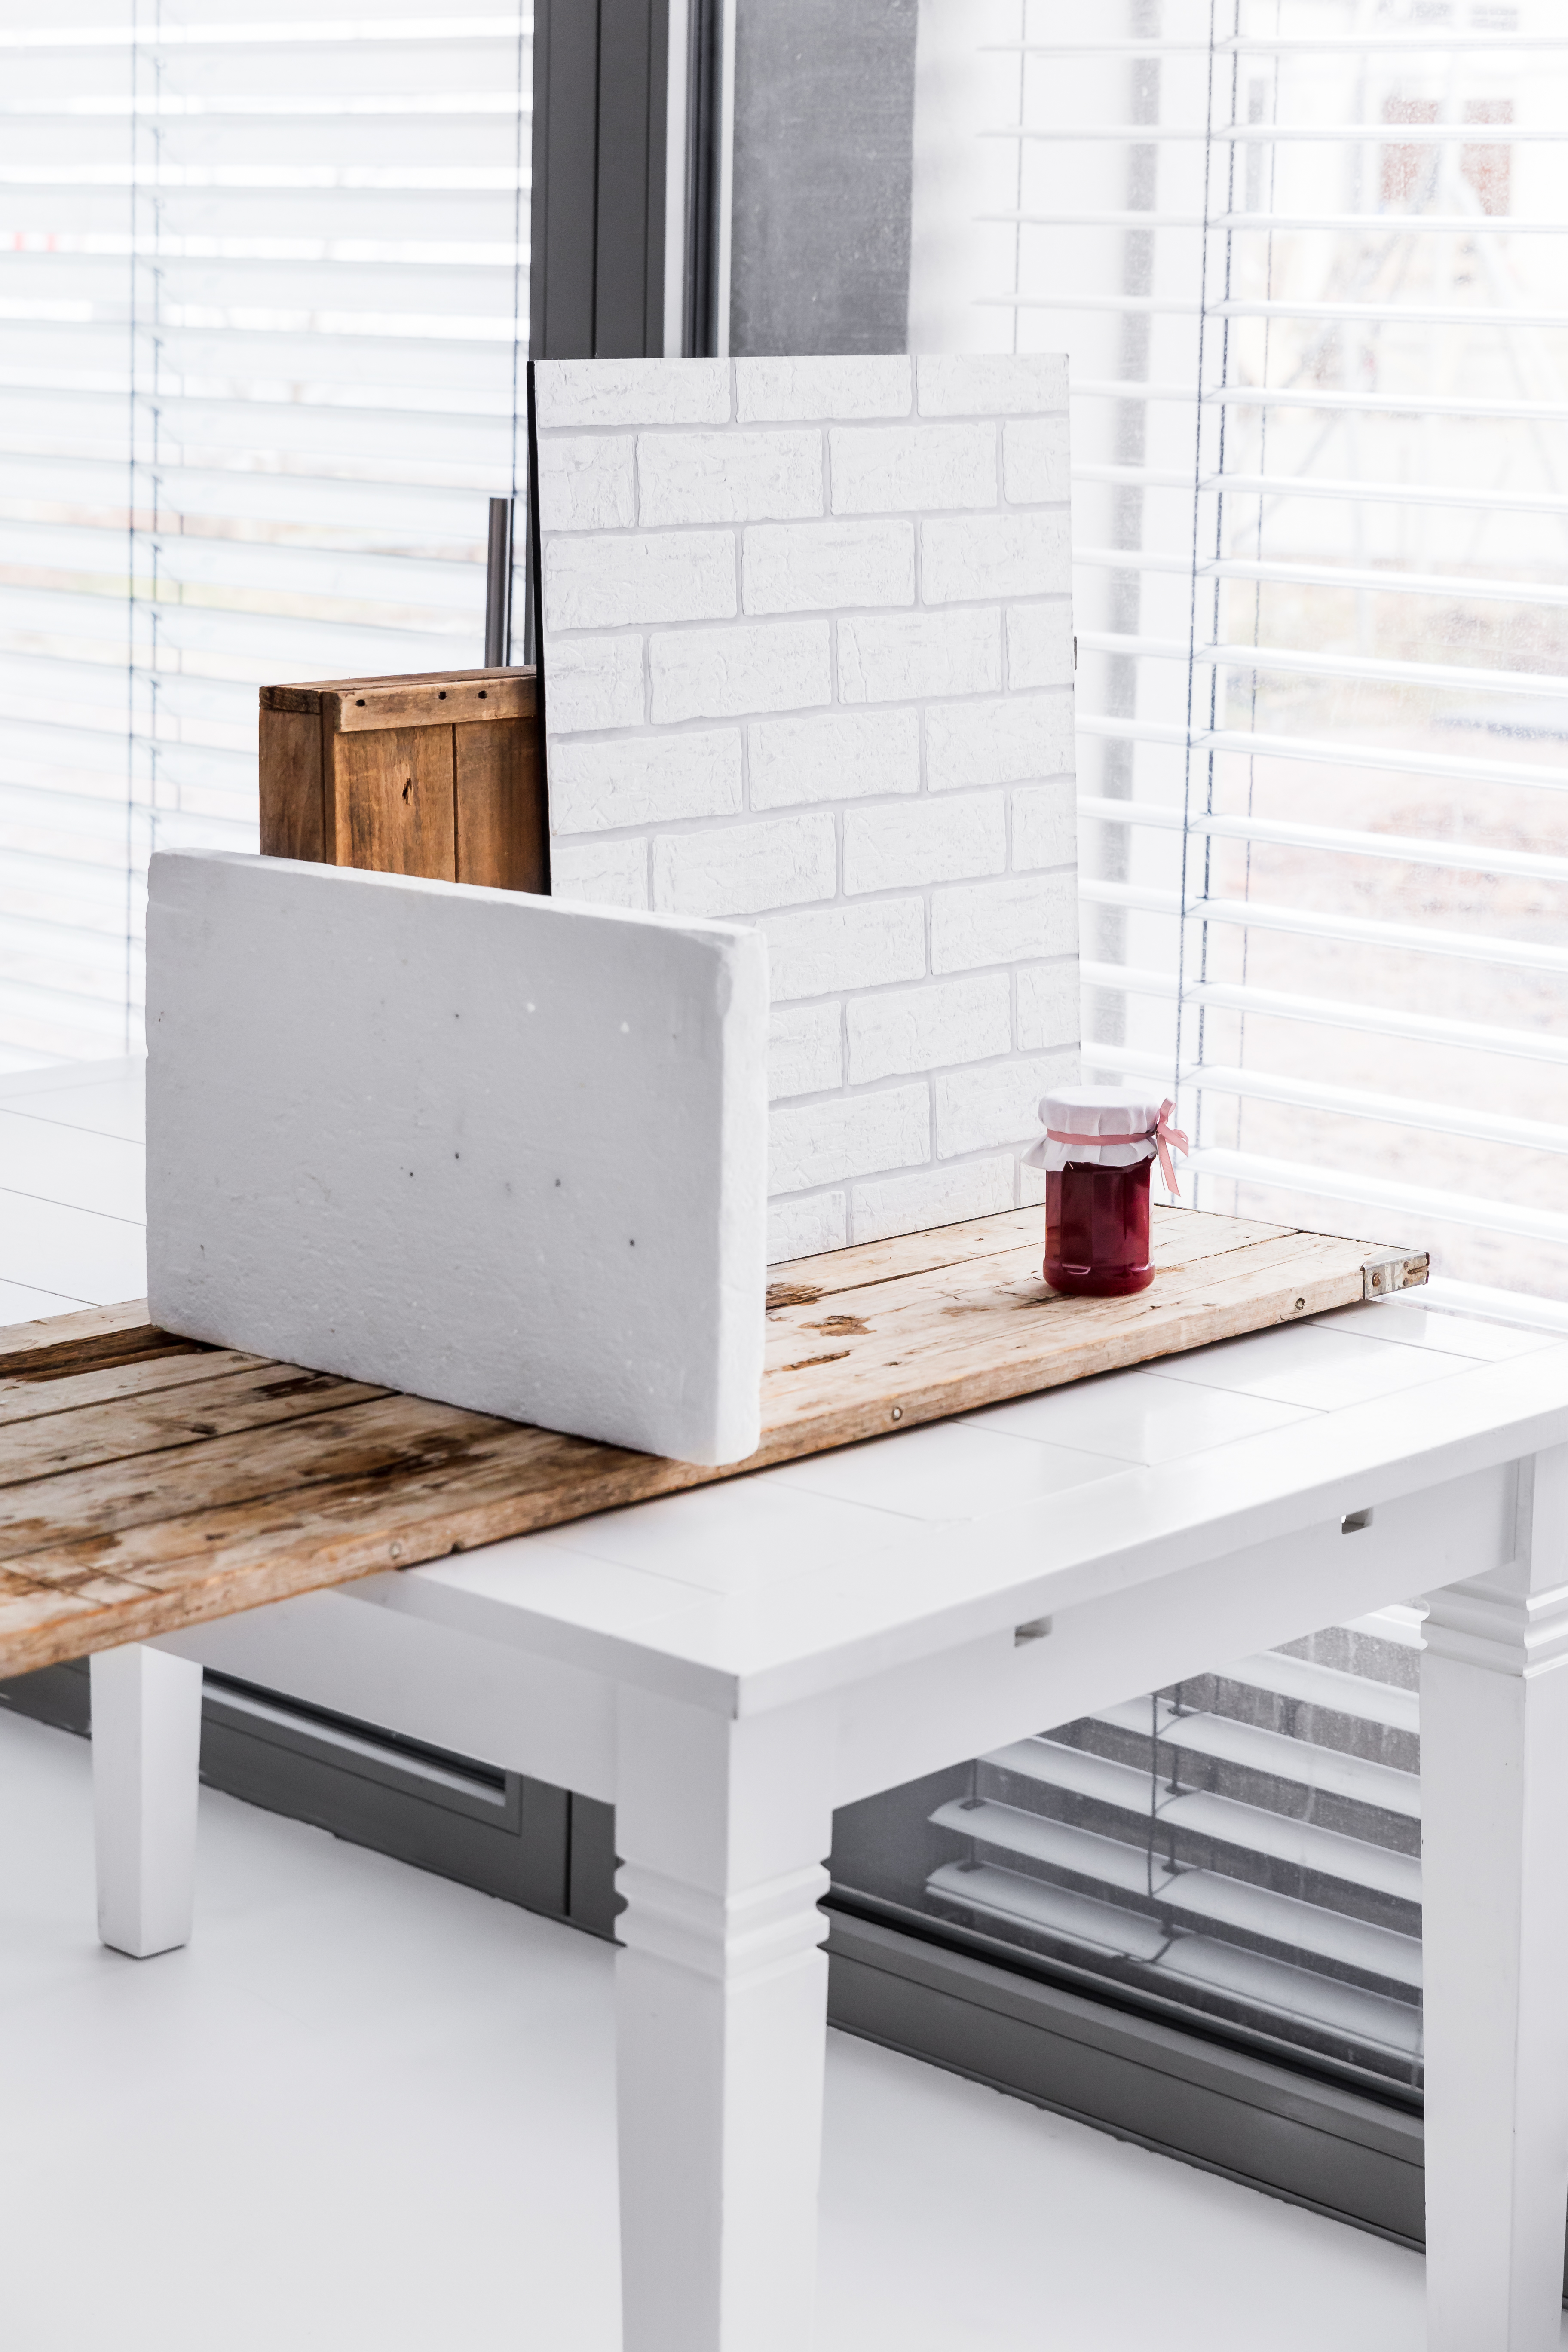
The light source should be positioned to the side to create shadows and contrasts. Additional shadows can be added using cardboard or polystyrene to enhance depth and dimension.
Here’s another alternative idea for implementation.
About the author: Vera Wohlleben

Although Vera often photographs product shots and still lifes, her true passion is capturing delicious food. She loves highlighting the most mouthwatering aspects of a dish for her clients, which include many renowned food brands. Whether it’s the irresistible sheen of chocolate or the perfect crispiness of a freshly baked pizza, Vera enjoys bringing out the details that make food so tempting. What excites her most is telling a story through her images—creating an atmosphere that reflects the mood, setting, and even the time of day. Her goal is to convey a sense of indulgence and aesthetics. Light is her most essential ingredient. The right lighting can turn a wrinkled apple into a stunning shot, while poor lighting can make even the most elaborately decorated cake look dull.
TAMRON products mentioned in this article
28-75mm F/2.8 Di III VXD G2
Model A063
