
Mar 17, 2025 / Daniel Wohlleben
On the Trail of the Milky Way – A Crash Course in Star Photography
On the Trail of the Milky Way – A Crash Course in Star Photography
Images of the starry sky have always held a special fascination for us. Perhaps it’s because, in an age of increasing light pollution, a clear view of the stars has become a rarity for many. In any case, whenever I upload a starry sky photo to social media, the response is overwhelmingly positive. A common question that arises is how the image was captured. After all, photographing the night sky isn’t something we can simply do with a smartphone. There are several factors to consider for a successful star photo. It begins with the right equipment, followed by the choice of location and subject, camera settings, and finally, post-processing. In the following, I’ll share essential tips for each of these aspects, giving you a crash course in star photography.

Equipment Tips
Capturing stunning night sky images requires the right tools. Here are the essentials you’ll need:
Tripod: Absolutely indispensable, as long exposure times of several seconds are typically required for night photography. A sturdy tripod keeps your camera stable and prevents blur.
Remote Shutter Release: Helps avoid camera shake when pressing the shutter button. Many modern cameras can also be triggered via a smartphone app using a WLAN connection. Alternatively, the built-in 2-second timer can work as well. For exposures longer than 30 seconds (bulb mode), a remote shutter release is necessary for most cameras.
Light Source: To see the stars properly, you’ll need to find a location with minimal light pollution. However, you also need a light source to navigate in the dark. A headlamp is ideal, as it keeps your hands free to operate the camera. A model with night vision mode (red light) is particularly useful, as it preserves your eyes’ dark adaptation while still providing enough illumination. Light sources can also be used creatively in your photos—for example, through light painting (more on this later).
Camera: Modern camera sensors are so advanced that even entry-level models can capture great star images. A larger sensor collects more light and produces less noise, so a full-frame camera offers a significant quality boost.
Lenses: While you can achieve good results with a kit lens under favorable conditions, higher-quality images require capturing as much light as possible. Using a fast lens with a large aperture, preferably F/2.8 or larger, significantly improves the results. Wide-angle lenses are particularly well-suited for star photography, as they allow you to include expansive sections of the night sky in a single frame. For full-frame cameras, options like the TAMRON 20-40mm F/2.8 or the TAMRON 17-28mm F/2.8 provide excellent light sensitivity and a broad field of view. If you’re using an APS-C camera, the TAMRON 11-20mm F/2.8 is a great alternative, delivering similarly impressive results. The combination of a large aperture and wide-angle perspective ensures that as much light as possible is captured, producing bright and detailed images even in low-light conditions.
In the Right Place at the Right Time
You don’t have to be an astronomer to know that spotting a clear starry sky—let alone the Milky Way—with the naked eye in the city is nearly impossible. The culprit is light pollution, caused by artificial light sources such as street lamps, car headlights, and neon signs. For star photography, the goal is to get as far away from urban light as possible. Living in Heidelberg, this means escaping the Rhine-Neckar delta and heading deep into the Odenwald or the Palatinate Forest, where the night sky is significantly darker. If you’re unsure where to go, tools like the Light Pollution Map (https://www.lightpollutionmap.info/) provide a clear overview of areas with the least artificial light, helping you find the perfect spot for capturing the stars.
When it comes to choosing the right time, two factors are particularly crucial:
The night should be as clear and cloudless as possible, so checking the weather forecast in advance is essential. Of course, forecasts aren’t always completely reliable. If you arrive at your location and notice a few clouds in the sky, there’s no need to head home right away—sometimes, scattered clouds can add a unique touch to your photo, giving it extra depth and atmosphere.
The phase of the moon is just as important. While a full moon can be a stunning subject in itself, its brightness overpowers the stars, making it difficult to capture the Milky Way. If that’s your goal, it’s best to plan your shoot around a new moon. To keep track of moon phases and other useful celestial events, the PhotoPills app is highly recommended. It even includes an augmented reality function, allowing you to visualize the position of the Milky Way through your phone’s camera—a game-changer for planning the perfect shot!
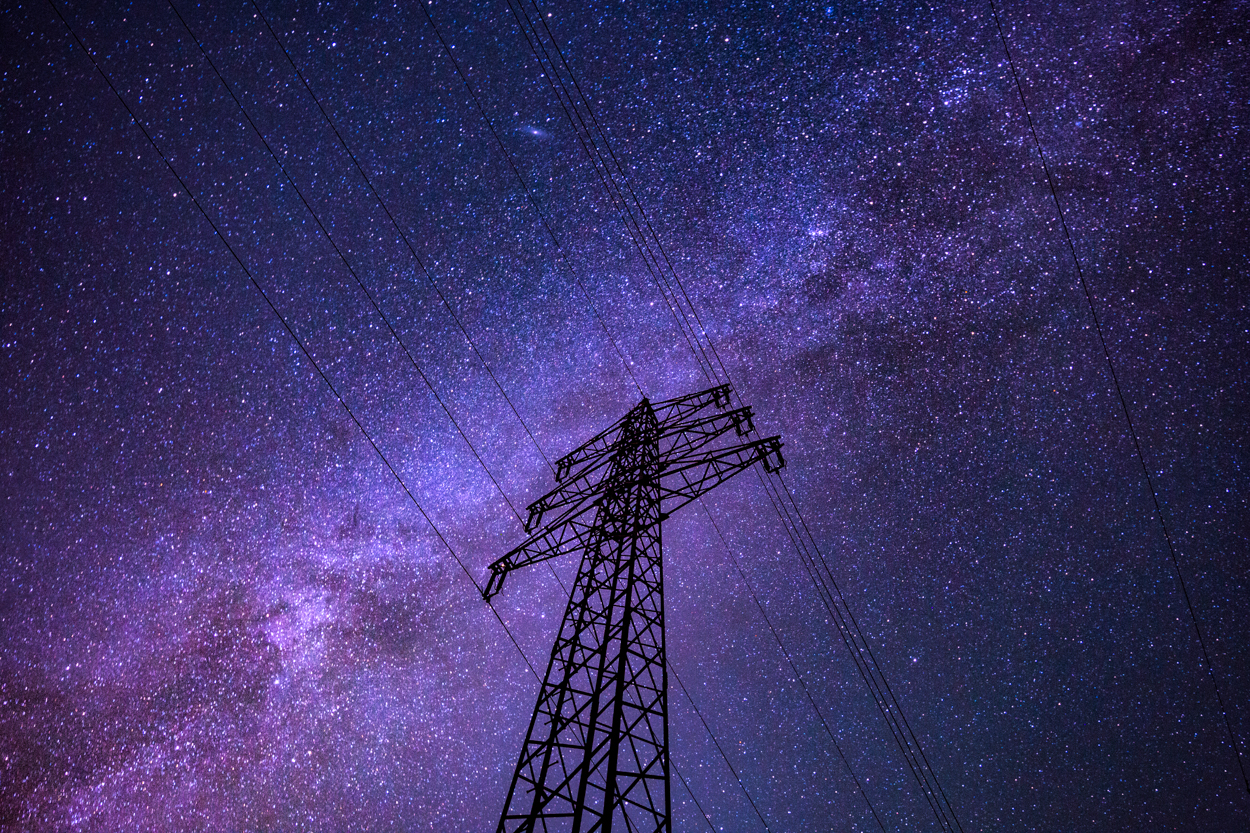
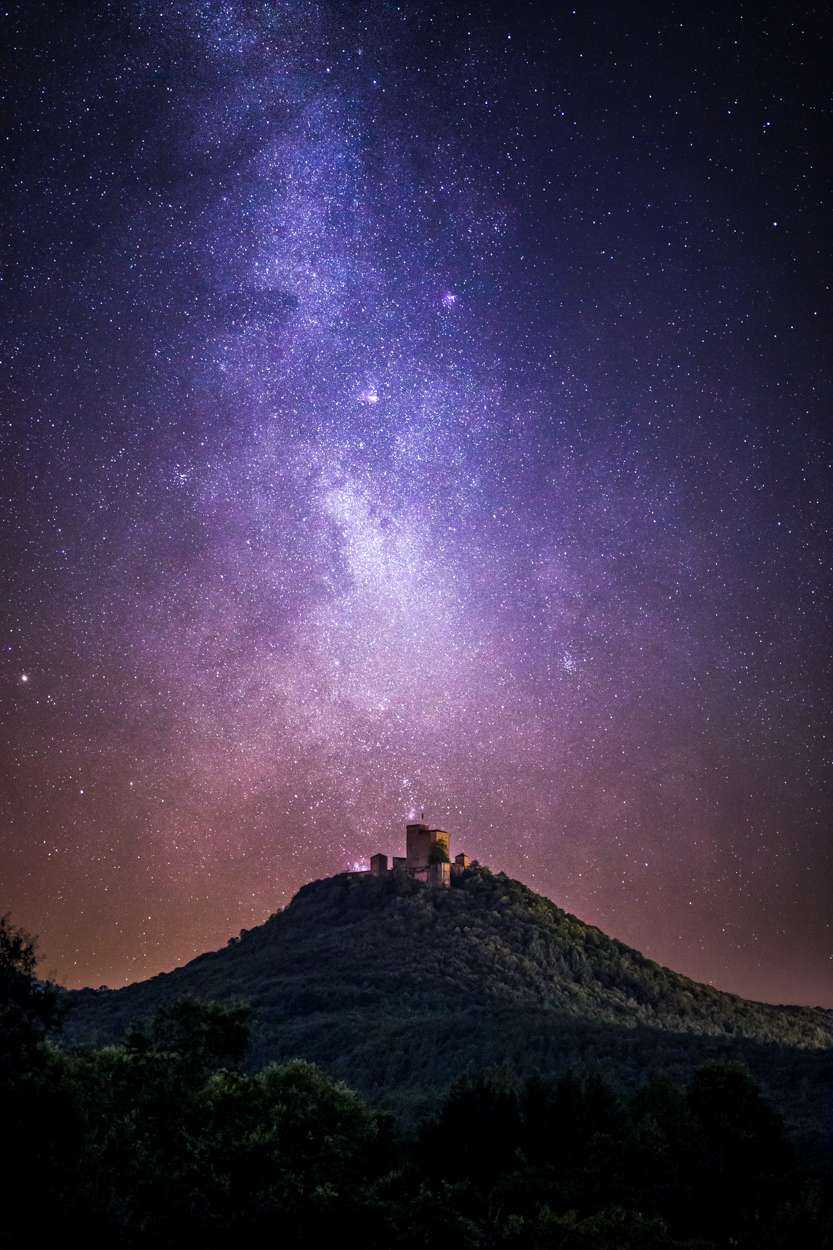
Giving Context to the Stars: Choosing the Right Motif
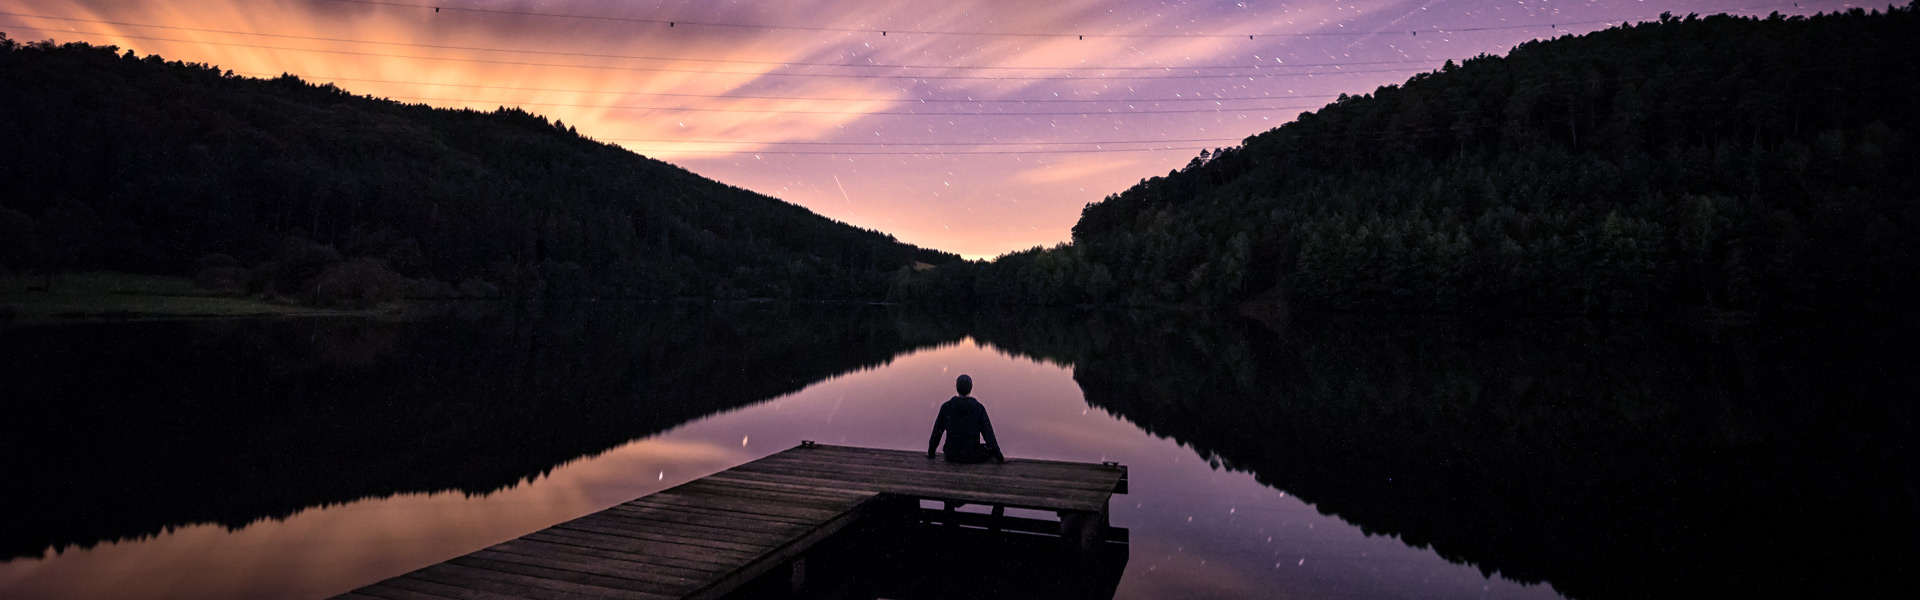
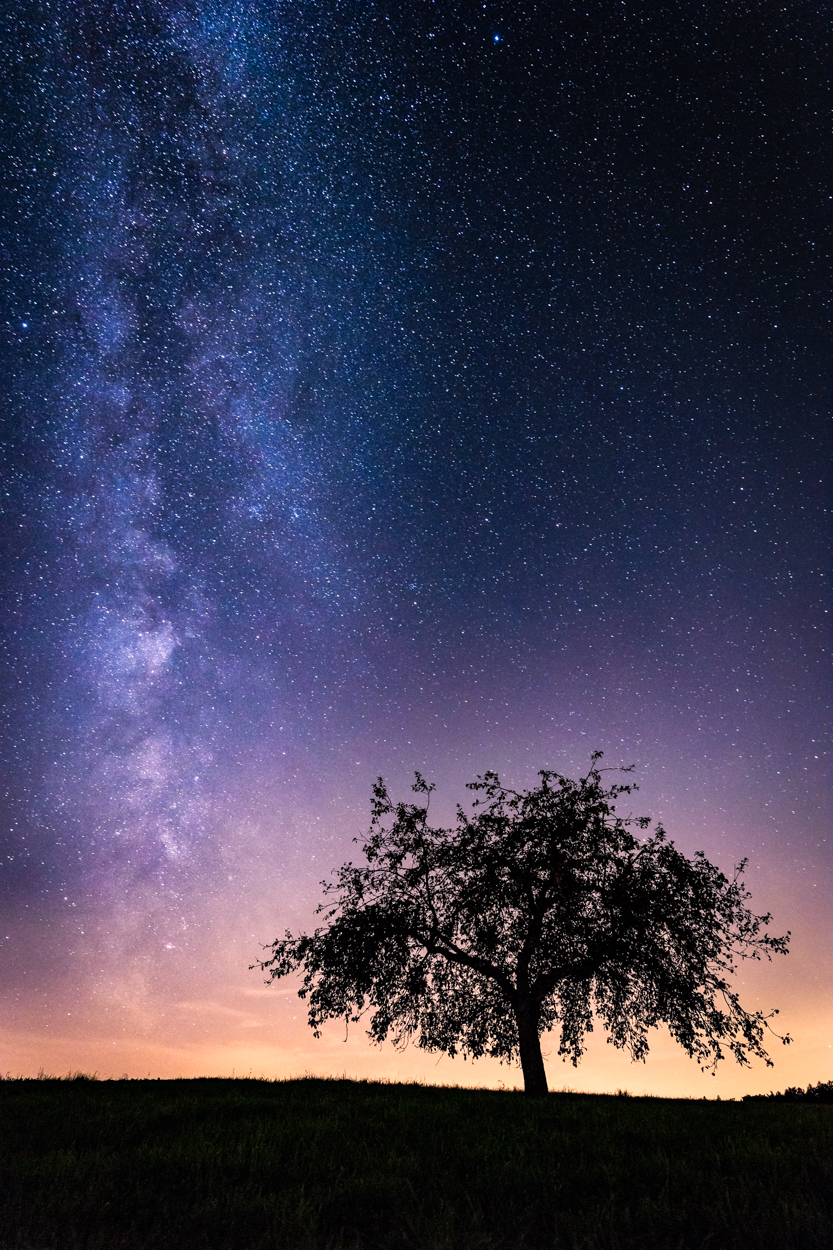
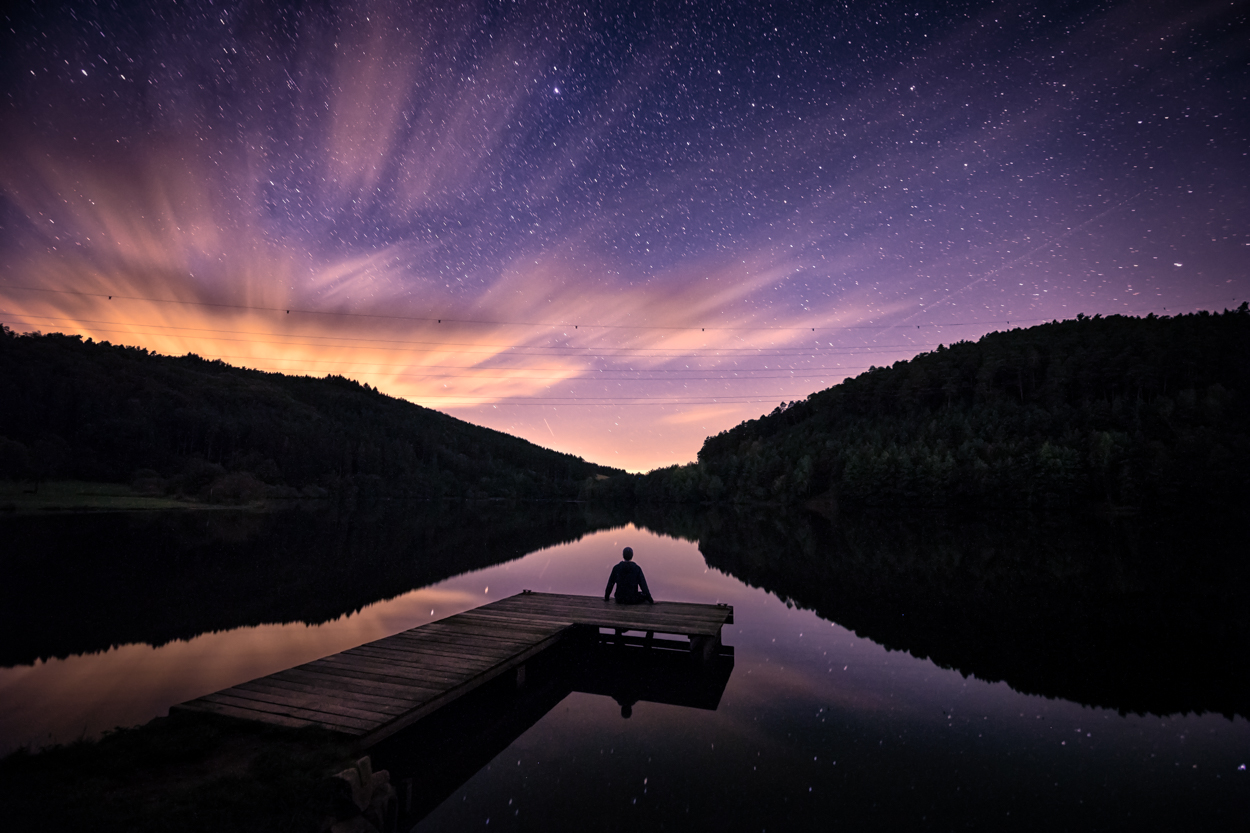
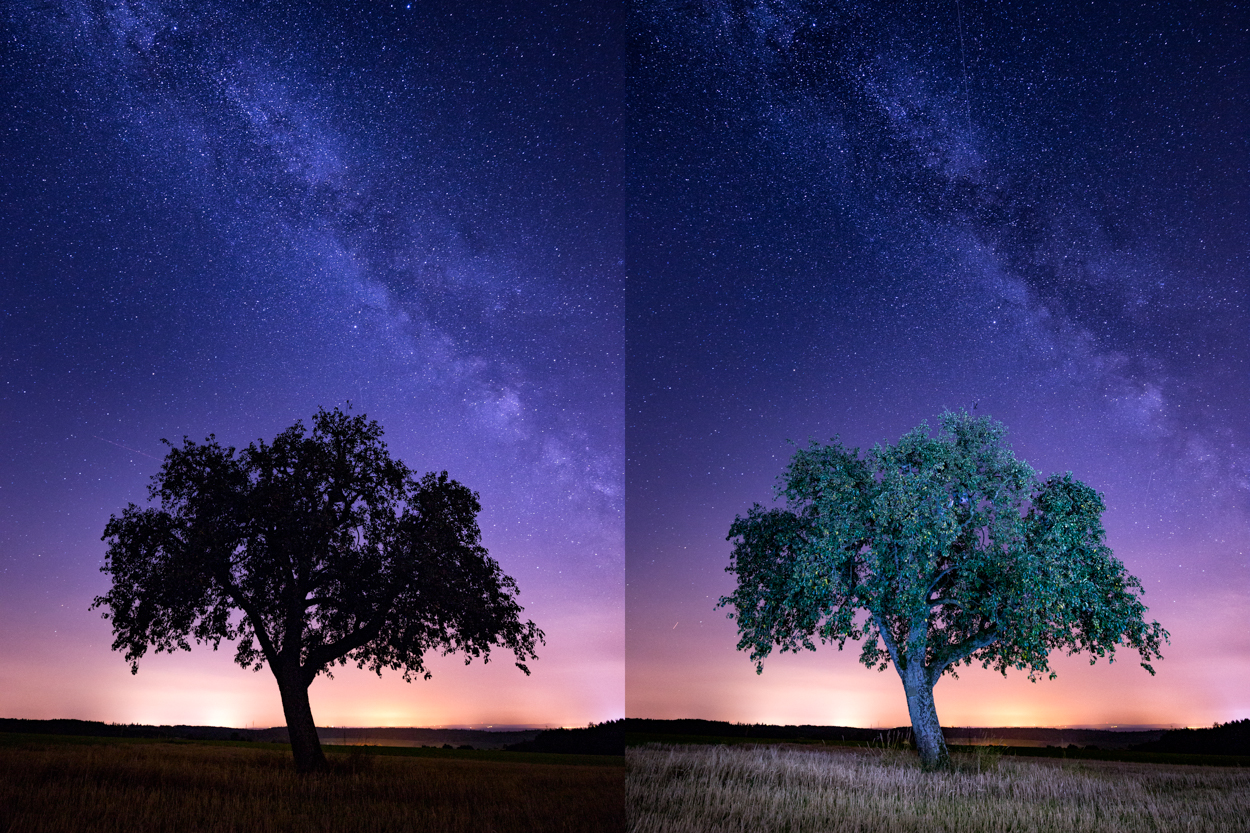
If we’ve followed the previous tips, we now find ourselves in a remote, dark location, far from civilization, equipped with a tripod, camera, and a fast lens on a starry night with a new moon. Under these conditions, a breathtaking night sky unfolds above us, and the course of the Milky Way is often visible to the naked eye. But as mesmerizing as the starry sky is, simply pointing the camera straight up and taking a shot can feel a bit uninspired. What truly elevates an image is an interesting foreground motif—something that provides context, enhances the sense of vastness, and makes the composition more compelling. The possibilities are endless: trees, buildings, lakes, mountains—anything that adds depth and contrast to the scene. Even during the day, I often keep an eye out for potential subjects. Trees, for example, work particularly well when they stand alone and create a clear silhouette against the horizon. If you don’t find a suitable foreground element, remember—you can always include yourself in the shot! A self-portrait under the stars can be a striking addition. Just keep in mind that with long exposure times, even the slightest movement can cause blur. Holding your breath and staying as still as possible will help keep the image sharp.
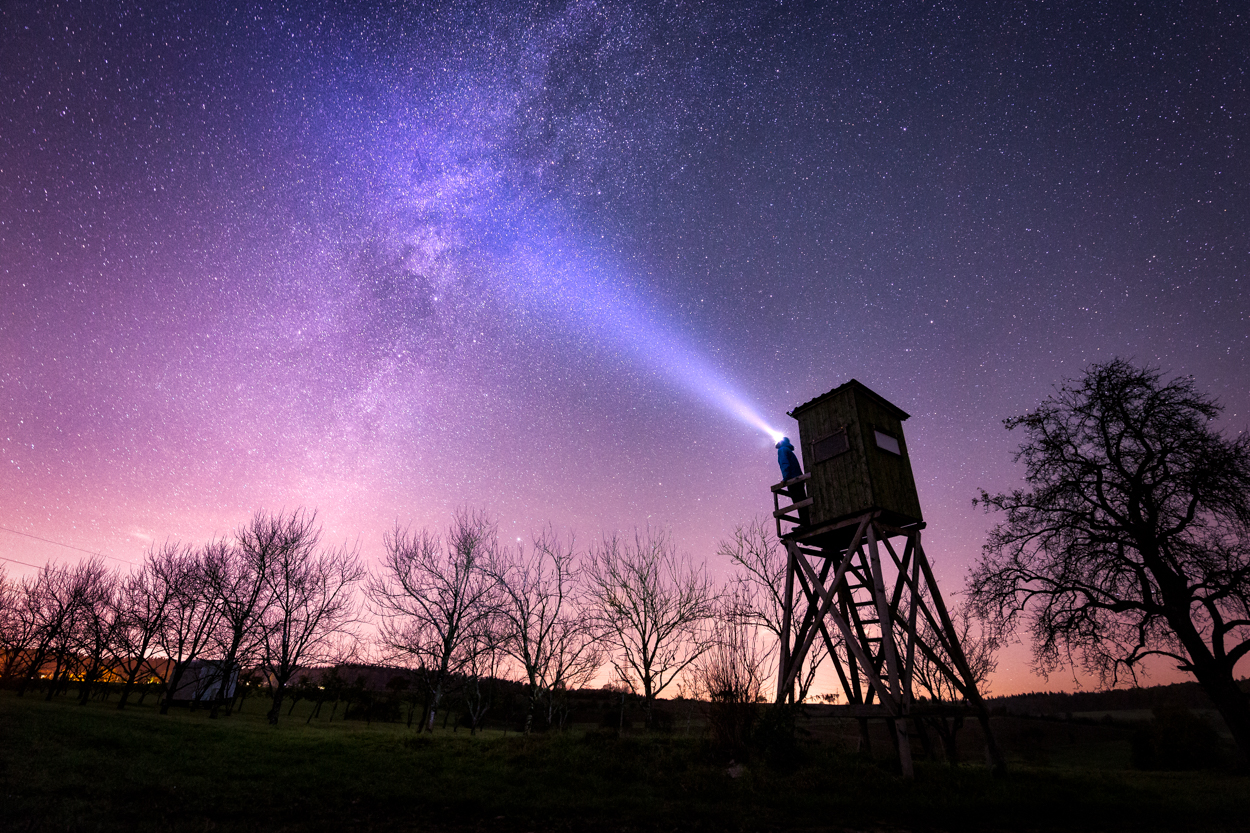
One technique to bring out more details in your foreground subject is “light painting.” This involves illuminating the foreground with a flashlight while the camera is exposing the shot. The key is to experiment with the intensity and duration of the light to achieve a balanced effect without overexposing the scene. Personally, I rarely use this technique, as it often creates an unnatural look. Instead, I prefer to ensure that my subject is well-defined against the horizon and sky. By deliberately underexposing it, you can create a striking silhouette that adds depth and drama to the image without the need for additional lighting.
Bringing Light into the Darkness: The Right Camera Settings
Which brings us to the next important point—camera settings. First and foremost, always shoot in RAW format if possible. This provides you with a digital negative, free from any in-camera processing, giving you significantly more flexibility for post-processing on your computer.
At night, you can forget about your camera’s automatic exposure settings. Switch to manual mode, as the camera’s metering system struggles in such low light conditions. The same goes for focus—it’s best to set it manually, as autofocus typically fails in the dark. To ensure the stars appear sharp, focus on infinity. The easiest way to do this is to select a particularly bright star in Live View, magnify it using the zoom function, and then fine-tune the focus ring until the star appears as small and point-like as possible—this means it’s perfectly in focus.
When it comes to setting the exposure:
Always set the aperture to its widest setting, as the goal is to capture as much light as possible. The more light that reaches the sensor, the better the image quality, especially in low-light conditions.
For ISO, I typically use values between 1600 and 3200, though the optimal setting depends on the lens’s speed and focal length. Depending on the conditions, you may need to adjust this higher or lower to achieve proper exposure while balancing noise levels.
Exposure time is a critical factor. Ideally, we want to expose as long as possible to gather more light, improving noise performance and overall image quality. However, the Earth’s rotation sets a natural limit—if the exposure is too long, the stars will turn into streaks instead of remaining point-like. While this effect can be used creatively for star trail photography, it’s usually undesirable in standard astrophotography. The maximum exposure time before star trails appear depends on your focal length. A useful rule of thumb is: Maximum exposure time (in seconds) = 500 / focal length. If you’re using a crop sensor camera, remember to adjust for the crop factor by multiplying the focal length accordingly. This ensures you stay within the limits for capturing sharp, detailed stars.
Post-Processing: Bringing Out the Best
For me, post-processing is an essential part of the workflow, especially in star photography. A camera sensor captures far more detail than what’s immediately visible in the unedited image. By adjusting contrast and other settings in your editing software, you can make the stars shine more vividly, and with localized adjustments, the Milky Way can often be enhanced even further.
Since every editing program has its own terminology, it’s difficult to give universal recommendations. Personally, I use Adobe Lightroom, where I primarily work with Contrast, Clarity, Whites, and Dehaze to bring out details in the night sky. For local adjustments, I find the radial filter and adjustment brush particularly effective.
Color grading also plays a big role in shaping the final look. Adjusting the white balance can drastically change the mood of an image, allowing for creative interpretations. As you might have noticed, I have a personal preference for pink and purple tones in my star photos. But in the end, developing your own style is all about personal taste—experiment and find what speaks to you!
Now that you have the most important basics, it’s time to head out, look up, and experience the magic of star photography for yourself. Happy shooting!
About the author: Daniel Wohlleben
Daniel Wohlleben lives in Heidelberg and is a passionate photographer. He prefers to find his subjects in nature, with landscapes and animals being his main focus. Especially during the blue and golden hours, he explores the areas around his hometown in search of the perfect shot. However, portraits and urban scenes also make their way into his portfolio.
TAMRON products mentioned in this article
20-40mm F/2.8 Di III VXD
Model A062
