
Jun 13, 2025
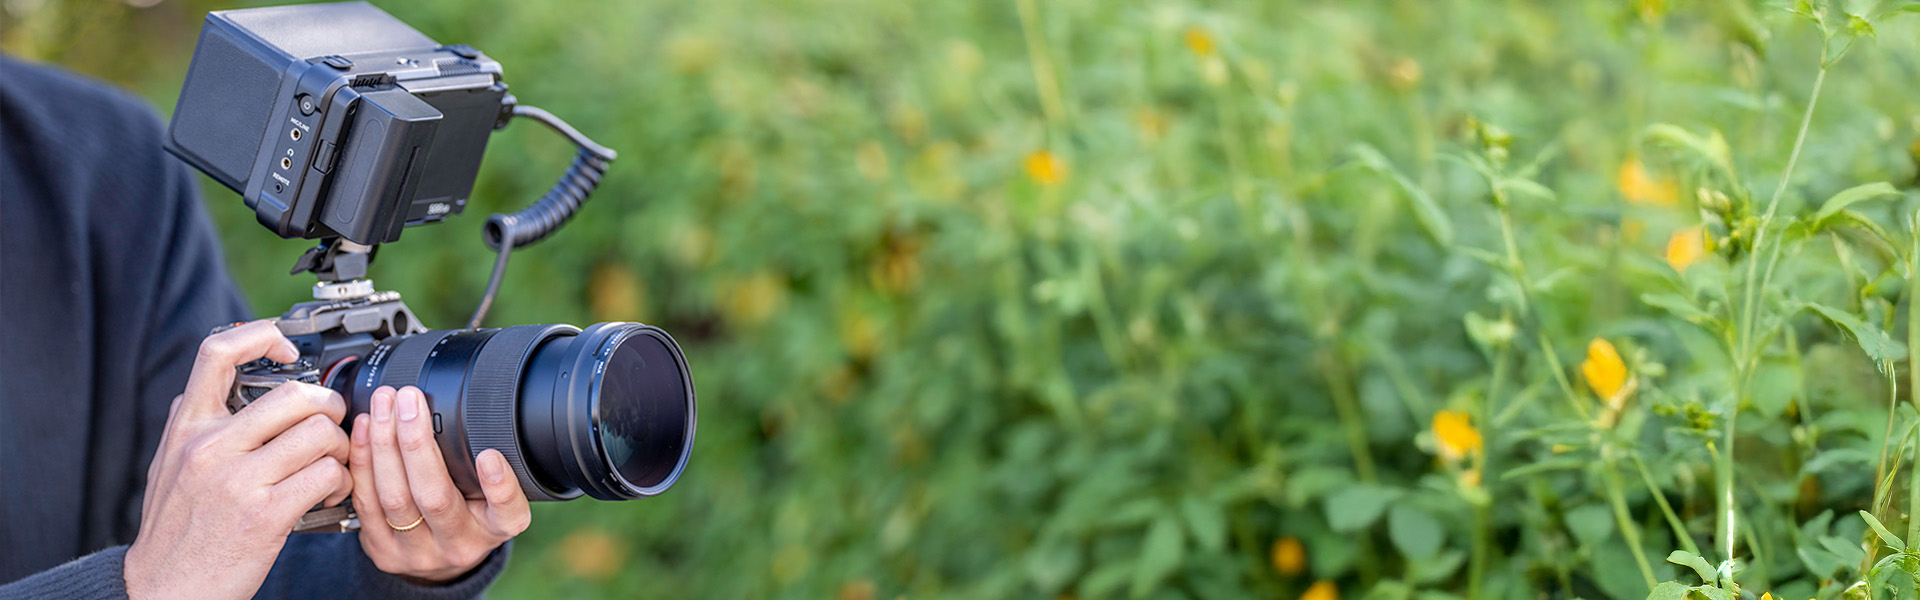
Basics of Video Shooting
Basics of Video Shooting
Understanding Camera Movements and Their Dramatic Impact
If you’re just getting started with videography, you might be asking yourself how to go beyond simply recording a scene and start creating videos that truly connect with your audience. One of the key elements that can instantly elevate your footage is camera work. It’s not just about pointing the camera – it’s about guiding the viewer, building atmosphere and telling a story through movement. In this article, we’ll walk you through the fundamentals of camera work, from the very basics to more advanced techniques. Whether you’re filming your first project or looking to refine your skills, this guide will help you understand how to use camera movement to add depth, drama and professionalism to your videos.
What Is Camerawork?
Camerawork refers to the way the camera is positioned, moved and angled during filming. It’s not just about capturing still images – shifting the viewpoint or adding motion to the camera itself can completely transform how a scene feels. Subtle changes in movement or perspective can evoke a wide range of emotions and help tell a deeper story. In video production, camerawork is a core creative tool. Even when filming the same subject, the way you shoot it dramatically influences the impression it makes. For instance, slowly zooming in on a person can create tension, while shooting from above offers a broader, more detached overview.
Camera Work Effects
Camerawork isn’t just a technical tool – it’s a visual language. The way you move the camera shapes how the viewer feels and what message they take away from the scene. With the right camerawork, you can add emotion, build atmosphere and guide the audience’s focus in a meaningful way. In this section, we’ll take a look at the kinds of effects you can create through intentional camera movement.
Adding Rhythm and Contrast to Your Footage
Repeating the same type of camera movement can quickly make a video feel dull or repetitive. To keep things visually engaging, it’s important to mix up your shots. A thoughtful balance of still and moving shots brings rhythm, variation and a natural flow to your footage.
For instance, you can draw attention to a key moment by shifting from a long static shot to sudden motion. That contrast immediately grabs the viewer’s focus and adds a sense of tension or drama.
Camera movement can also help guide the viewer’s gaze smoothly across a scene, without needing to rely on quick edits. Imagine a family dinner scene: instead of cutting between faces, a slow, continuous movement around the table can capture everyone’s expressions in a single take. It feels immersive and cohesive – and keeps the emotional tone steady.
Enhance Emotion and Impact Through Camerawork
Camerawork plays a key role in highlighting both the emotional state of your characters and the overall impression of your subject. Strategic camera movement allows you to visually amplify what the scene is trying to convey – without saying a word. For example, vertical camera movement can mirror emotional highs and lows. Tilting or moving the camera upward when a character receives good news can visually enhance the feeling of joy and excitement. On the other hand, a downward movement in a sad or disappointing moment can emphasize a sense of loss or defeat. The speed of the camera movement also plays a big part in shaping atmosphere. Fast, sudden movements can create tension or urgency, making the viewer feel on edge. In contrast, slow, smooth motion brings a sense of calm, comfort or reflection – ideal for emotional or intimate scenes.
We need your consent to display this video
We use a third-party service to embed video content. This service may collect data about your activities. Please read the details and agree to the use of the service to watch this video.
Understanding the Main Types of Camerawork
Camerawork can be broadly categorized into three types: fixing the camera position, moving the camera itself, and using lens functions. By understanding how each method works, you can choose the most effective approach for the scene you’re filming and the emotions you want to convey.
Fixed Camera
A fixed shot is the most basic form of camerawork, where the camera is mounted securely on a tripod or another stabilizing device and remains completely still during filming. While it may seem simple at first glance, it’s a foundational technique that supports many other styles of camerawork.
The key strength of a fixed shot is the stability it provides. Because the camera doesn’t move, the subject’s actions and facial expressions can be captured in a clear and objective way. In landscape scenes, for example, the movement of trees swaying in the wind or clouds drifting across the sky becomes more noticeable when the frame itself stays still.
Fixed shots are also ideal for long takes or when maintaining a specific composition is important. That’s why they’re often used in documentaries and interviews – keeping the camera steady allows full focus on the subject’s words and expressions without distraction.
Panning: Moving the Camera Sideways
Panning is a camerawork technique where the camera stays fixed in one position but rotates horizontally. It’s ideal for capturing wide landscapes or following moving subjects – which is why it’s often referred to as a horizontal pan. This technique is especially effective when filming something that can’t be fully shown in a single static frame, like a sweeping mountain range or a dog running across the scene.
When panning, the speed of the movement plays a crucial role. This is particularly important when using a telephoto lens – even small shifts in the camera can translate into large, exaggerated movements on screen. To keep the image clear and easy to follow, it’s important to pan slowly and steadily. If the camera moves too quickly, the footage may appear blurry or hard to watch.
Smooth panning requires a well-adjusted tripod head and consistent hand control. Plan your start and end points in advance, and move the camera between them at an even, controlled speed. That’s the key to achieving clean, professional-looking results.
Tilting: Moving the Camera Vertically
Tilting is a camera technique where the camera remains fixed in place but moves vertically – up or down. Also known as a vertical pan, it’s ideal for tracking tall subjects or showing vertical motion in a dynamic way. This technique works well when you want to reveal the full height of a building, follow the flow of a waterfall, or capture a person from head to toe in a single shot.
As with panning, the speed of movement is key. Sudden or jerky tilts can make the footage hard to follow. Unless you’re going for a specific dramatic effect, it’s best to tilt the camera slowly and at a steady pace. If the motion is too fast, the viewer may struggle to keep up, which can feel jarring or disorienting. For a clean, polished result, focus on smooth, controlled movement – unless you’re intentionally aiming to create a sense of confusion or tension.
Tilt Up and Tilt Down
There are two directions of tilt movement: tilt up and tilt down. Each creates a different psychological effect, so it’s important to choose the one that best supports the mood and message of your scene.
Tilt up moves the camera from bottom to top and is often used to emphasize the scale or height of a subject. For example, filming a skyscraper from the ground up creates a sense of grandeur or intimidation. It can also symbolize growth, ambition or hope – like when a character rises above a challenge or steps into a new chapter of their journey.
Tilt down, on the other hand, moves from top to bottom and is effective when guiding the viewer’s eye from a wide overview into specific details. It can evoke a sense of closure, descent or even emotional weight. This technique is often used to shift focus from a sweeping cityscape down to a specific location, or to suggest the end of a story arc or a reflective moment.
Camerawork That Involves Moving the Camera
Camerawork that physically moves the camera creates images that feel more dynamic, immersive and three-dimensional. Unlike a fixed camera, it can express motion, depth and a sense of spatial scale – adding a realistic energy that draws the viewer into the scene.
To achieve smooth, professional-looking movement, it’s best to use equipment like sliders, dollies or gimbals. These tools help stabilize the camera and minimize unwanted shake, especially during longer or more complex shots. If you’re just starting out, investing in an affordable slider or gimbal is a great way to experiment with motion while keeping your footage clean and controlled.
Tracking – Following a Subject
Tracking is a camerawork technique where the camera moves sideways while following a moving subject. It’s commonly used in scenes where someone is walking or running – for example, capturing a person strolling through the city from the side, or keeping pace with an athlete mid-race. This technique is especially popular in documentaries and sports footage to keep the viewer engaged with the action.
By moving alongside the subject while keeping a consistent distance, the background appears to flow past them, which naturally emphasizes their motion. In professional video production, tools like rails, sliders or stabilizers are often used to ensure smooth and steady tracking shots.
Dolly Shot: Moving the Camera Forward or Backward
A dolly shot involves moving the camera forward or backward in relation to the subject, creating a natural sense of depth and perspective. It’s often used in scenes that focus on emotional moments or psychological shifts, helping to visually enhance the viewer’s connection with the subject.
By adjusting the physical distance between the camera and the subject, you can influence how the audience perceives the emotional tone. For example, slowly dollying in on a character during a tense moment can heighten intensity and draw the viewer in. Pulling back can create a feeling of distance, detachment or reflection.
In professional filmmaking, dolly shots are often executed using a dolly or track system, but a slider or gimbal can serve as a simpler alternative. Even handheld movement can create a subtle dolly effect, as long as the camera remains stable and the motion is smooth.
Dolly In and Dolly Out
Dollying in involves moving the camera closer to the subject and is especially effective for creating tension, intimacy or emotional focus. It draws attention inward, making the scene feel more intense or personal.
Dollying out, by contrast, moves the camera away from the subject. It’s often used to close a scene, portray separation, or reveal a wider context. It can evoke feelings of loneliness, transition or the calm after a storm.
While this technique may resemble a zoom, dolly shots differ in one key way: instead of changing focal length, you’re physically moving the camera. This results in a more natural, immersive shift in perspective, as all elements in the frame adjust in relation to the camera’s position – giving the viewer a deeper sense of space and realism.
Circle Shot Around the Subject
A circle shot is a camera movement where the camera revolves around the subject in a smooth circular motion, placing visual emphasis on the subject’s presence. By capturing the subject from all sides – a full 360 degrees – it creates a strong three-dimensional effect that feels dynamic and immersive. This technique is often used in iconic movie scenes or music videos to build intensity, highlight emotional moments or add visual flair. It’s also great for showcasing products or artworks when you want to give the viewer a complete, detailed look from every angle. Circle shots are usually executed with circular rails or motorized gimbals to keep the motion smooth and consistent. Handheld versions are possible, but they require a steady hand and advanced skill to maintain balance and flow.
Lens Zoom
Zooming is a camera technique that changes the focal length of a zoom lens to adjust how close or far the subject appears, all without moving the camera itself. Because the camera stays fixed, zooming is a relatively simple technique that’s easy to try – even for beginners. However, it’s important to note that zooms often lack a natural sense of depth. Since the camera doesn’t physically move, the perspective remains flat, which can make the image feel less immersive. If you’re aiming for a more dynamic or realistic look, physical camera movements like a dolly shot may be more effective.
Zoom In and Zoom Out
Zooming in gradually enlarges the subject in the frame, making it a great way to draw attention to something specific. This is especially useful when you want to shift focus to a person or object within a wider landscape or scene.
Zooming out does the opposite – it reduces the subject’s size and gradually reveals the full surroundings. This technique can be used to show context, setting or the scale of a scene, starting close and slowly pulling back to reveal where the subject is positioned.
To use zooms effectively, pay attention to the speed of the zoom. A fast zoom can convey urgency, surprise or tension – perfect for dramatic reveals or moments of shock. A slow zoom, on the other hand, is better for building emotion, creating a sense of intimacy or showing gradual change over time.
Differences in Impression Depending on the Angle
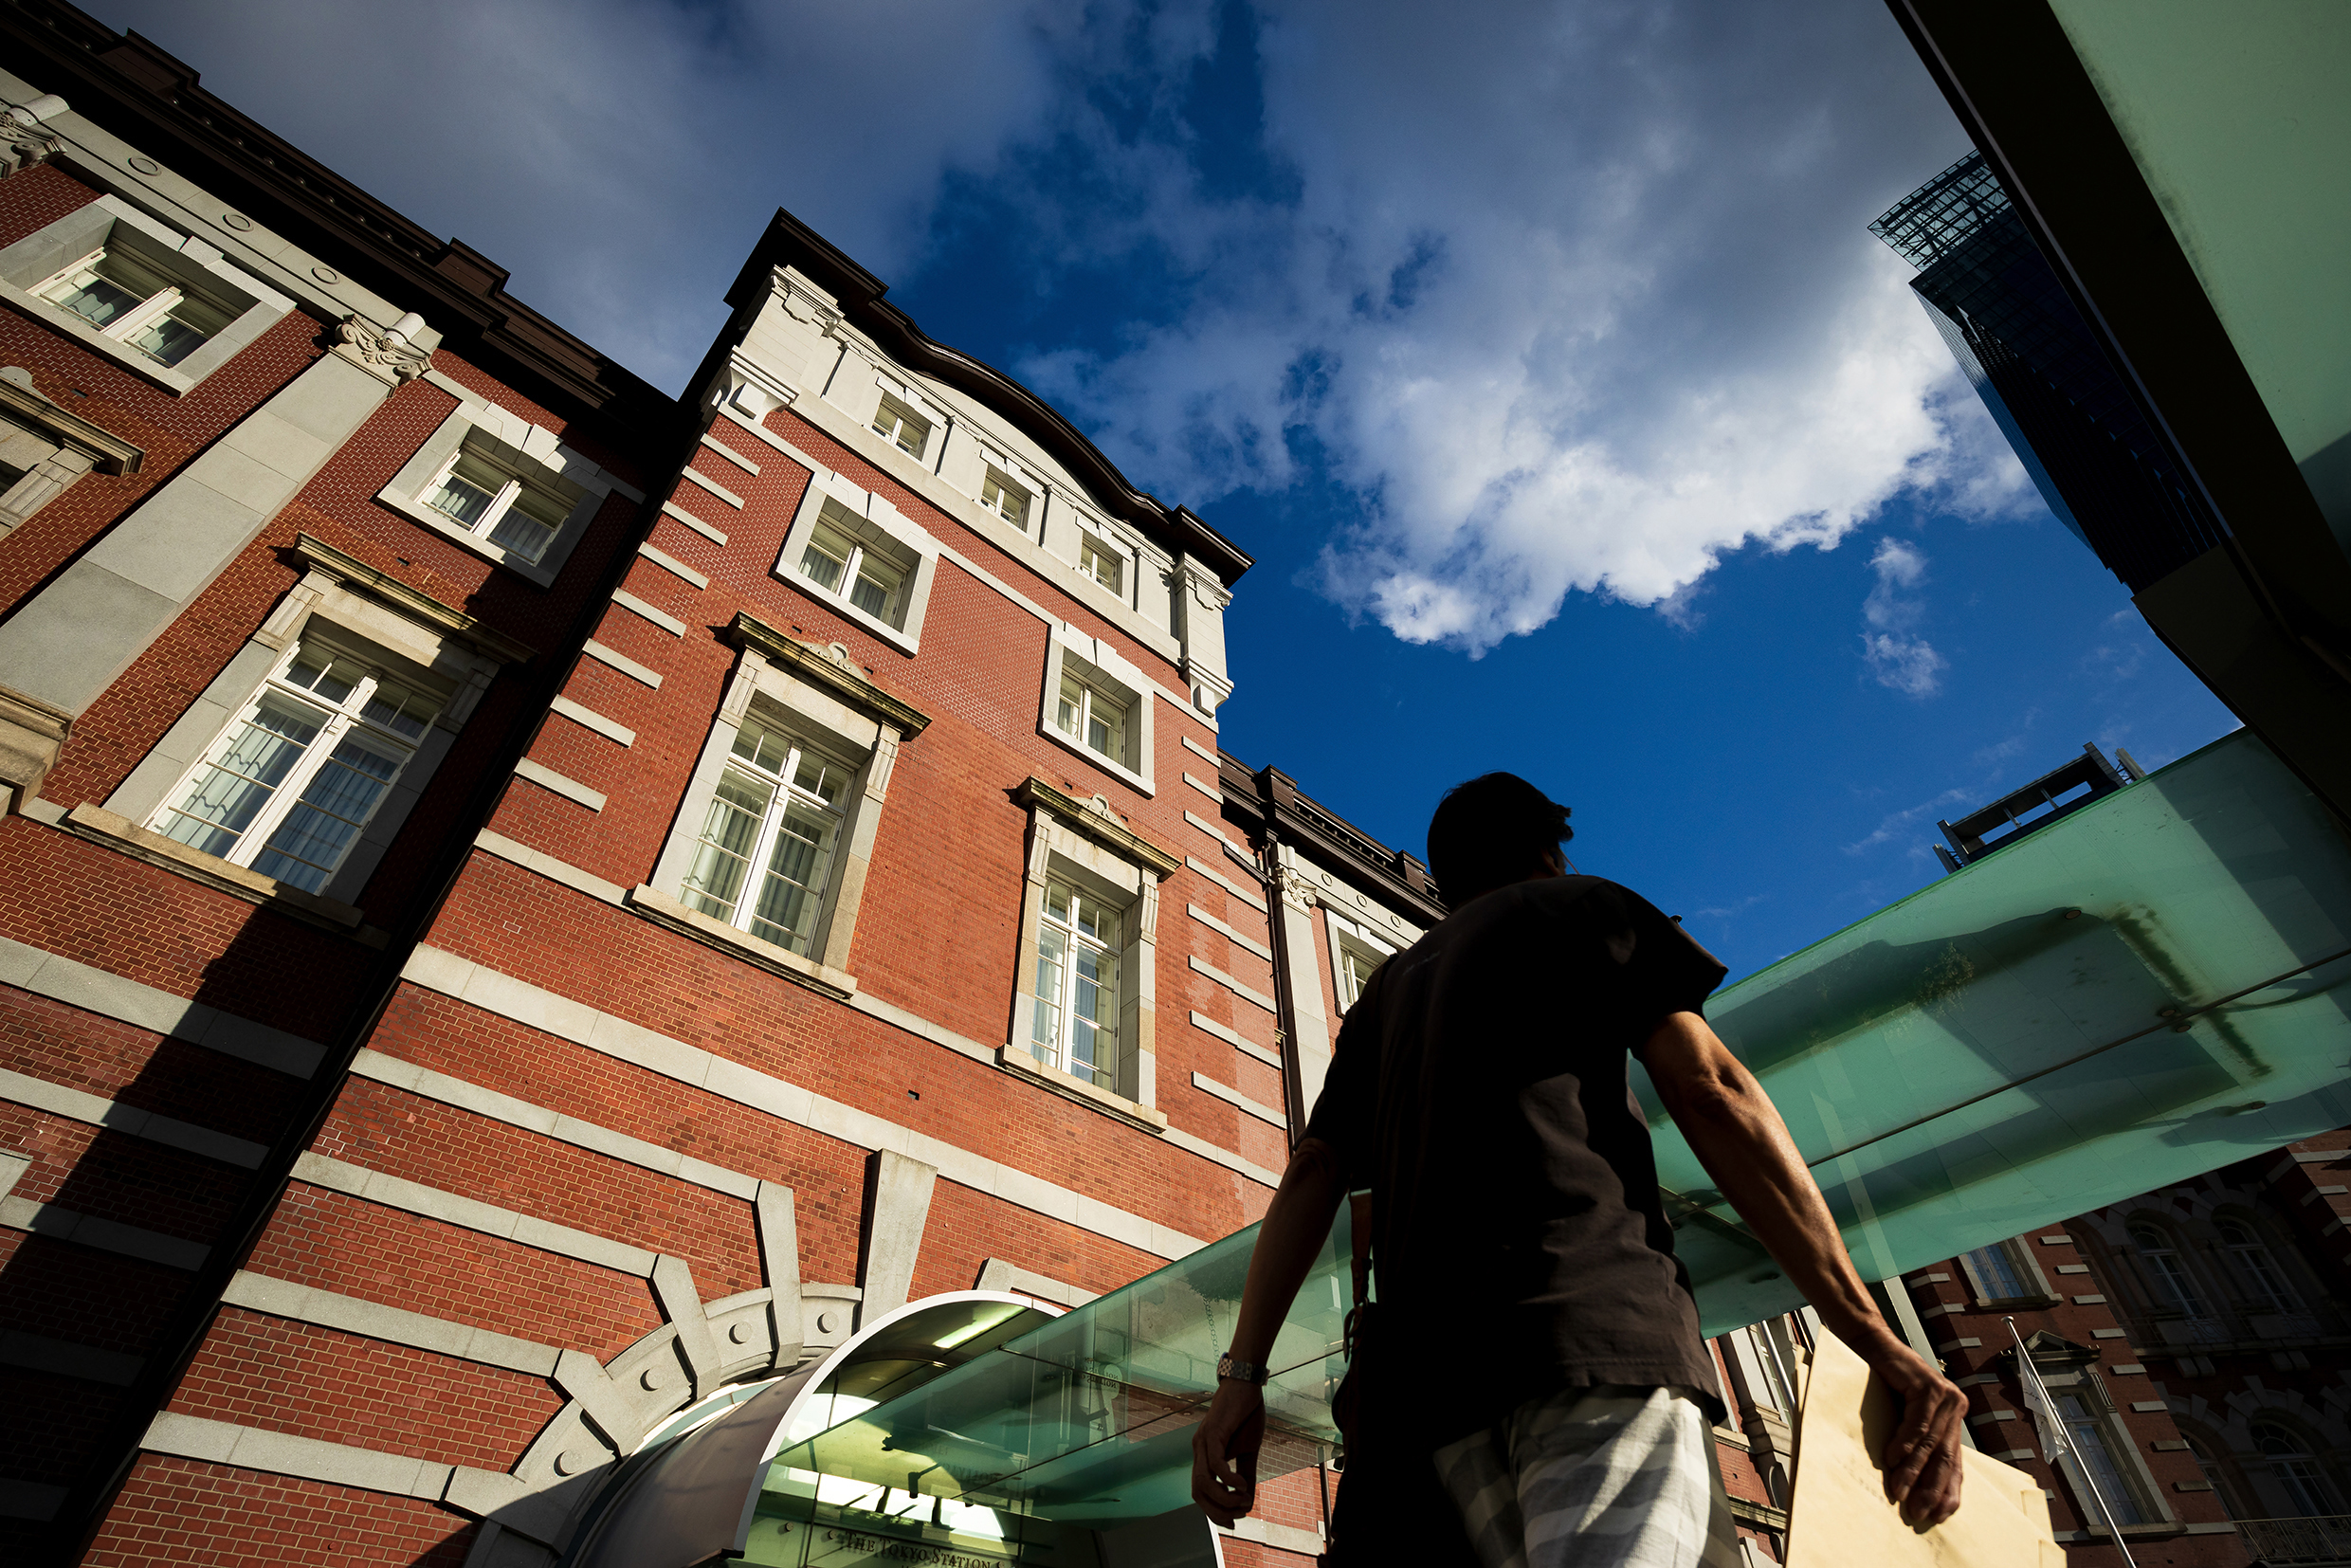
The angle refers to the position or direction from which the camera captures the subject. Even when filming the exact same scene, the angle you choose can drastically change how it’s perceived by the viewer. For example, shooting from a low angle – looking up at the subject – can emphasize power, authority or dignity. It makes the subject appear strong or dominant. On the other hand, filming from a high angle – looking down – can create a sense of vulnerability, weakness or distance, and is often used to give a bird’s-eye perspective of a scene. Choosing the right angle is a powerful storytelling tool. It helps shape how the audience emotionally connects with the subject and what kind of atmosphere the scene conveys.
Low Angle and High Angle
A low-angle shot captures the subject from below, looking upward. This technique emphasizes the subject’s size, strength and presence. Filming a building or person from this angle can make them appear more powerful, dominant or even heroic.
In contrast, a high-angle shot looks down on the subject from above. This creates the impression of weakness, smallness or vulnerability, and can also provide a broad overview of a scene. For example, shooting a person from above can make them appear fragile or overwhelmed, which is especially effective in scenes that highlight emotional struggle or helplessness. This angle is also useful when filming larger groups or wide areas, making it easier to capture the full picture.
Dutch Angle
The Dutch angle is a technique where the camera is intentionally tilted to one side, creating a slanted horizon. This off-balance framing is used to express instability, psychological tension or disorientation. It often appears in suspense or horror films during moments when a character is facing confusion, danger or emotional turmoil. Because of its strong visual impact, the Dutch angle should be used with care. Overusing it can lessen its effect and make the footage feel chaotic or tiring. When used thoughtfully and in the right context, it’s a powerful tool to create visual unease and deepen the emotional atmosphere of a scene.
Applied Techniques to Make the Most of Camerawork Effects
Once you’ve mastered the basic camerawork techniques, the next step is learning how to apply them intentionally to create deeper, more expressive visuals. By combining different movements, angles and speeds with purpose, you can add emotion, rhythm and storytelling depth to every scene you shoot.
Refining Your Camerawork with Composition and Creative Movement
Combining multiple camera movements – like panning into a tilt or zooming while dollying – opens up a whole new level of expressive possibilities. For example, you might pan across a landscape and then tilt upward to reveal a character, smoothly guiding the viewer’s eye through the scene. Another creative combo is dollying in while zooming out, which shifts the background perspective while keeping the subject the same size – a technique often used to create a sense of distortion or emotional impact.
That said, mixing movements too abruptly can confuse the viewer or make the footage feel disjointed. To keep your shots fluid and engaging, make sure the direction and speed of each movement remain consistent. This kind of precision takes practice and is best prepared through pre-visualization and testing before shooting.
Framing with Intention
In addition to movement, strong camerawork also depends on thoughtful composition. Using basic principles like the rule of thirds helps create visually balanced, easy-to-follow shots. Try to map out the framing at both the beginning and end of your movements to ensure a smooth, cohesive transition – especially if you’re planning to connect cuts in editing.
Also, consider eye room or lead space when filming moving subjects. Leaving some space in the direction the subject is facing or moving toward helps convey motion and makes the shot feel more natural. For instance, when filming a person running to the right, placing them on the left side of the frame and leaving space on the right enhances the sense of direction and momentum. These small details add up to footage that feels intuitive and visually pleasing.
Expanding Creative Flexibility with Multi-Camera Shooting
Shooting with multiple cameras allows you to capture a scene from different angles at the same time, giving you more flexibility and control in the editing process. Instead of relying on a single perspective, you can switch between close-ups, wide shots or alternate viewpoints to highlight emotions, reactions or context – all without needing to reshoot.
This approach is especially useful for interviews, where capturing both the speaker and listener enhances the rhythm of the conversation. It’s also ideal for one-time events or moments that can’t be recreated, like live performances or spontaneous reactions. With multiple cameras rolling, you’re far less likely to miss a key detail.
That said, visual consistency is essential. When using more than one camera, make sure color tones, white balance and exposure settings are aligned across all angles. This prevents any jarring changes in lighting or tone when cutting between shots, and helps the finished video feel seamless and polished.
Using a Variety of Equipment to Enhance Your Camerawork
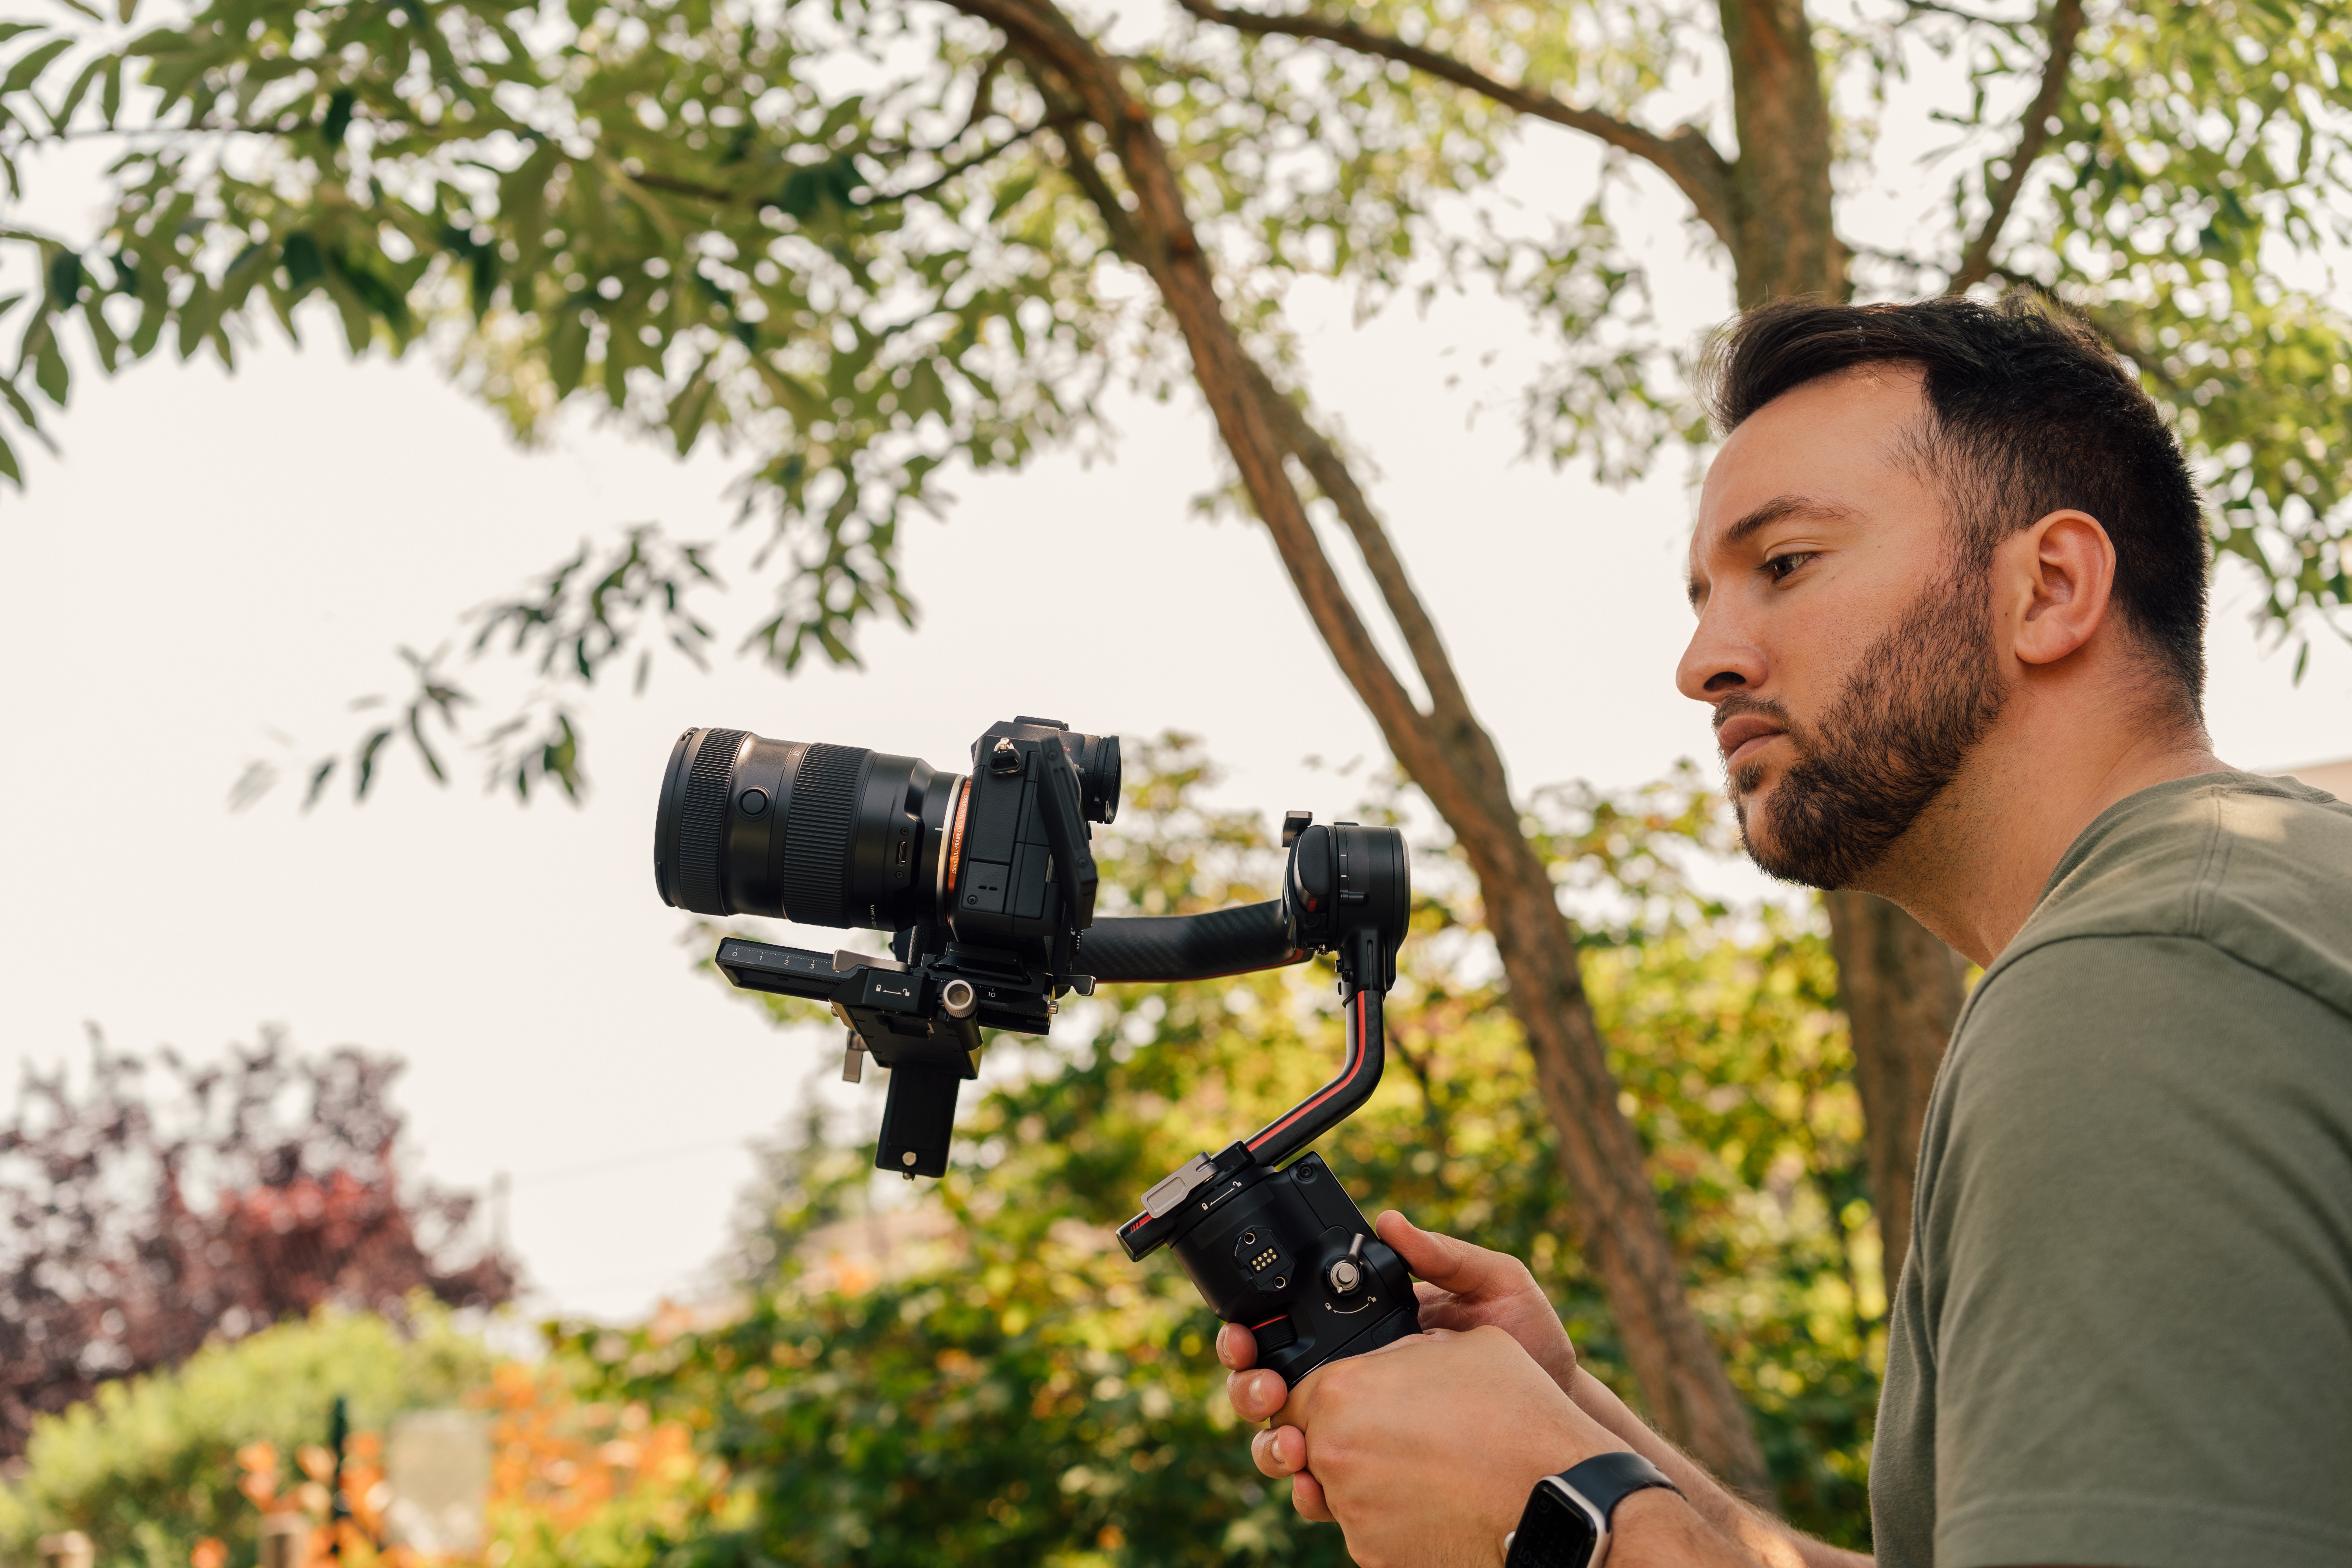
Incorporating tools like gimbals, sliders or drones can significantly expand your creative options and help you achieve smoother, more professional-looking results. A gimbal allows for stable tracking shots, even when you’re on the move. A slider makes it possible to capture precise, linear camera movement. And a drone unlocks entirely new perspectives by letting you film from above, adding scale and visual drama to your footage.
These tools are more accessible than ever, and even beginners can achieve cinematic results with a bit of practice. But while equipment can elevate production quality, it’s important not to rely on it too heavily. Great camerawork isn’t just about gear – it’s about intention. Strong visual storytelling often comes from making the most of what you have. Creative framing, thoughtful movement and purposeful angles can all deliver powerful results, even with the simplest setup. In some cases, handheld shooting – with its slight natural shake – can add authenticity or emotional grit. Choosing a minimal or low-tech approach isn’t a limitation; it can become part of your visual style.
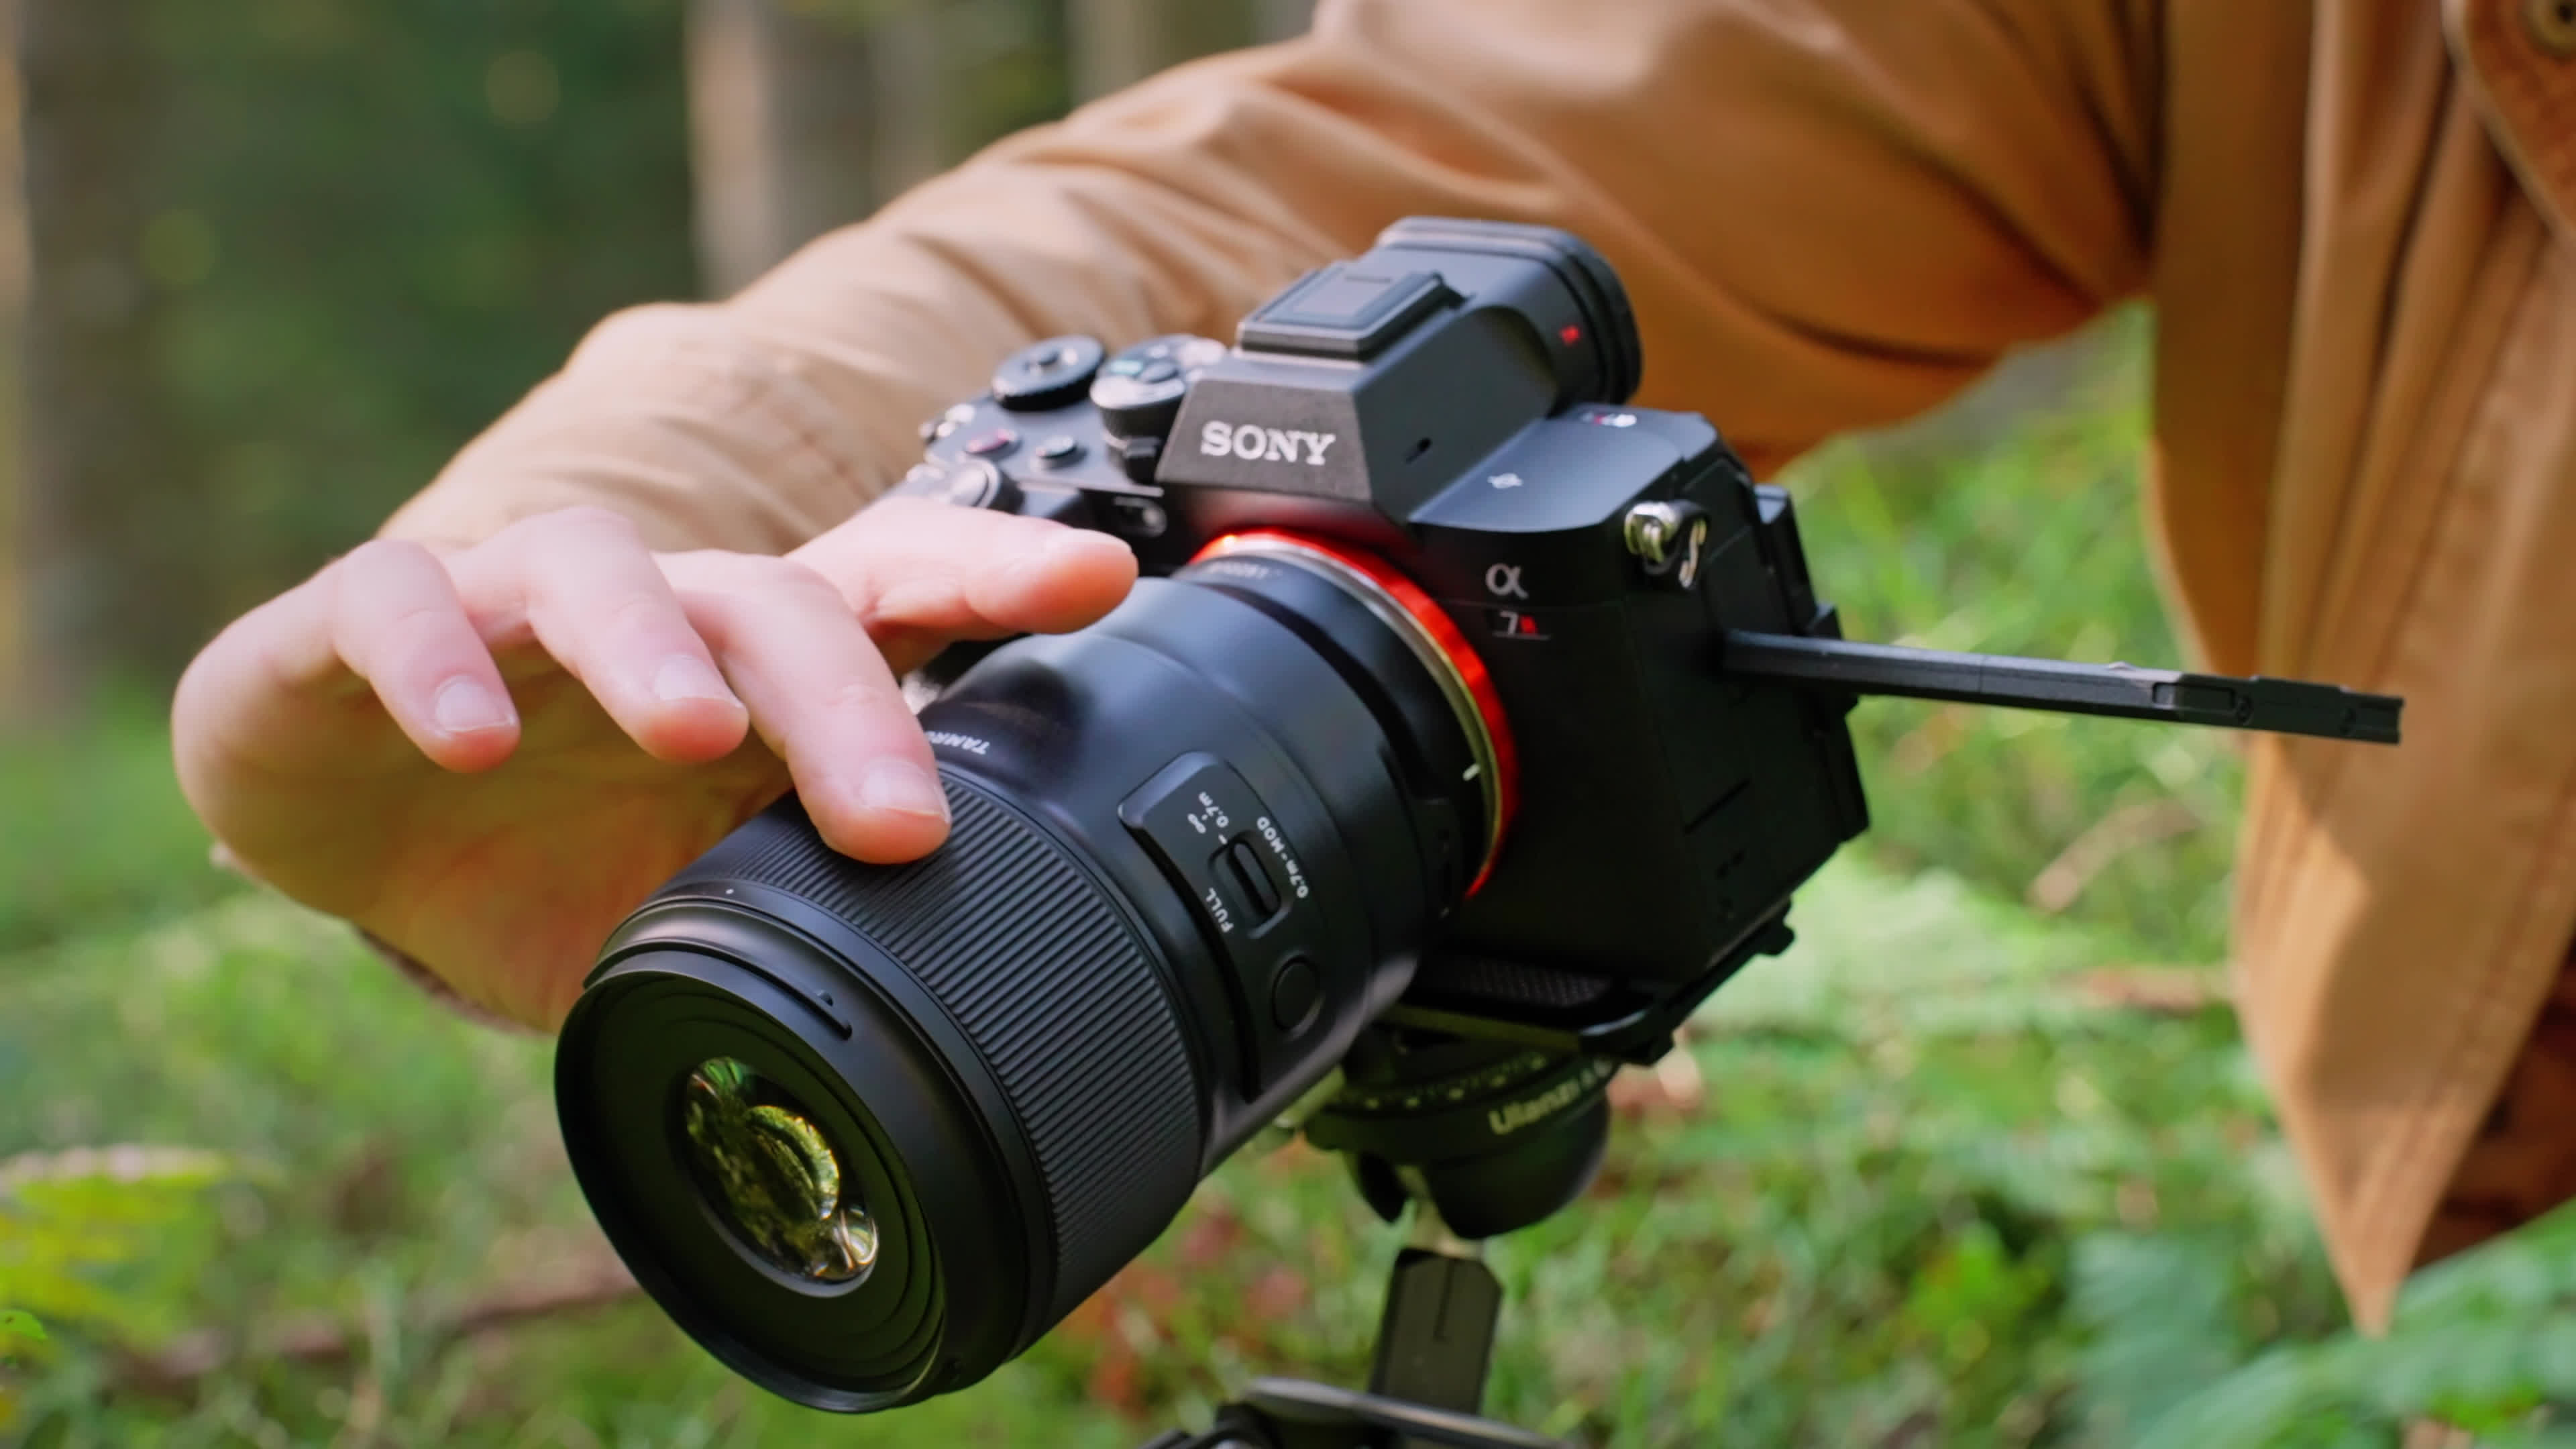
Using TAMRON Lens Utility™
TAMRON Lens Utility™ is a dedicated software that allows you to connect compatible TAMRON lenses to your PC or mobile device via a special cable, giving you access to a wide range of customization features. These include lens updates and focus settings tailored specifically to support video shooting – helping you fine-tune your gear to suit your creative needs. One of the most powerful tools is the Digital Follow Focus (DFF) feature on the mobile version. It lets you adjust and set focus points directly on your screen with precision, all without needing to touch the lens itself. This makes it easier to achieve professional-level focus transitions, even for those new to manual operation. For beginners, the software removes some of the complexity that comes with advanced focus techniques – allowing for greater control, cleaner results and more confidence behind the camera. Whether you’re fine-tuning focus pulls or keeping your lens firmware up to date, TAMRON Lens Utility™ is a smart companion for anyone looking to level up their video production. The speed of the camera movement also plays a big part in shaping atmosphere. Fast, sudden movements can create tension or urgency, making the viewer feel on edge. In contrast, slow, smooth motion brings a sense of calm, comfort or reflection – ideal for emotional or intimate scenes.
How to Choose the Right Lens for Videography
Choosing the right lens plays a key role in video production. In this section, we’ll look at what to consider when selecting a lens for video shooting.
Maximum Aperture
Lenses with a small maximum F-number – such as F2.8 or F4 – allow more light to reach the sensor, making it easier to capture bright, clear images even in low-light situations. Whether you’re filming at dusk or indoors with only natural light, a wide-aperture lens helps you achieve beautiful results without needing additional lighting equipment. Another benefit of a large maximum aperture is the ability to create soft, pronounced background blur (bokeh). This helps separate the subject from the background and gives your footage a more expressive, cinematic look. It’s especially effective for portrait shots and emotionally driven scenes where visual focus and atmosphere matter most.
Focal Length and Angle of View
Wide-angle lenses (around 35mm or less) capture a broader field of view, making them ideal for shooting in tight spaces, scenic landscapes or fast-paced action. Their ability to exaggerate perspective adds a sense of depth and dynamism to your footage, helping you show more of the environment even when space is limited.
Standard lenses (around 50mm) offer a natural angle of view that closely resembles human vision. They’re great for everyday scenes and storytelling-focused content, providing a balanced perspective that feels familiar and grounded. This makes them a strong choice for documentaries or narrative videos that aim to reflect reality.
Telephoto lenses (around 80mm and above) allow you to film distant subjects with clarity, while compressing the space between foreground and background. This creates a more intimate look, making them well-suited for interviews, portraits or any scene where emotional focus is key. Telephoto lenses also make it easier to achieve strong background blur and layered compositions that add visual depth.
Achieving a Consistent Visual Look
The look of your video refers to its overall appearance, mood and visual texture. It’s the impression the viewer gets from elements like color grading, brightness, contrast, sharpness and tone – all working together to create a certain atmosphere on screen. This look isn’t something you can fully assess through technical specs alone. The most reliable way to evaluate it is to check actual footage and see how it feels. Every lens renders images slightly differently, so the subtle characteristics matter. To maintain consistency across shots, especially in multi-camera setups, using lenses from the same manufacturer can help create a more unified visual style.
Understanding Focus Breathing in Video
Focus breathing refers to a subtle shift in the angle of view that occurs when adjusting focus. This effect is especially common in lenses designed primarily for photography. While it’s usually not noticeable in still images, it can become distracting in video, where focus changes are more frequent and movement within the frame matters. For video creators, focus breathing can make a scene feel less stable or consistent – especially during focus pulls. That’s why it’s a good idea to test it out in advance when possible, or check review footage to see how noticeable the effect is with a particular lens. Some lenses are designed to minimize focus breathing, making them better suited for smooth, professional-looking video work.
Zoom-Related Shifts in Axis and Focus
When using a zoom lens, two common issues can affect the visual consistency of your footage: optical axis misalignment and focus shift. These effects are more noticeable in video, where zooming occurs in real-time and small shifts can be distracting. Optical axis misalignment refers to a slight change in the position of the subject within the frame when zooming from wide-angle to telephoto. If the optical axis isn’t well aligned, the subject may drift off-center during the zoom, resulting in an unnatural or unintentional shift in composition.
Focus shift, also known as out-of-focus shift, occurs when the point of focus changes while zooming. For example, you might focus on a subject at the wide end of the zoom range, only to find that the subject is no longer in sharp focus when zoomed in. In photography, this can be corrected with a quick refocus – but in video, it becomes a visible disruption. That’s why it’s important to check for these characteristics when choosing a lens for video work. To address this, TAMRON continuously works on improving autofocus performance during zooming in both stills and video (using AF-C mode), and regularly releases firmware updates to enhance lens behavior.
Focus Ring Handling and Overall Operability
In addition to image quality, it’s important to consider how the lens feels during use. Pay attention to the handling of the focus ring – including its resistance, rotation smoothness and responsiveness. If you plan to use manual focus frequently, a focus ring with steady resistance and smooth, precise movement will give you better control and a more comfortable shooting experience. It’s also worth checking whether the direction of focus rotation matches what you’re used to, as this can vary by brand.
The ease of switching between autofocus (AF) and manual focus (MF) is another key factor. If you’ll be switching modes often during a shoot, make sure the switch is positioned for easy access, feels responsive, and operates quietly. Even subtle details like the tactile feel or audible click can affect your workflow, especially in sensitive shooting environments.
Weight and Compactness
When shooting handheld for extended periods, the weight and size of your lens can make a big difference. A lightweight, compact lens is easier to manage and helps maintain steady camerawork – especially when you’re not using a gimbal or are filming long documentary-style takes. Compact, easy-to-handle lenses are also helpful when shooting from different angles or in challenging positions. Whether you’re filming while traveling, vlogging in tight spaces, or quickly moving between locations, a smaller lens can make your setup more flexible and your shooting experience more comfortable.
Moisture-Resistant Construction
Lenses with a moisture-resistant construction offer greater peace of mind when shooting in environments where water or humidity might be a concern. Whether you’re filming near the ocean, capturing landscapes after rainfall or working around flowing water, this added protection helps keep your gear safe and functional. Weather can change quickly during outdoor shoots, and a moisture-resistant build lets you stay focused on the scene – not the forecast. It’s a practical feature that extends your creative freedom and makes it easier to shoot with confidence, even in unpredictable conditions.
Smooth and Reliable Autofocus Performance
For video shooting, fast and accurate autofocus is essential – but just as important is how quietly and smoothly it operates. A lens with silent AF drive ensures that focus transitions don’t interfere with your audio or distract the viewer. Tracking performance is also key, especially when filming subjects that move unpredictably, like children, animals or athletes. A lens with responsive and stable AF makes it much easier to keep your subject in sharp focus without constant manual adjustment.
Stabilizing Footage with Vibration Compensation
Handheld video can be especially vulnerable to camera shake, making Vibration Compensation (VC) an invaluable feature. It helps deliver more stable, professional-looking footage – particularly when using telephoto lenses or filming on the move. VC is especially helpful in dynamic or mobile shooting situations, but there are times when turning it off can be beneficial. For instance, when using a tripod or capturing smooth panning shots, disabling VC may result in more natural-looking movement. Always check how to switch stabilization on and off based on your shooting needs.
Create the Scene You Envision with Camerawork
Camerawork isn’t just about capturing a subject – it’s a powerful storytelling tool that helps convey emotion, atmosphere and intention to the viewer. Starting with the basics like fixed shots, pans and tilts gives you a strong foundation. From there, you can explore more advanced techniques to shape your own visual style. Lens choice also plays a big role in how your camerawork translates on screen. Take time to compare sample footage, test images and lens characteristics to find the one that best matches your creative vision. With the right tools and techniques, you can bring the scenes in your mind to life – exactly the way you imagined them.

TAMRON Lens Utility™
The TAMRON Lens Utility™ is software that lets you customize lens functions and update firmware for TAMRON lenses with a USB Type-C Connector Port – via computer or Android smartphone. By personalizing the settings to your shooting style, you can make photography even more enjoyable.
TAMRON products mentioned in this article
20-40mm F/2.8 Di III VXD
Model A062
35-150mm F/2-2.8 Di III VXD
Model A058
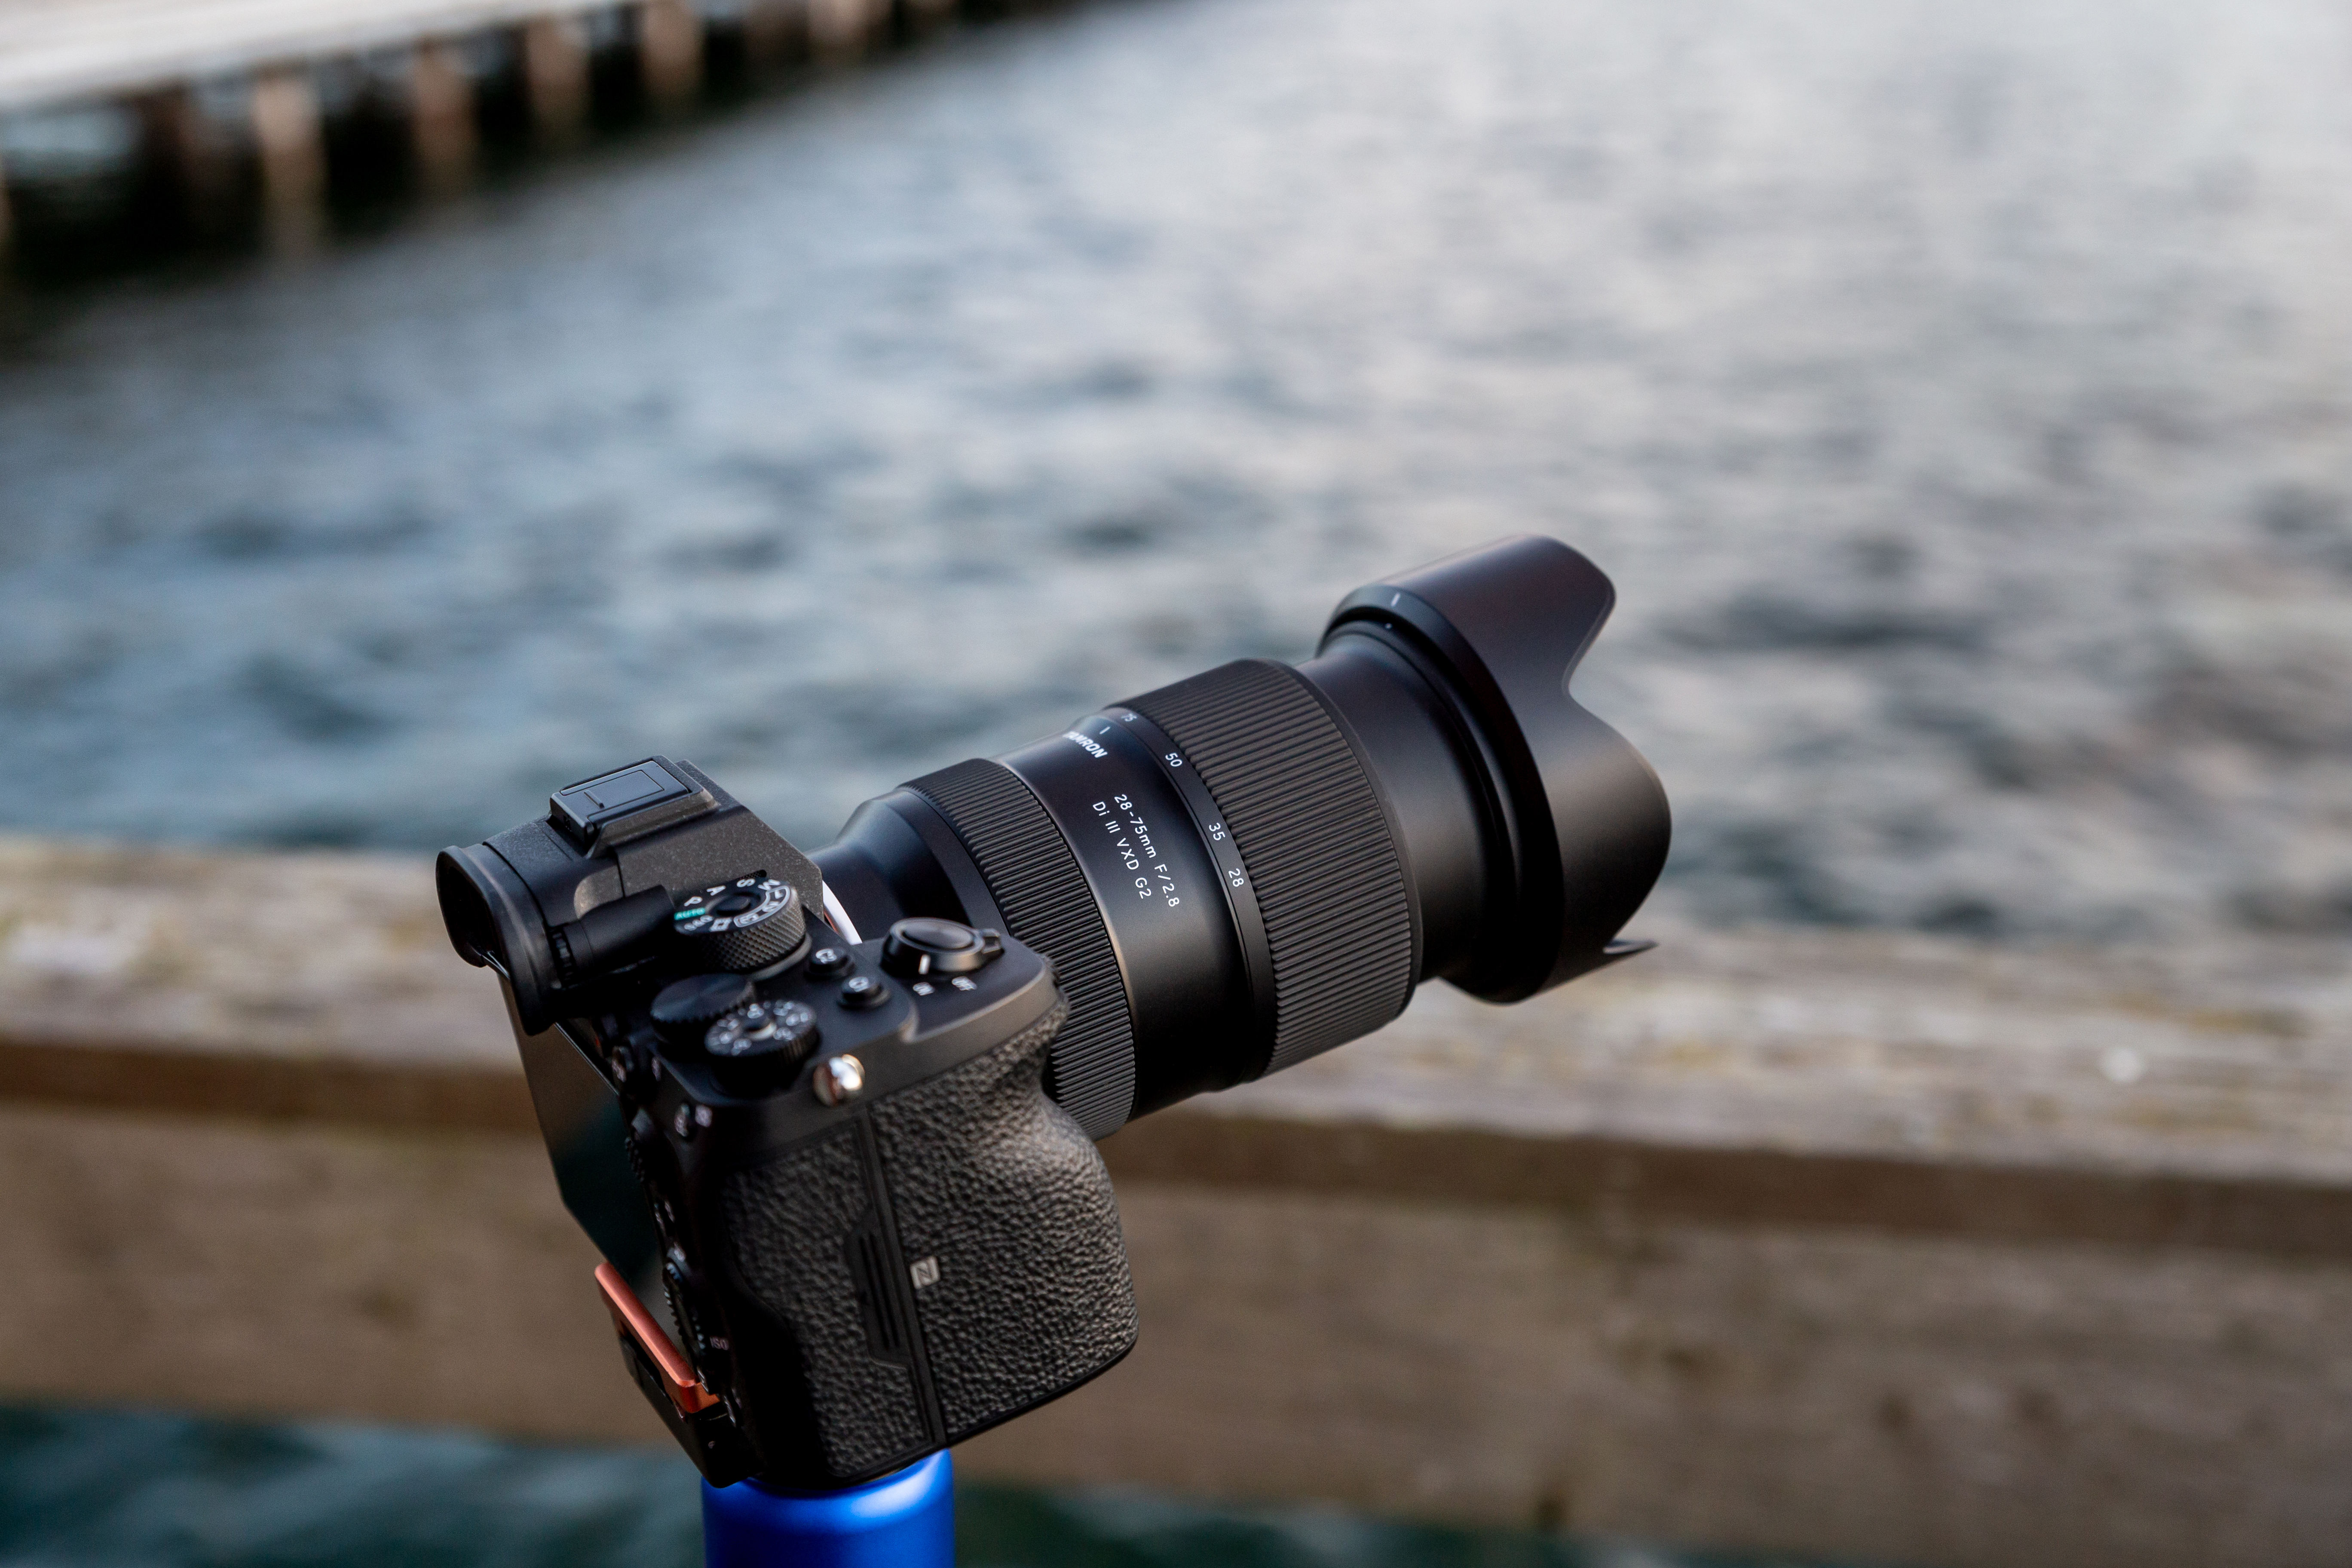
28-75mm F/2.8 Di III VXD G2
Model A063
17-50mm F/4 Di III VXD
Model A068
70-180mm F/2.8 Di III VC VXD G2
Model A065
