
2026-02-18
How to Photograph the Moon – My Favorite Tips for Magical Moon Shots
There are nights when you simply stop. Maybe on your balcony, in the middle of the street, or somewhere between the sounds of a sleeping city – and there it is: the moon. Bright, clear, huge, and somehow mysterious. And every single time you think: I have to capture this moment.
If that sounds familiar, you’re in the right place. Many people get into photography because of the moon. But you quickly realize that photographing it isn’t as easy as it looks. It often appears much smaller than expected, turns out blurry, or is completely blown out. But don’t worry – with a few tricks, anyone can take an impressive photo of the moon.
Why the Moon Is a Special Subject
First, the most important point: smartphones are amazing tools in many situations – but when it comes to moon photography, they quickly reach their limits. Not because you’re doing something wrong, but because the moon is simply too small and too bright. To capture its craters, subtle textures, and sharp edges, you need a longer focal length and a larger camera sensor.
In short: if you really want to show the moon as it is, a camera with interchangeable lenses is hard to beat.
What You Need – and Why
Think of moon photography as a small expedition: you bring what you need and leave the rest behind.
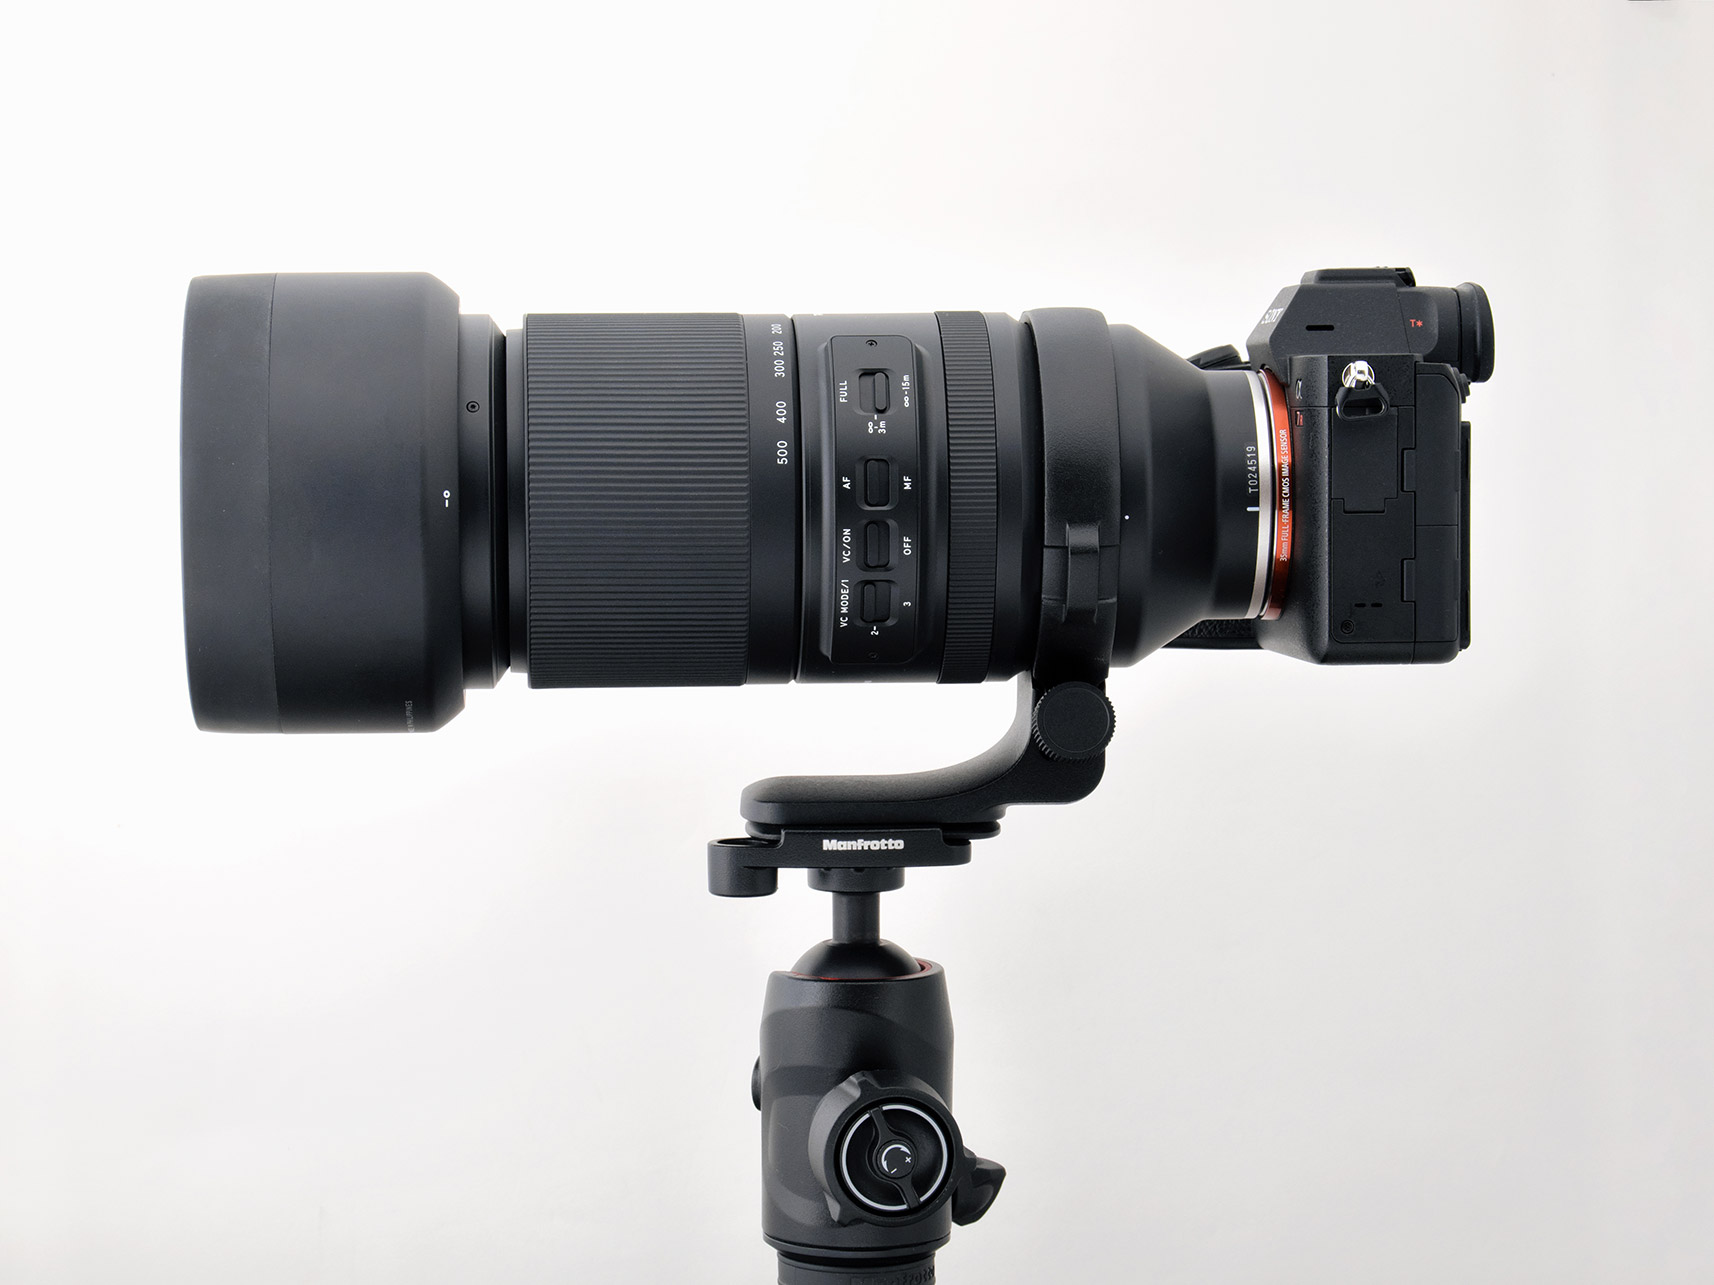
1. A Telephoto or Super-Telephoto Lens
This allows you to bring the moon closer – or rather, to magnify it optically with a long focal length.
200–300 mm is a great starting point. The moon only fills the frame at focal lengths beyond 1000 mm, but don’t worry: cropping is completely normal.
2. A Teleconverter (Optional, but Useful)
A teleconverter extends your focal length without the need to carry a huge lens.
Just keep in mind: it costs you some light and can slow down autofocus.
3. A Sturdy Tripod – Your Best Friend
Even though the moon is bright, long focal lengths make camera shake very noticeable. A tripod gives you stability – and sharpness.
4. Remote Shutter Release or Self-Timer
Even pressing the shutter button can cause blur.
A remote release prevents this. If you don’t have one, the 2-second self-timer works just fine.
The Magic Formula: Camera Settings
Many people think you need complex calculations. In reality, there are a few reliable baseline settings you can use again and again.
Manual Mode – Don’t Be Afraid
In automatic mode, the camera thinks: It’s night, I need to brighten this up.
The result: the moon is completely overexposed and looks like a white ball.
In manual mode, you control the exposure yourself – and finally capture real details.
A Good Starting Point:
Aperture: f/8 – f/11 (sharp, great detail)
Shutter speed: 1/200 – 1/400 s (the moon moves!)
ISO: 100 – 200 (clean, noise-free images)
These values work almost every time as a starting point.
When to Photograph the Moon
The moon changes its shape, brightness, and position every single day.
Knowing when and where it appears makes a huge difference.
Full moon: bright, clear, good overall detail
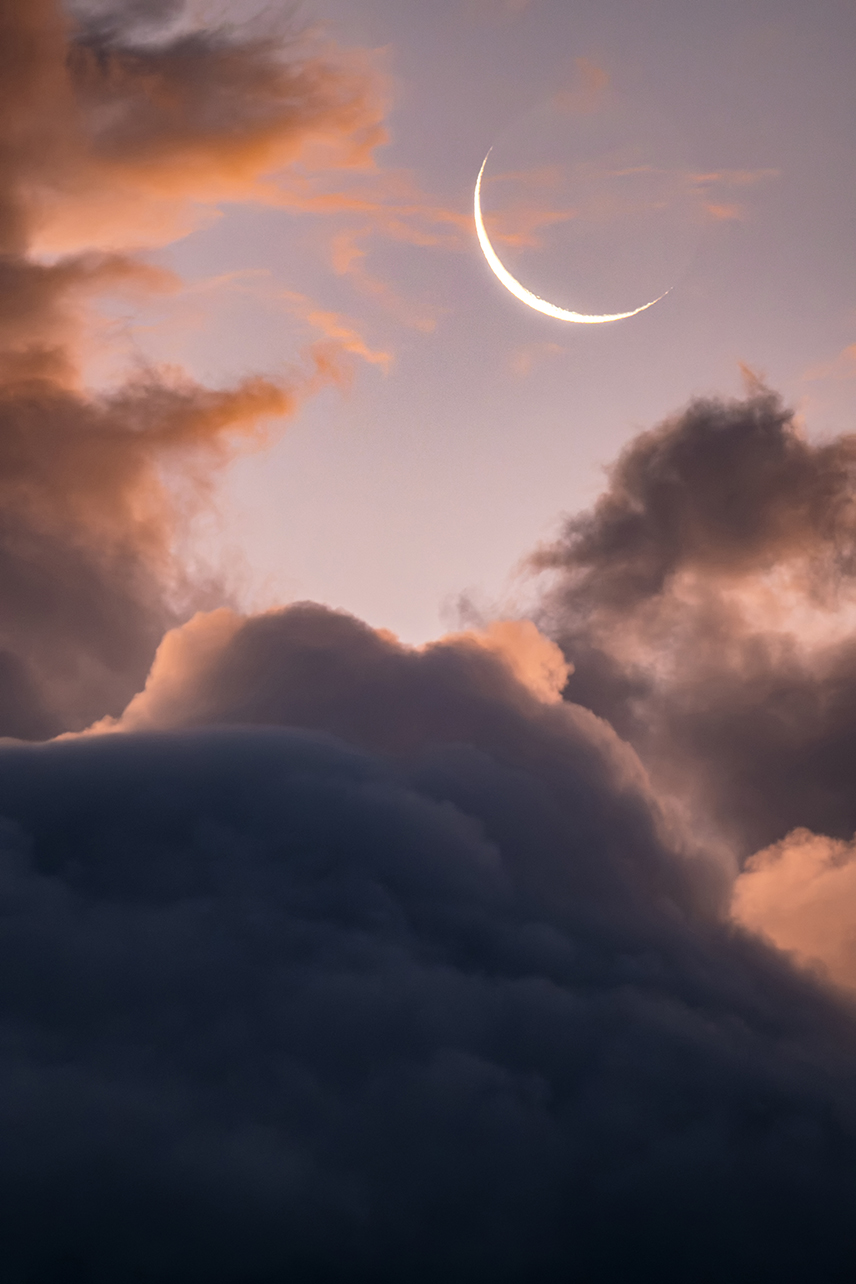
Crescent moon: delicate and poetic – but darker
Blue hour: the sky still has color, a perfect mix of mood and technique
Moonrise/moonset: spectacular for landscapes, as the moon appears low and reddish
A moon phase app is worth its weight in gold.
If the Moon Looks Tiny in Your Photo…
Don’t worry – this happens to everyone, even professionals.
With a 200–300 mm lens, the moon initially looks very small. That’s completely normal. Most moon photos you see online are cropped afterward.
What really matters is sharpness – once that’s right, you can crop without any problem.
White Balance – Getting the Right Moon Color
Do you want a golden moon? Or a cool, bluish one?
Both are possible – and both can be true to life.
Warmer tones: “Cloudy” or “Shade”
Cooler tones: “Daylight” or “Fluorescent”
Or: simply adjust it later in post-processing
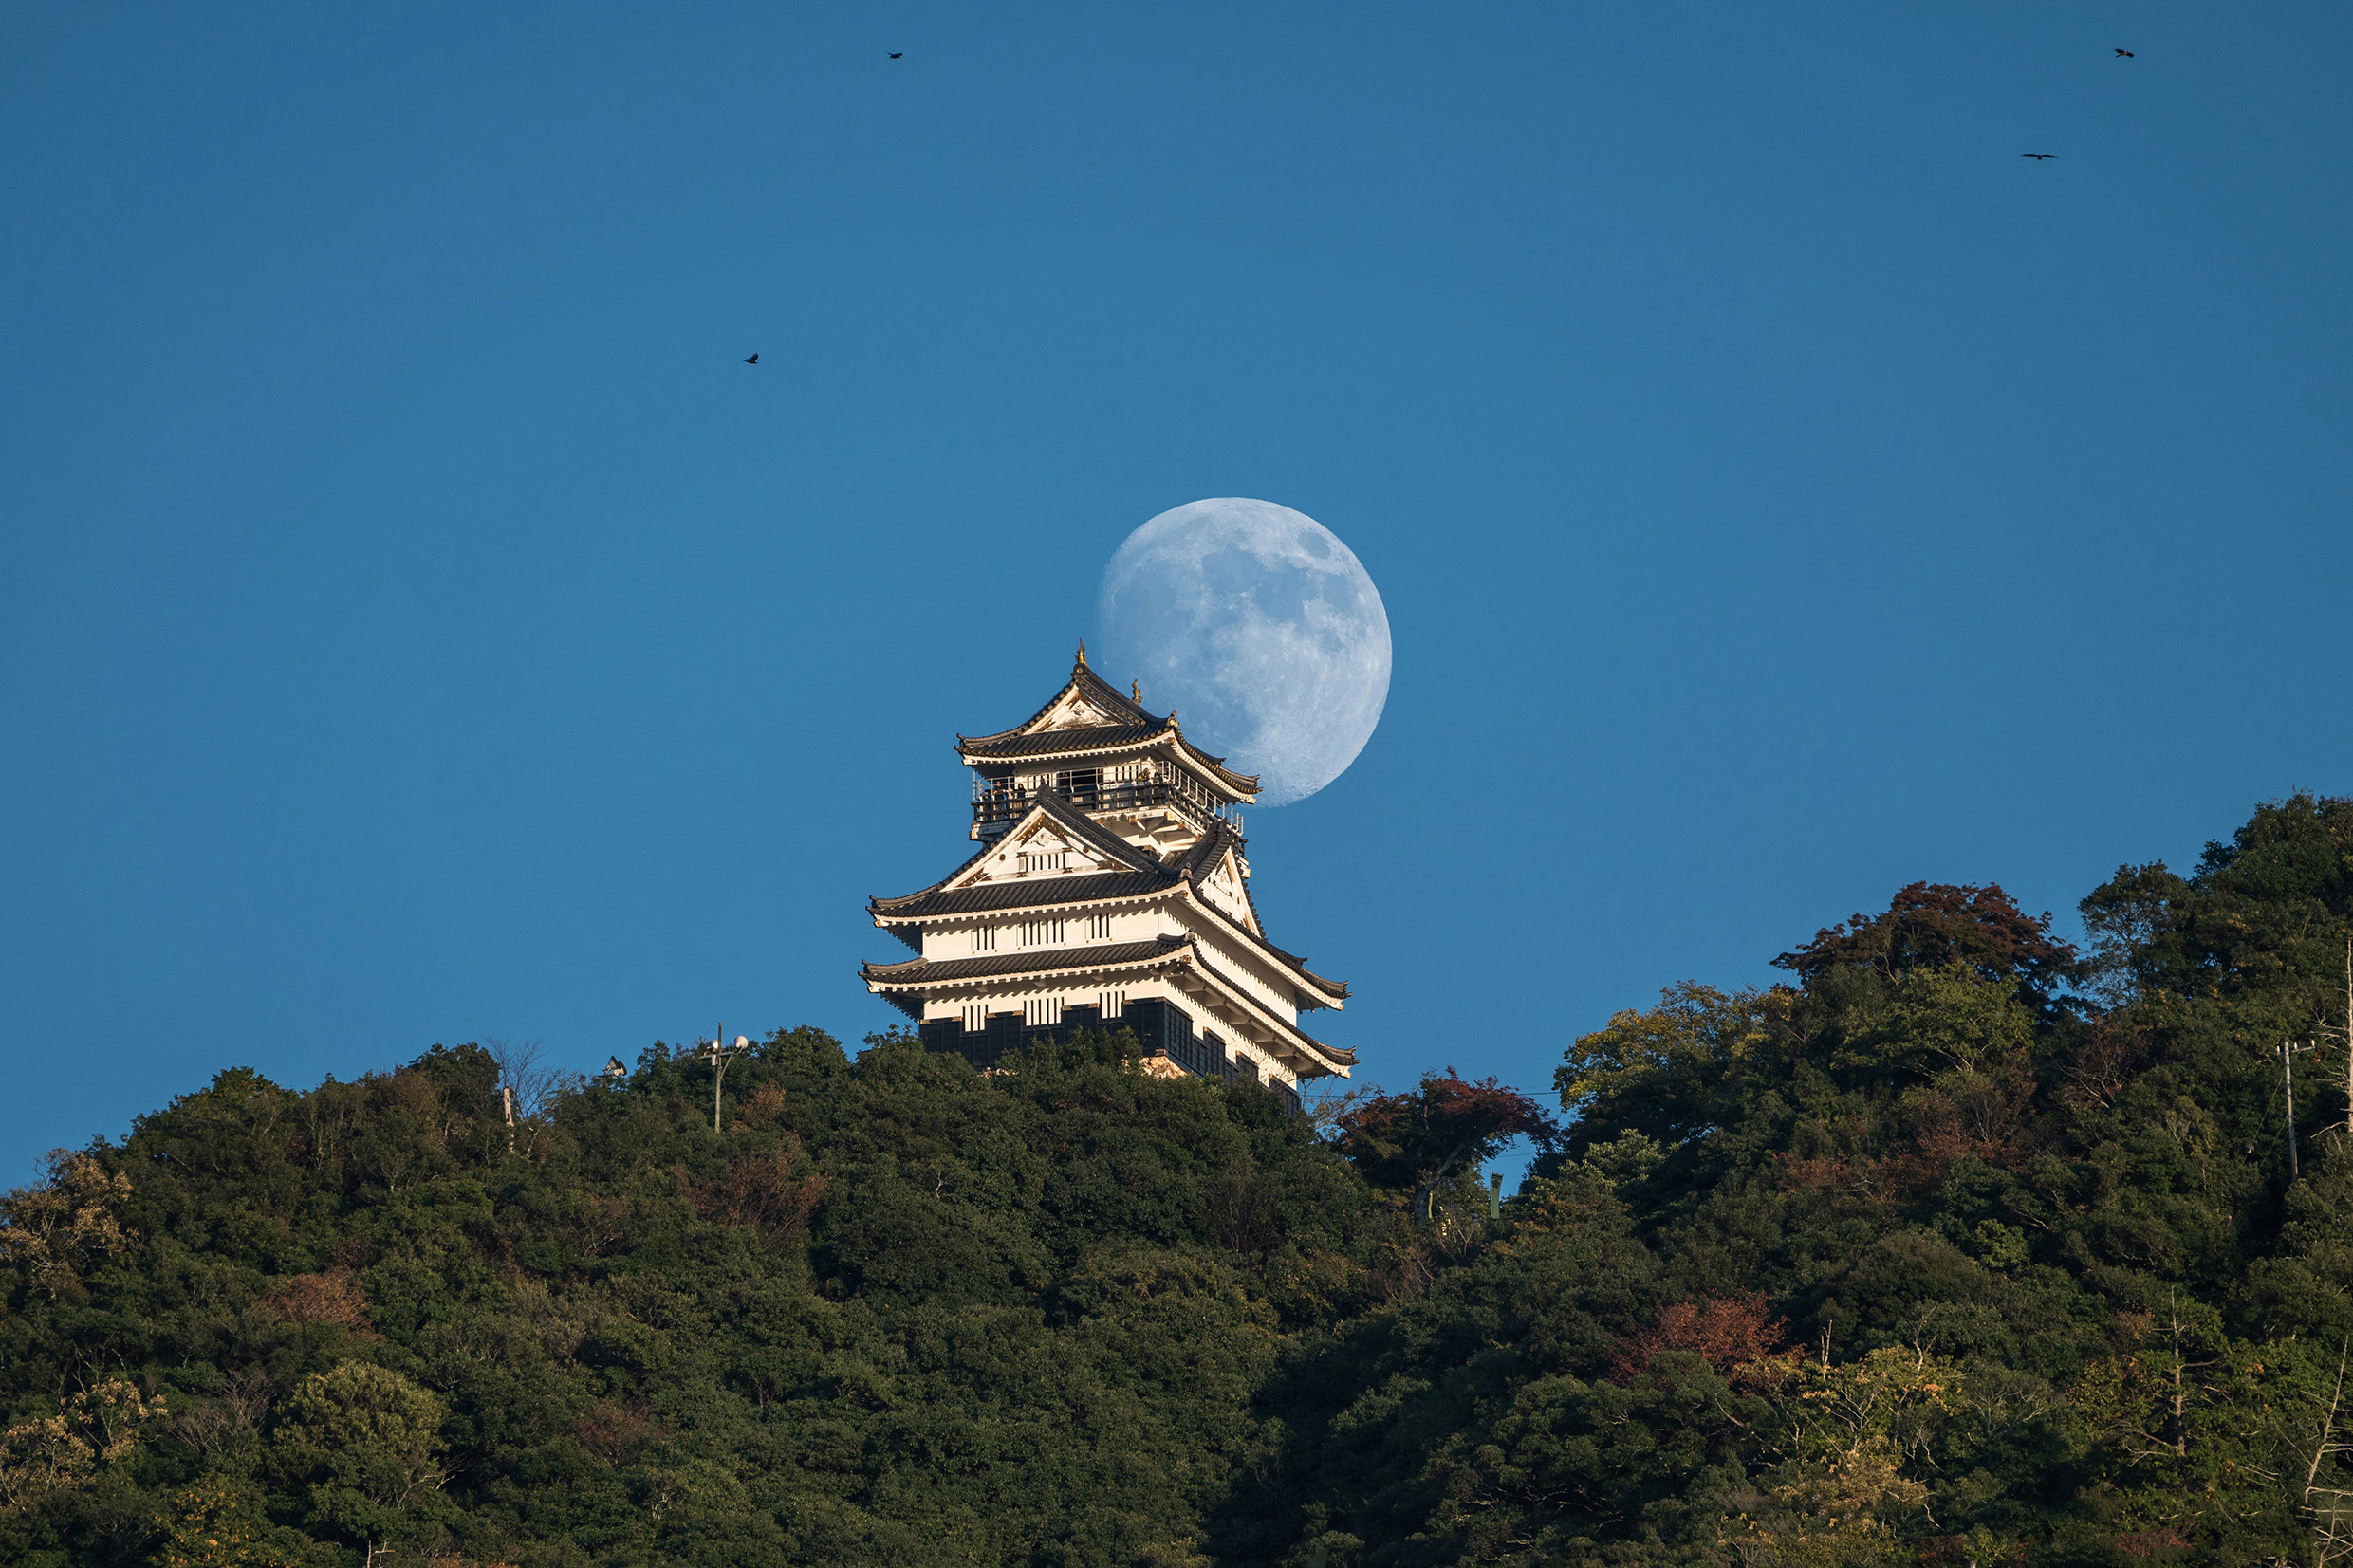
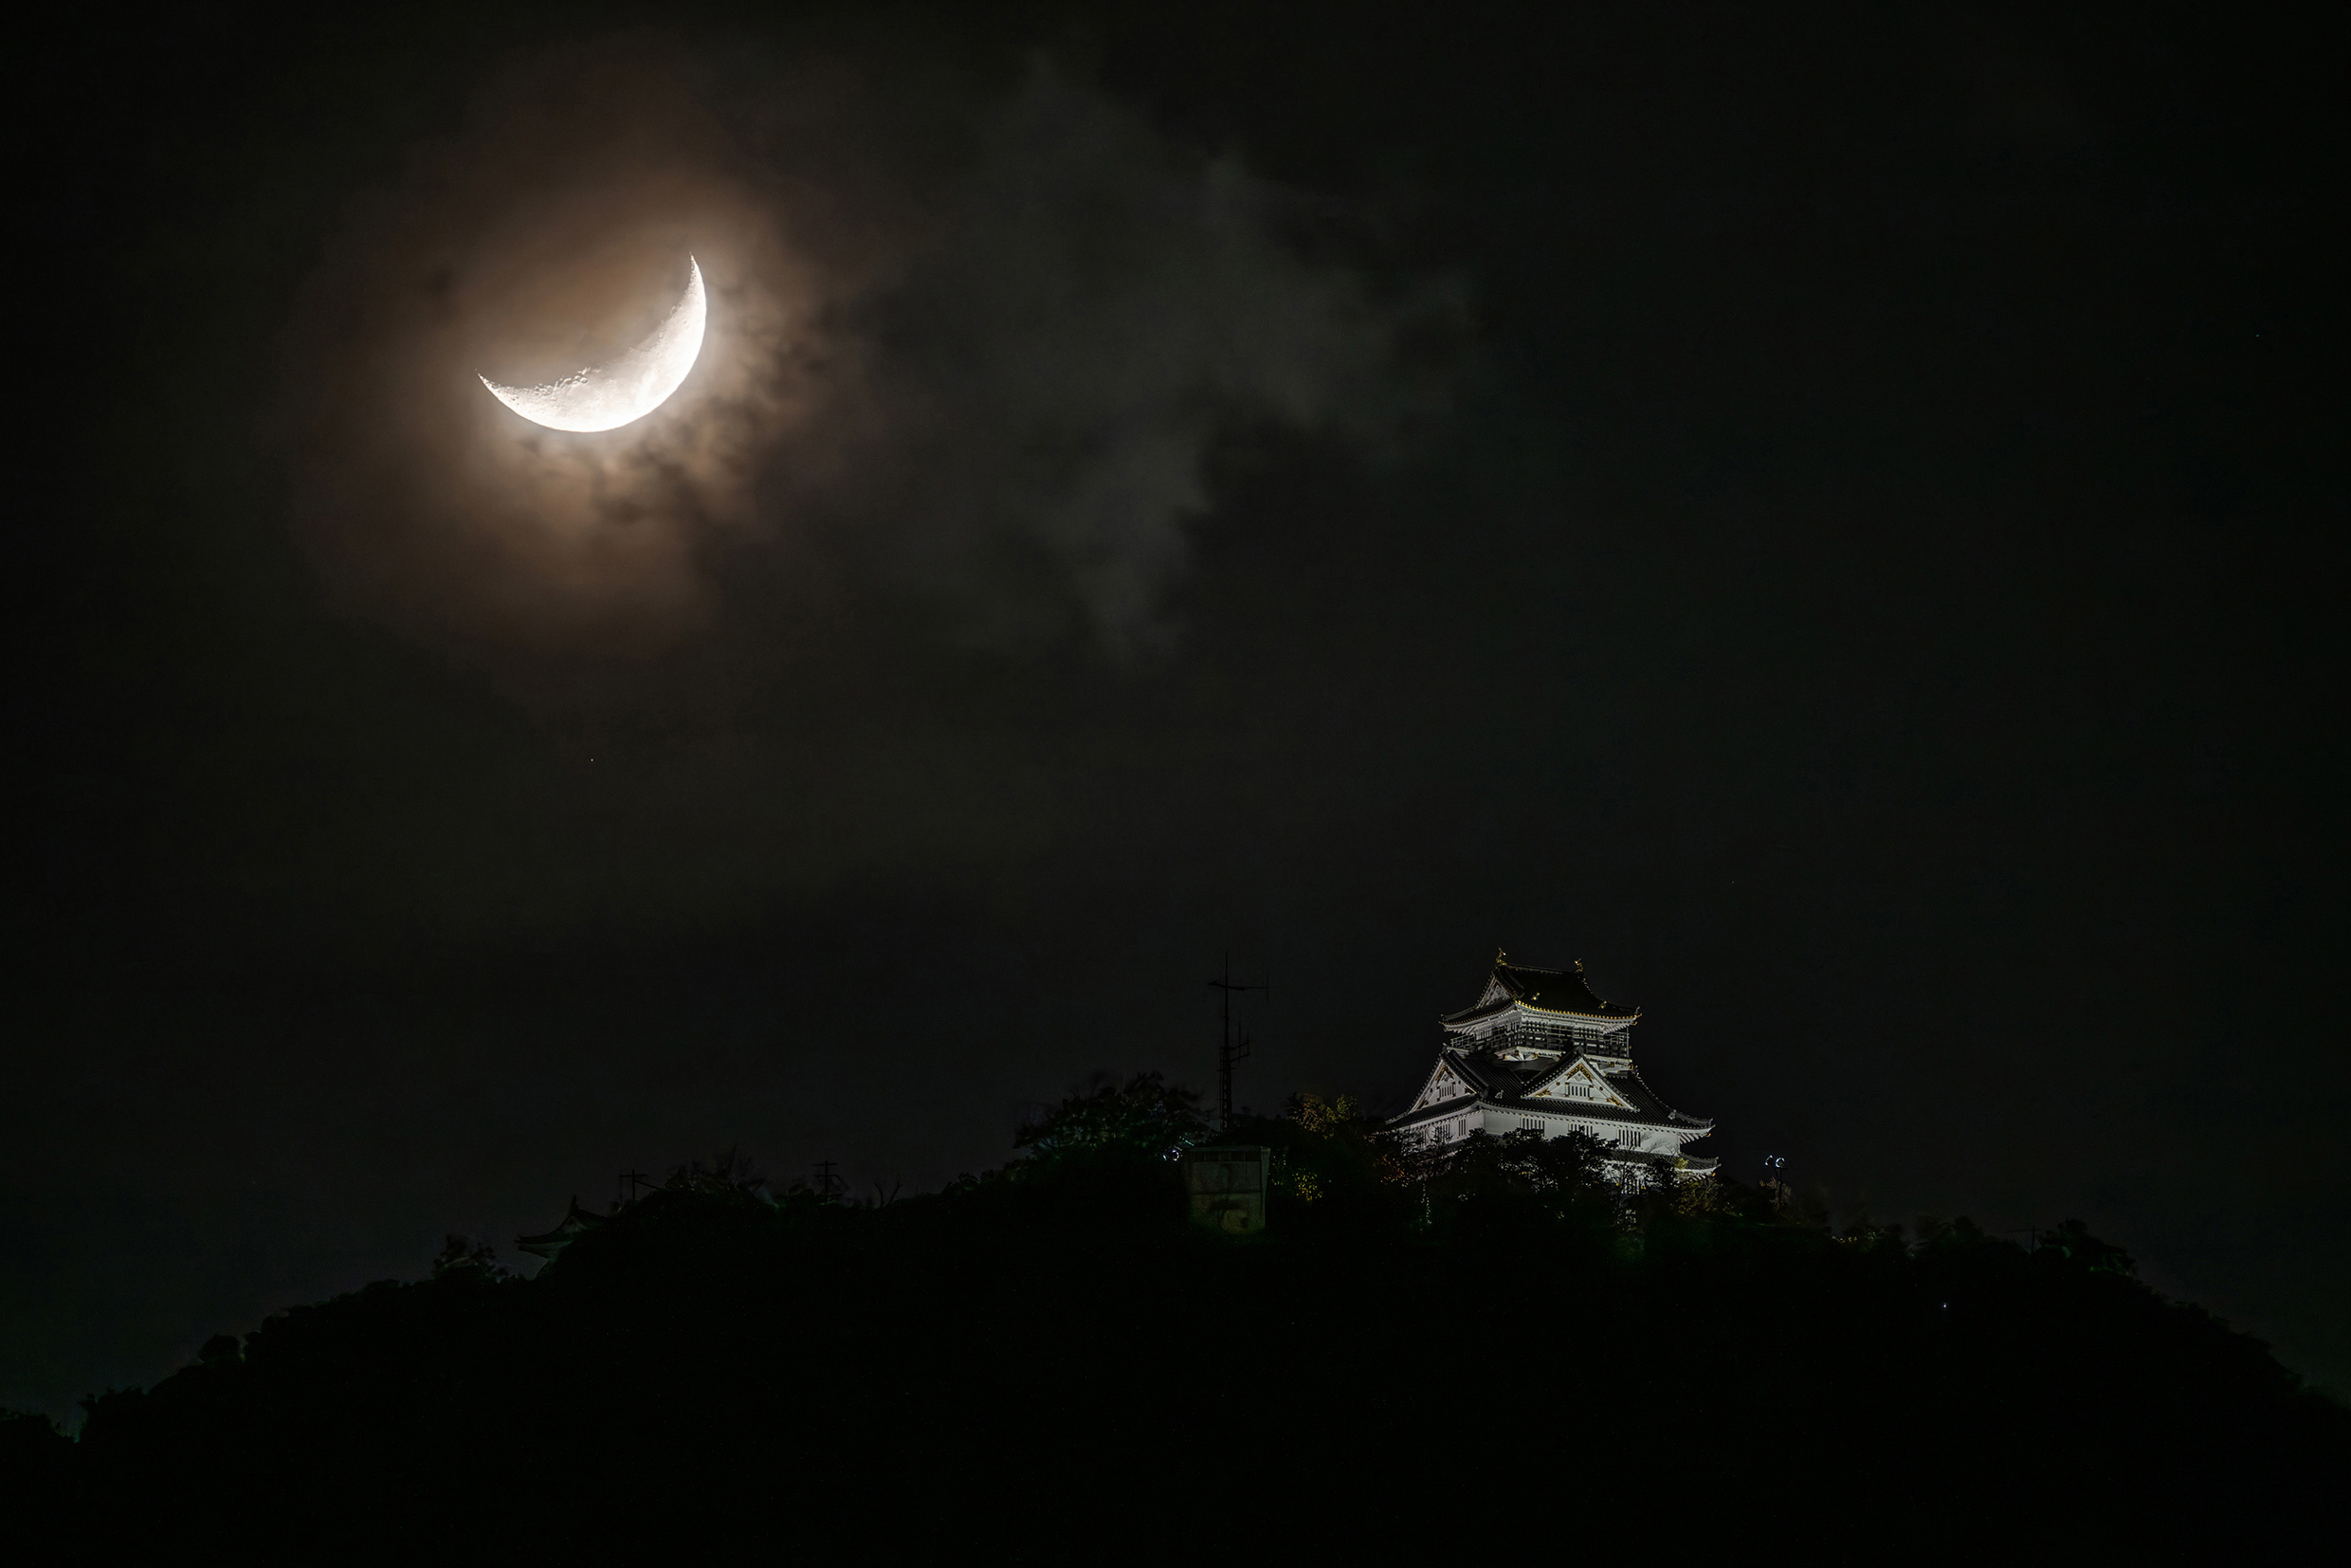
The Moon in a Landscape – The Ultimate Challenge
The moon alone is beautiful and clear.
But true magic happens when you place it in context:
above a city
behind a mountain
between two buildings
over a lake
above a silhouette
Tip: for these shots, use a wide-angle or standard lens and shoot during blue hour or at moonrise, when contrast is still manageable.
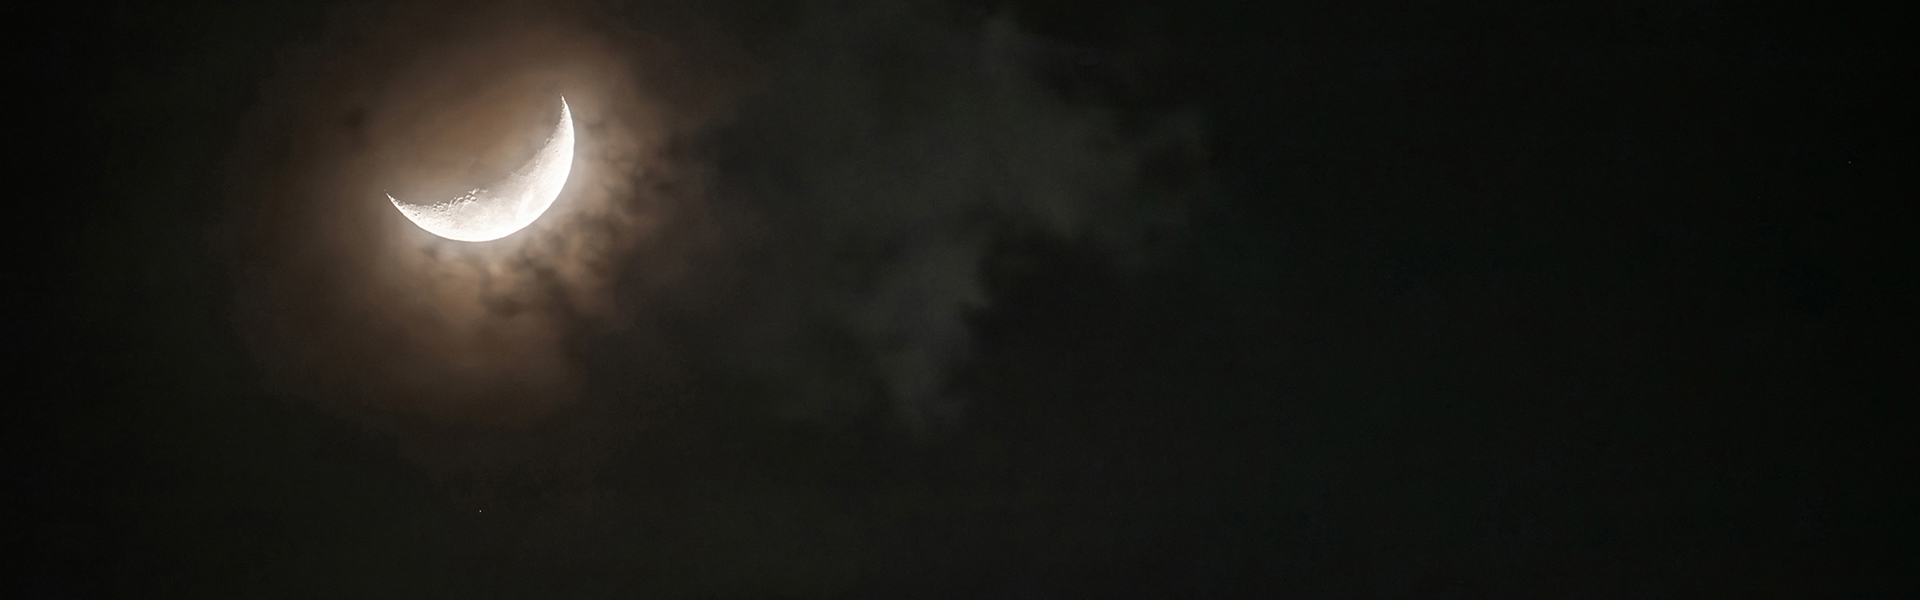
Crescent Moon & Clouds – Pure Atmosphere
Something many people underestimate:
The moon doesn’t always need to be razor-sharp.
Sometimes it’s most beautiful when it partially disappears behind thin clouds, wrapping the scene in a soft veil.
Use a longer exposure and a slightly wider aperture, and you’ll create a mysterious mood.
Recommended Gear – My Personal Take
200–300 mm focal length: ideal for beginners
More than 300 mm: perfect for craters and fine details
Fast lenses: helpful for crescent moons
A solid tripod: essential
Image stabilization: great, especially handheld
Lightweight gear: more important than you think
Conclusion: The Moon Is a Great Teacher
Moon photography is a perfect introduction to astrophotography.
It forces you to use your camera consciously and work with light, time, and focal length. At the same time, it rewards you with images that look magical – and get better with every night you shoot.
